Making book covers with the Casemaking square
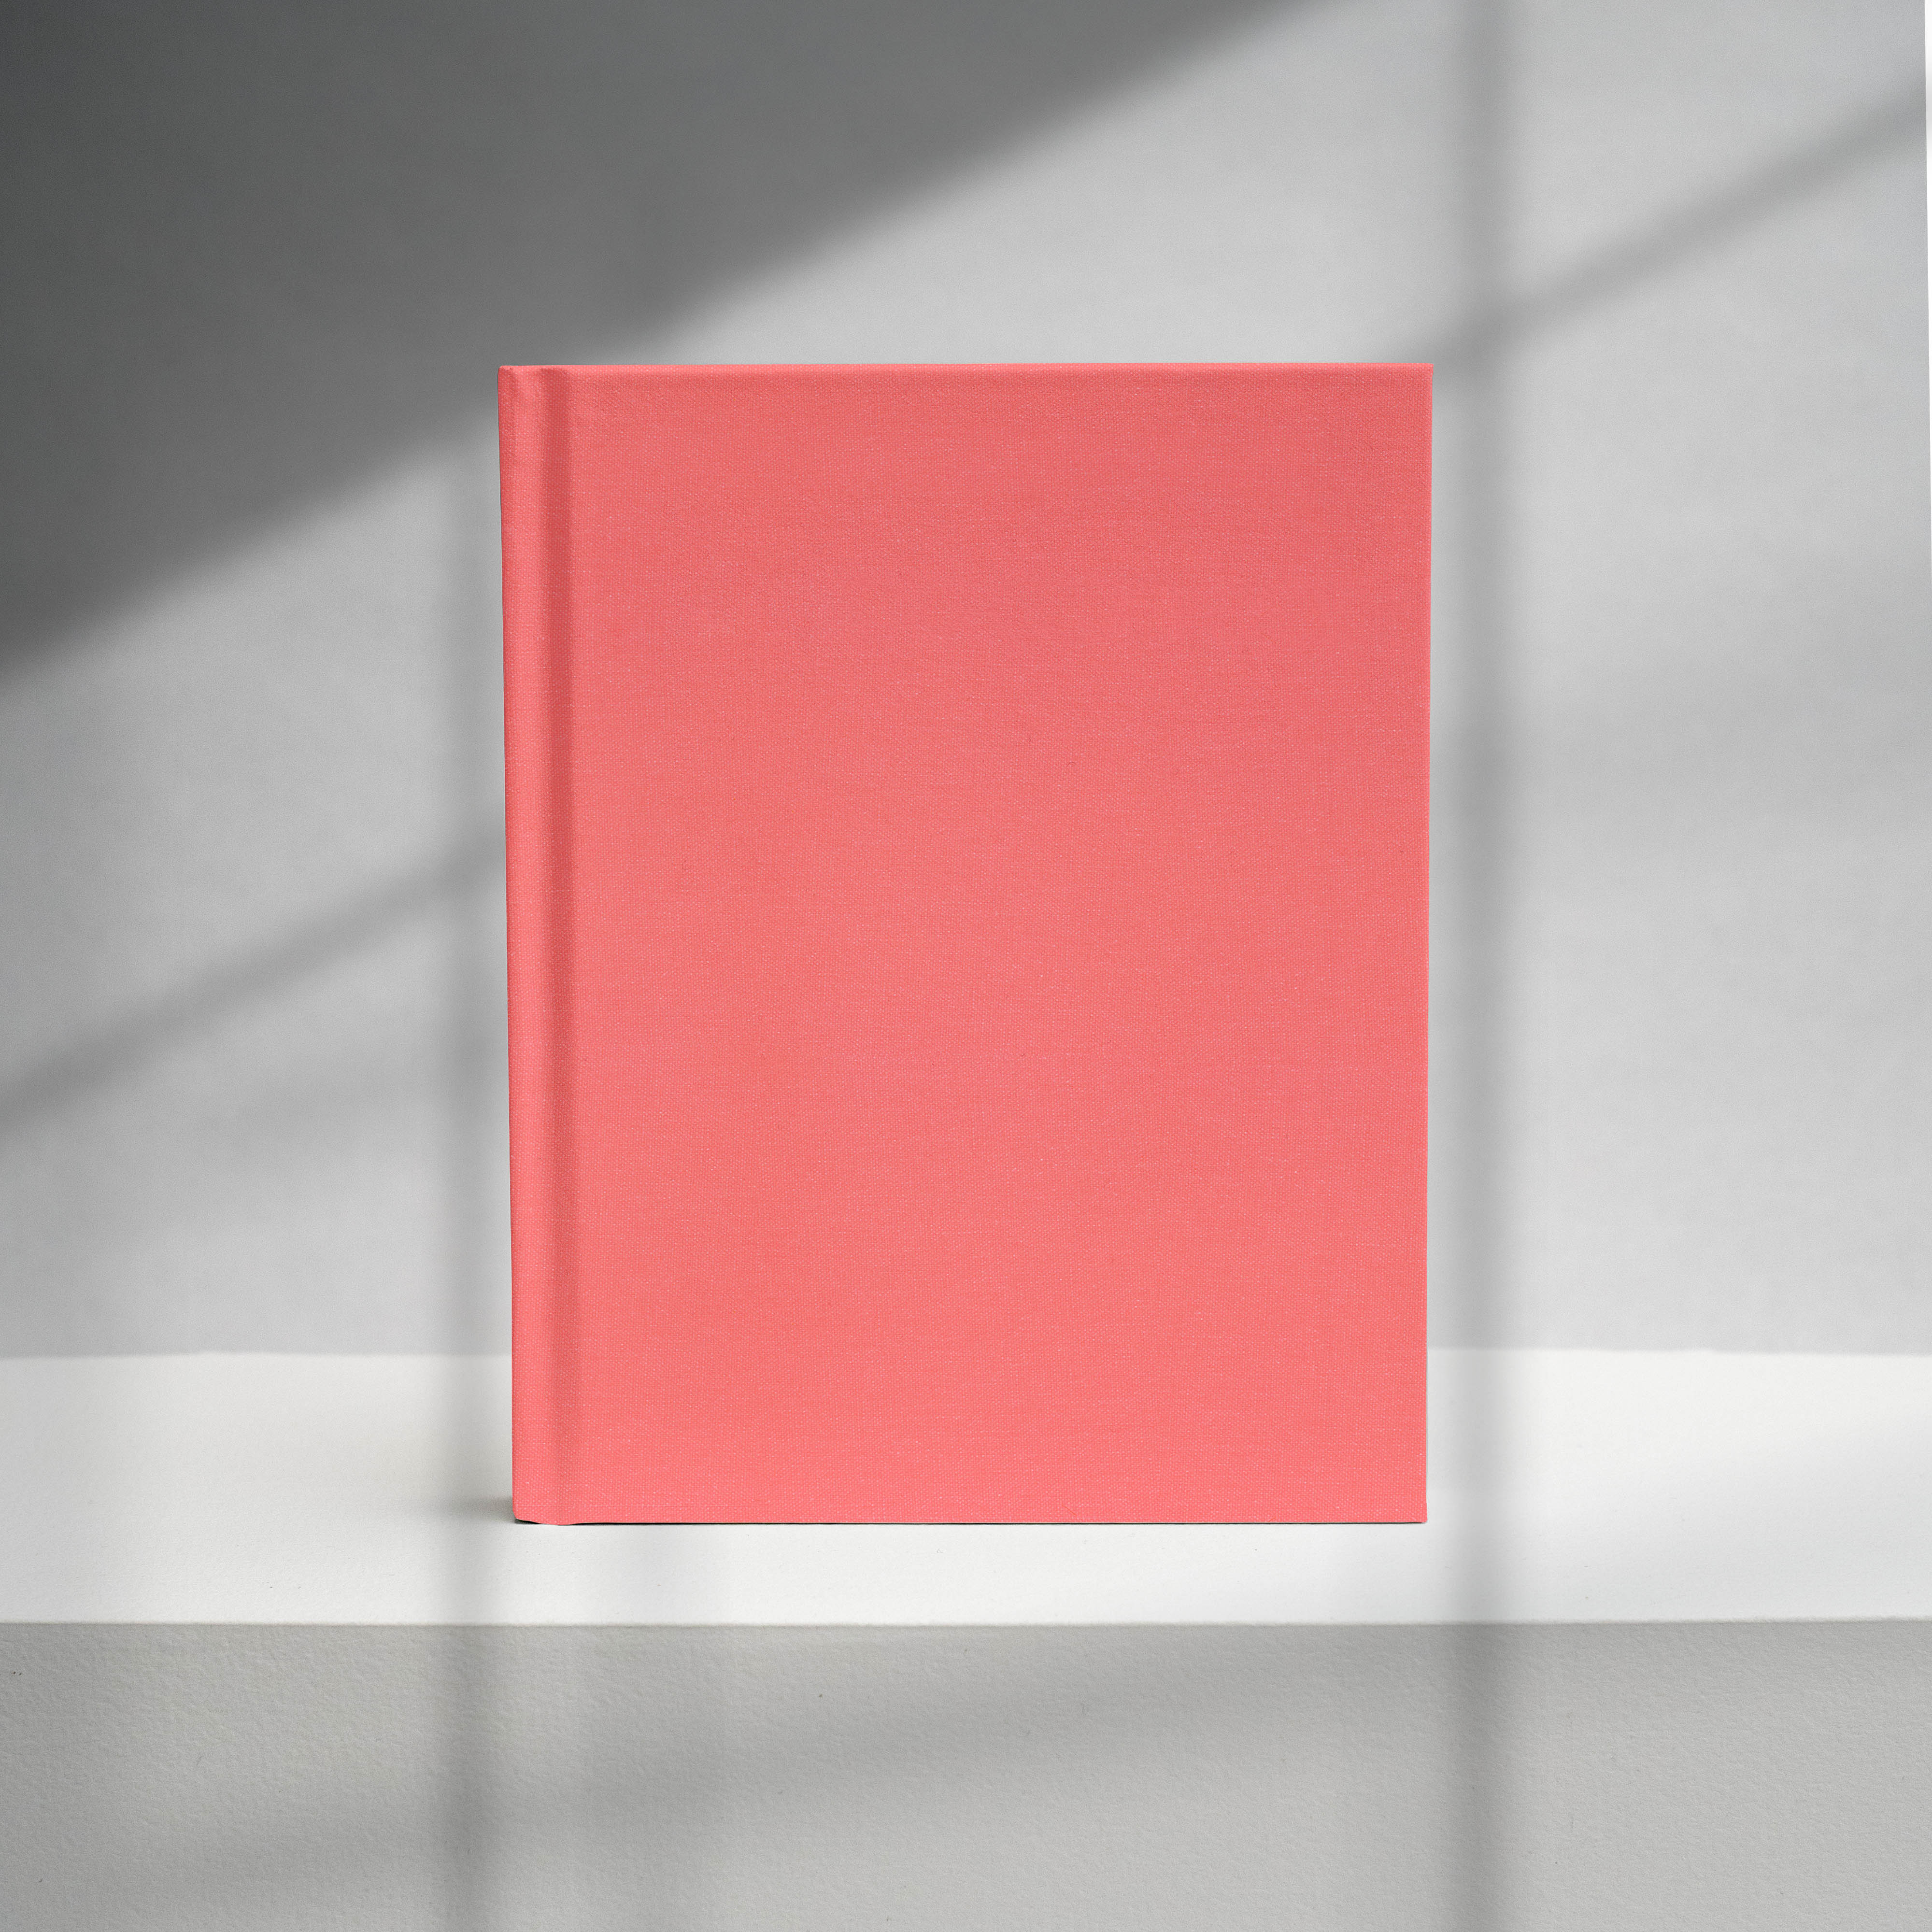
The book block is ready, the book cover is still missing. But gray cardboard is not a handsome cover for a book. That's why the cover blank is covered with a nice cover material. With our layout angles, this is easily done. In this guide, we explain in detail the steps to make a perfect book cover.
1 Which cloth to use for the book cover?
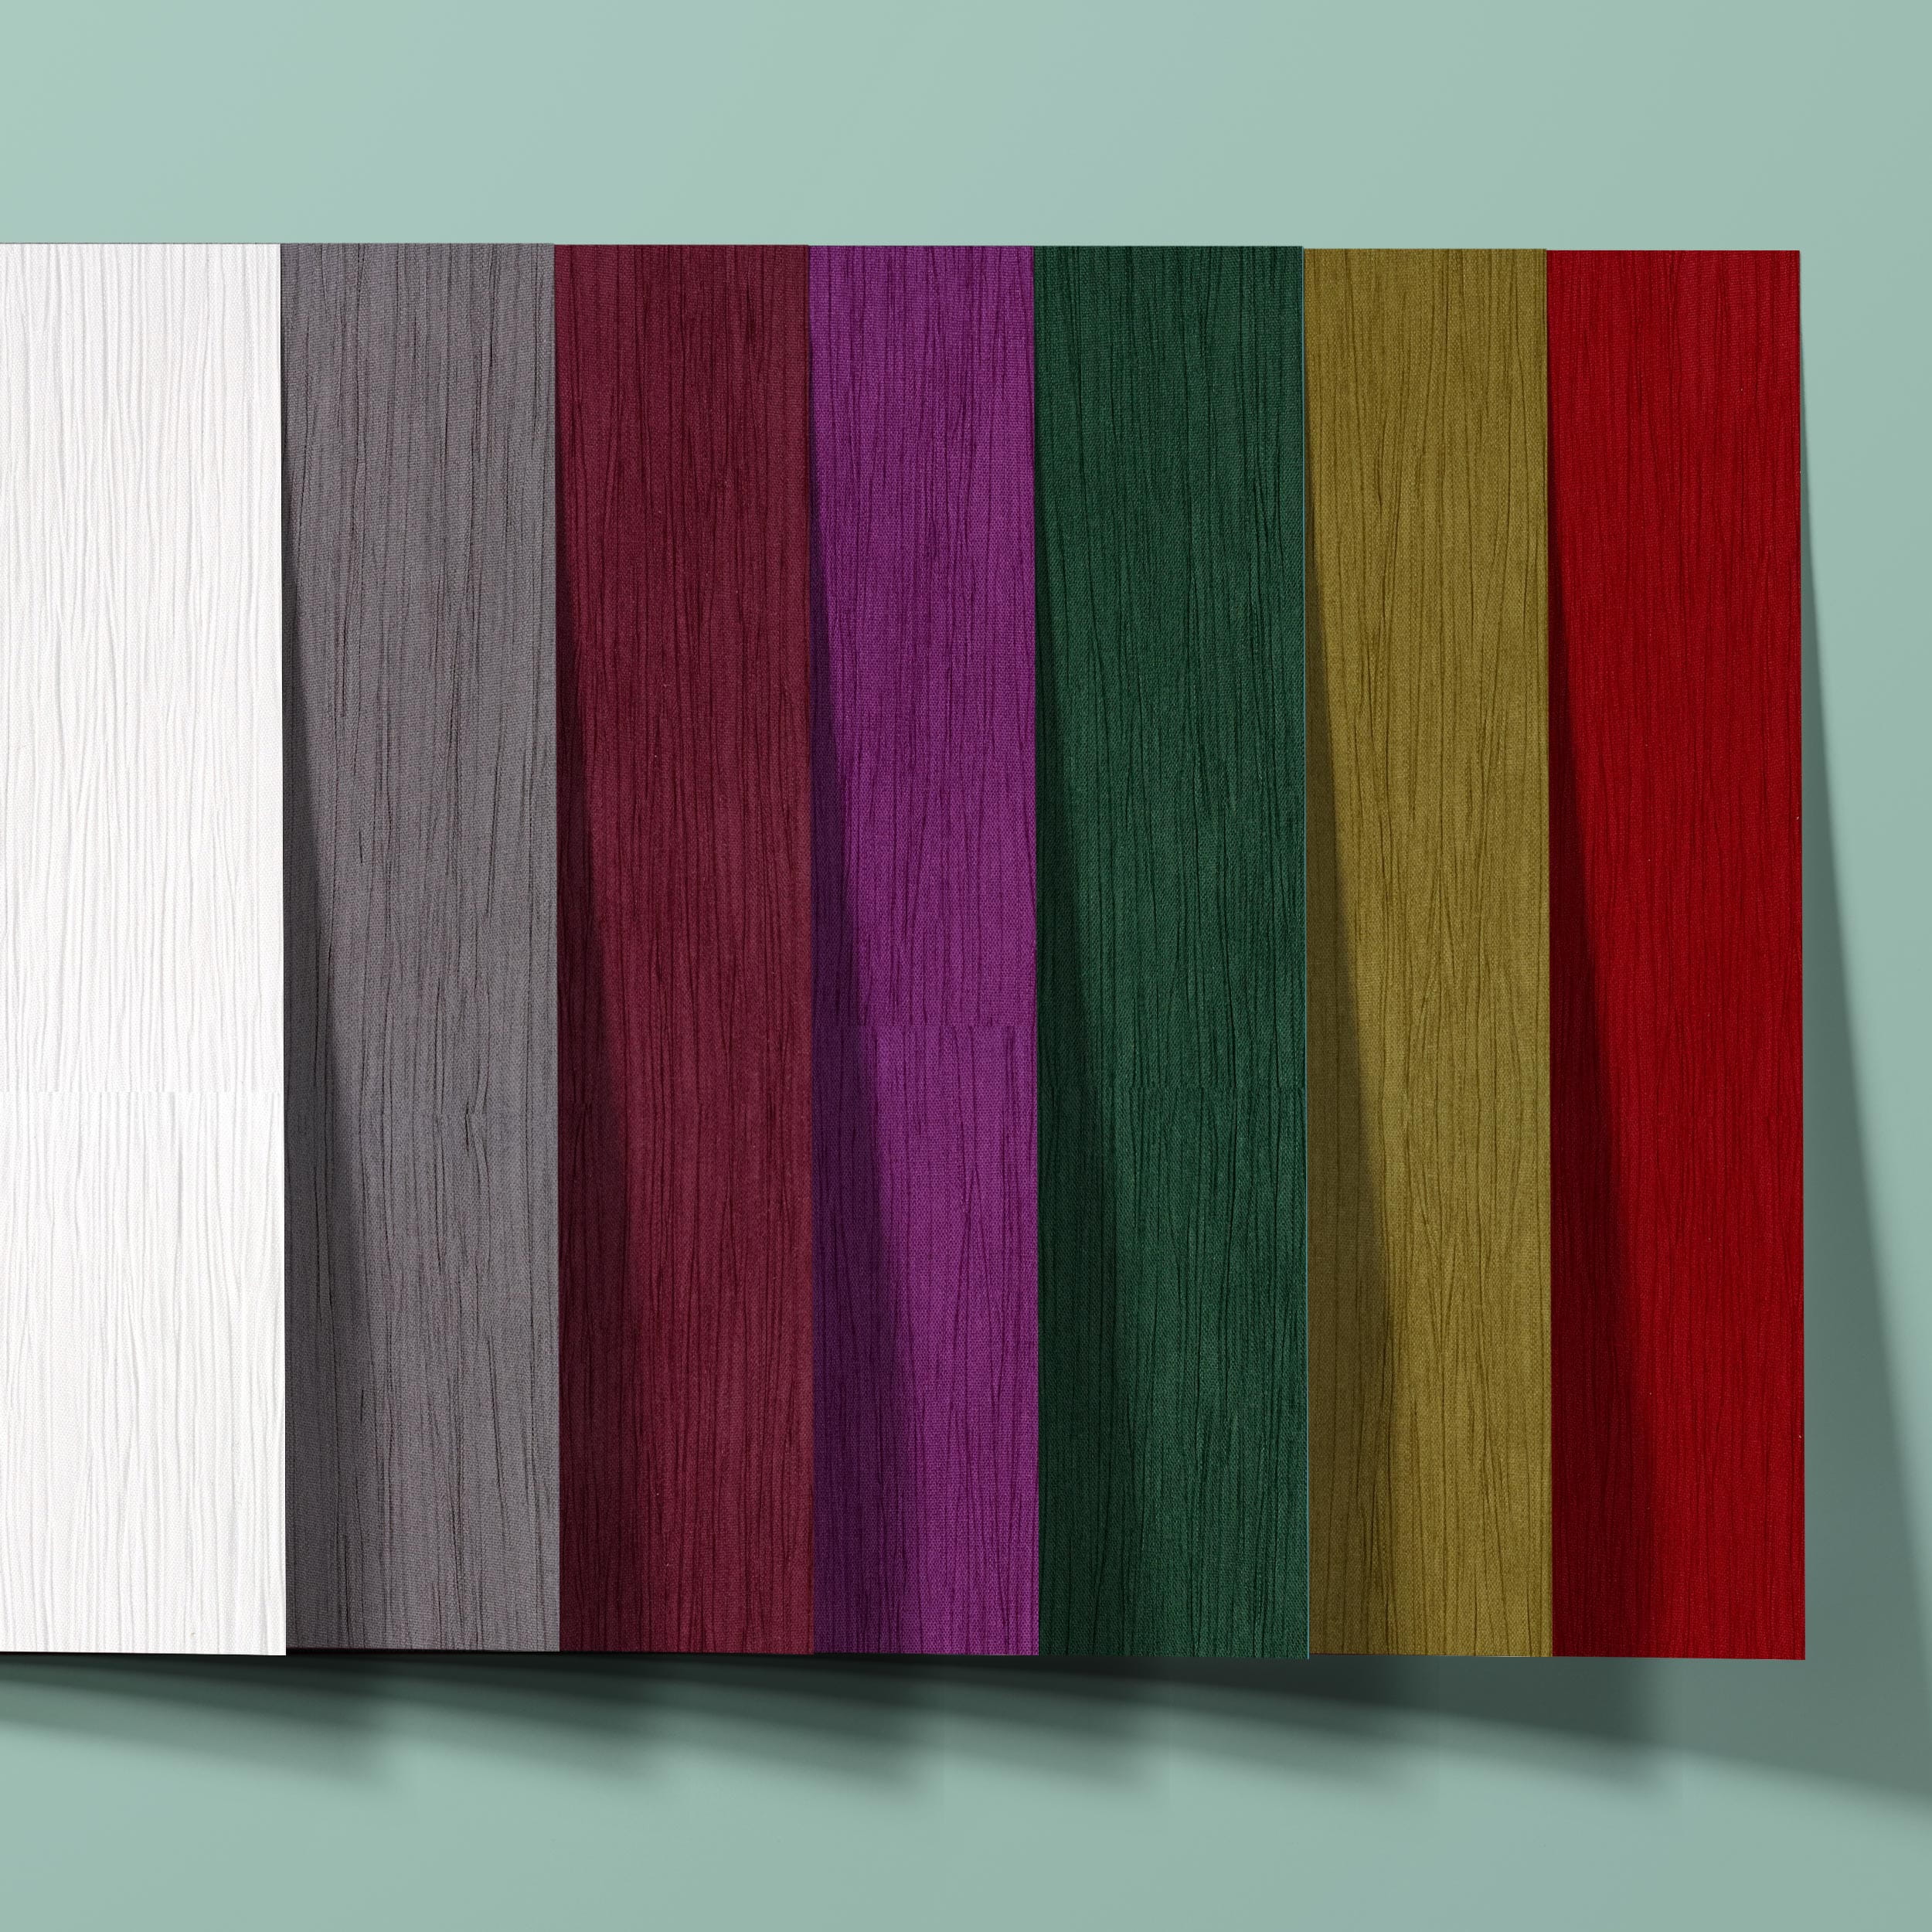
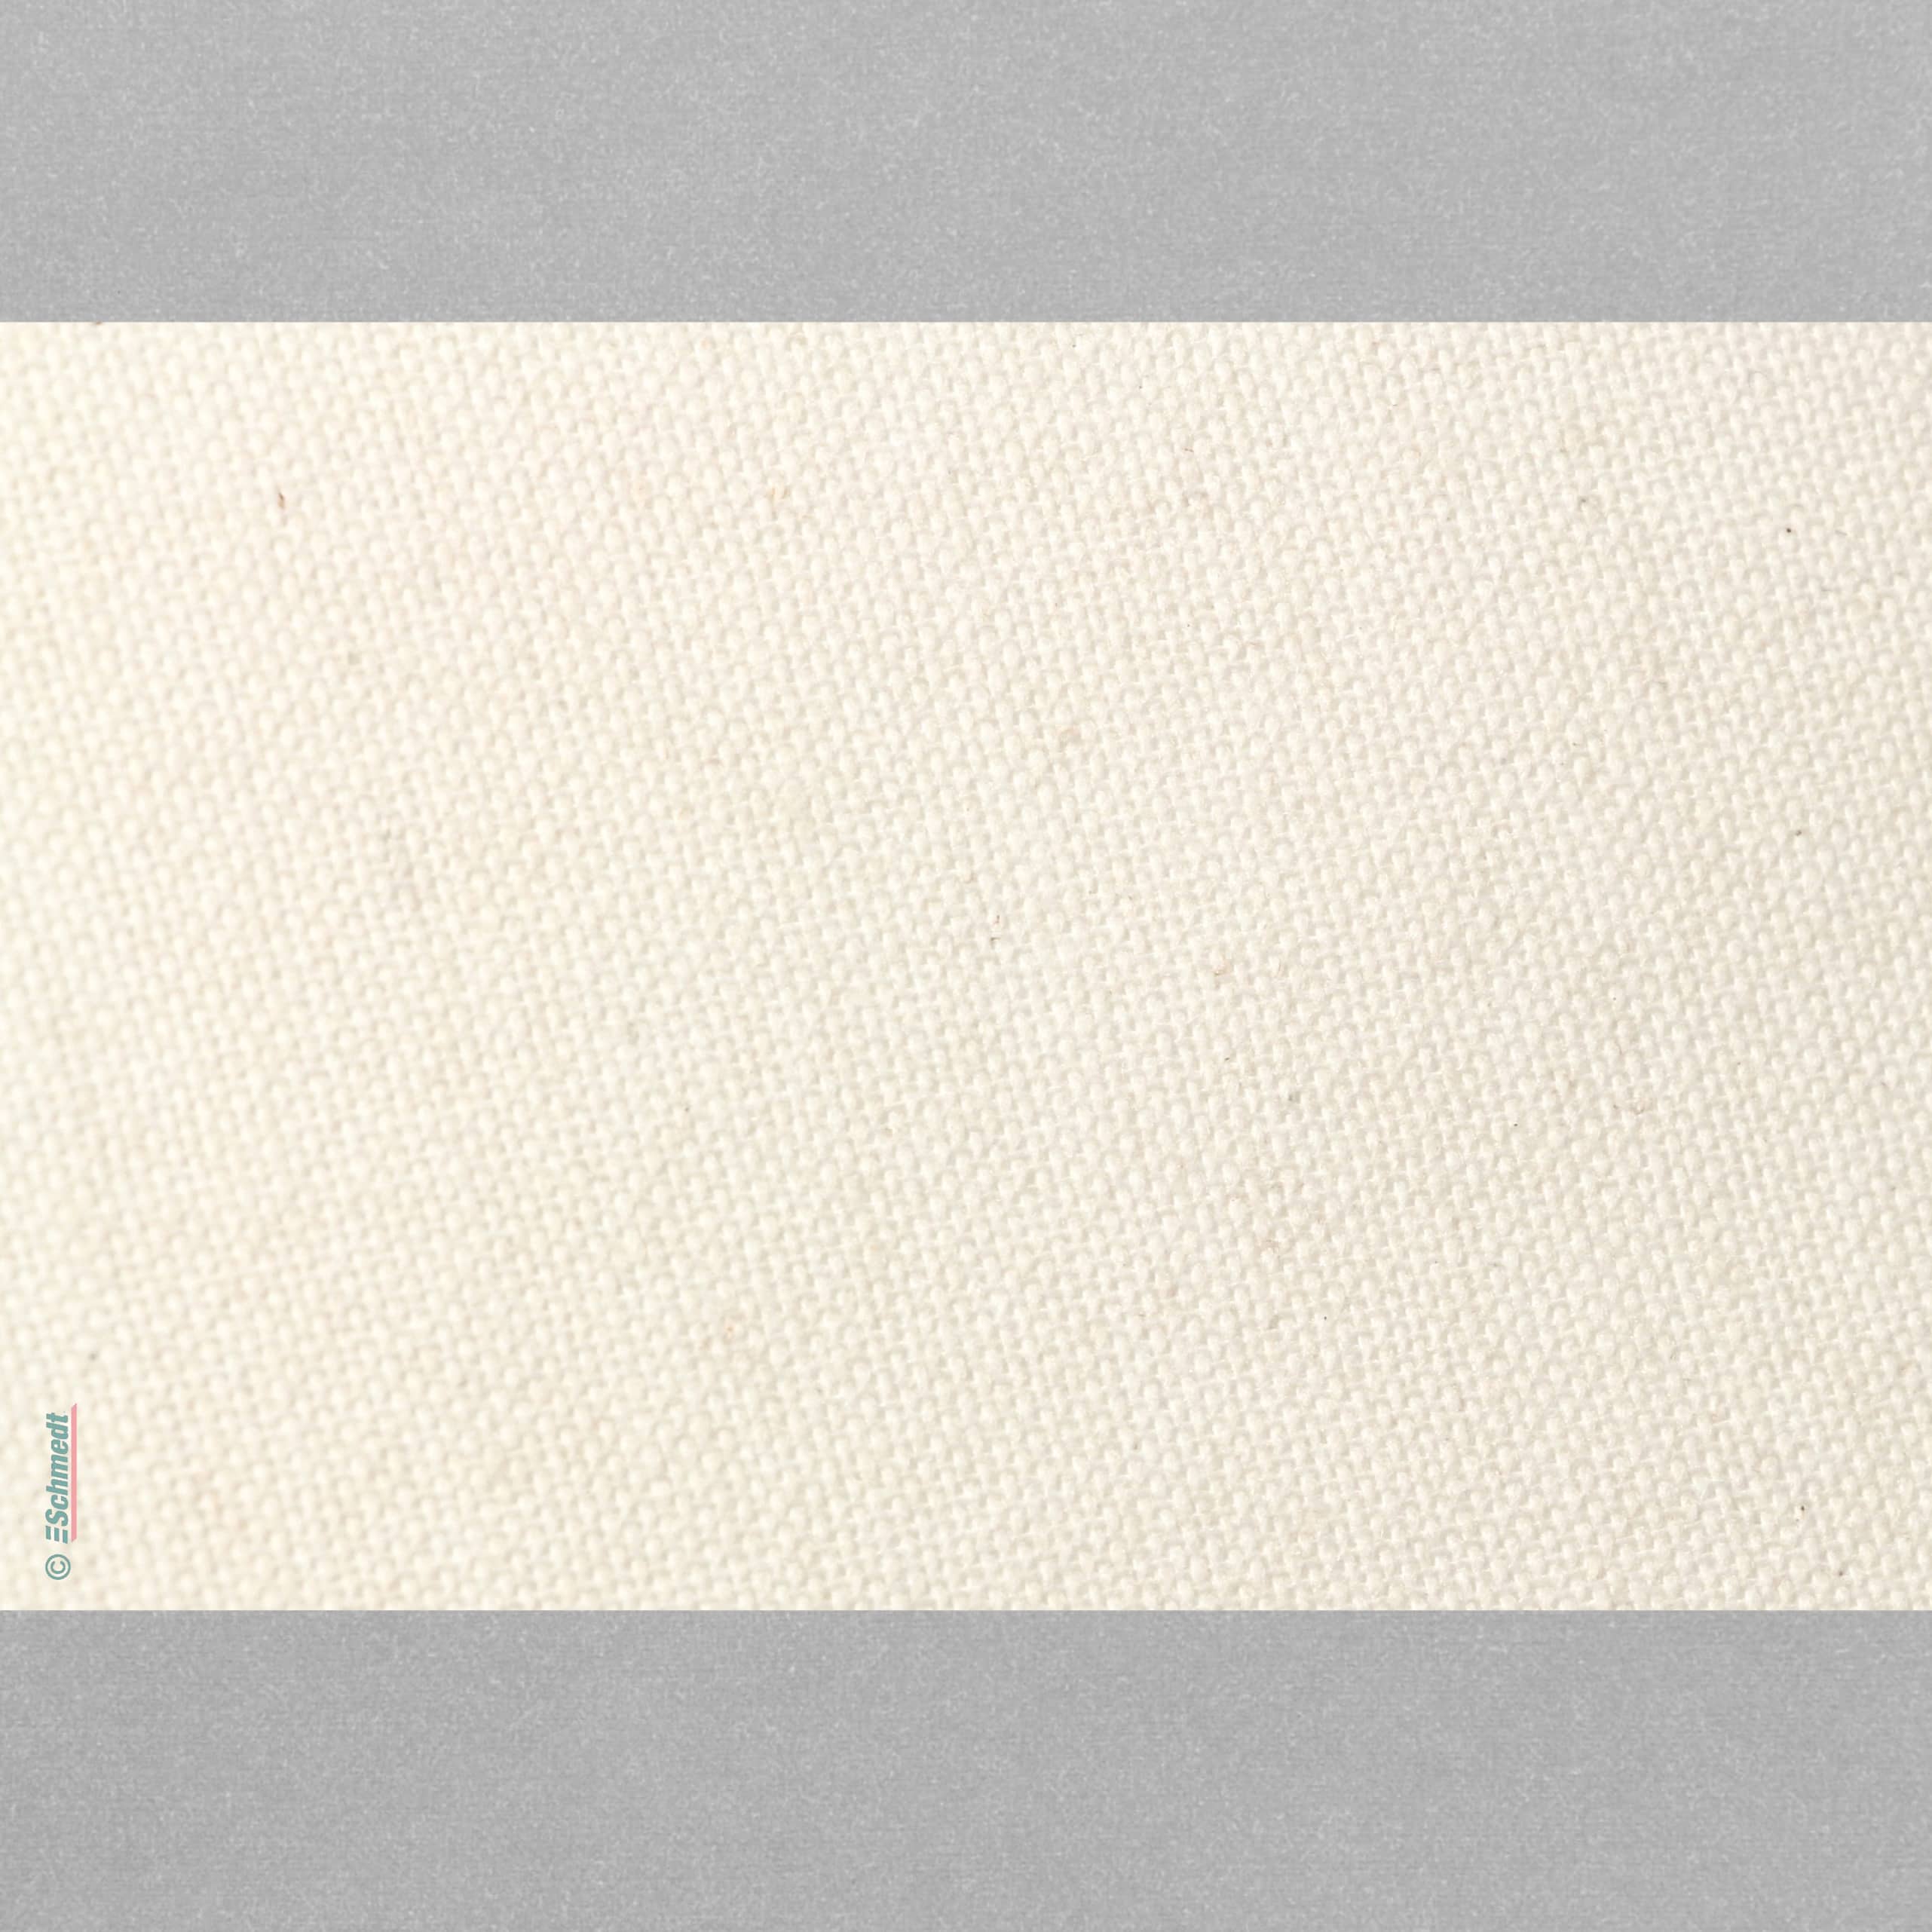
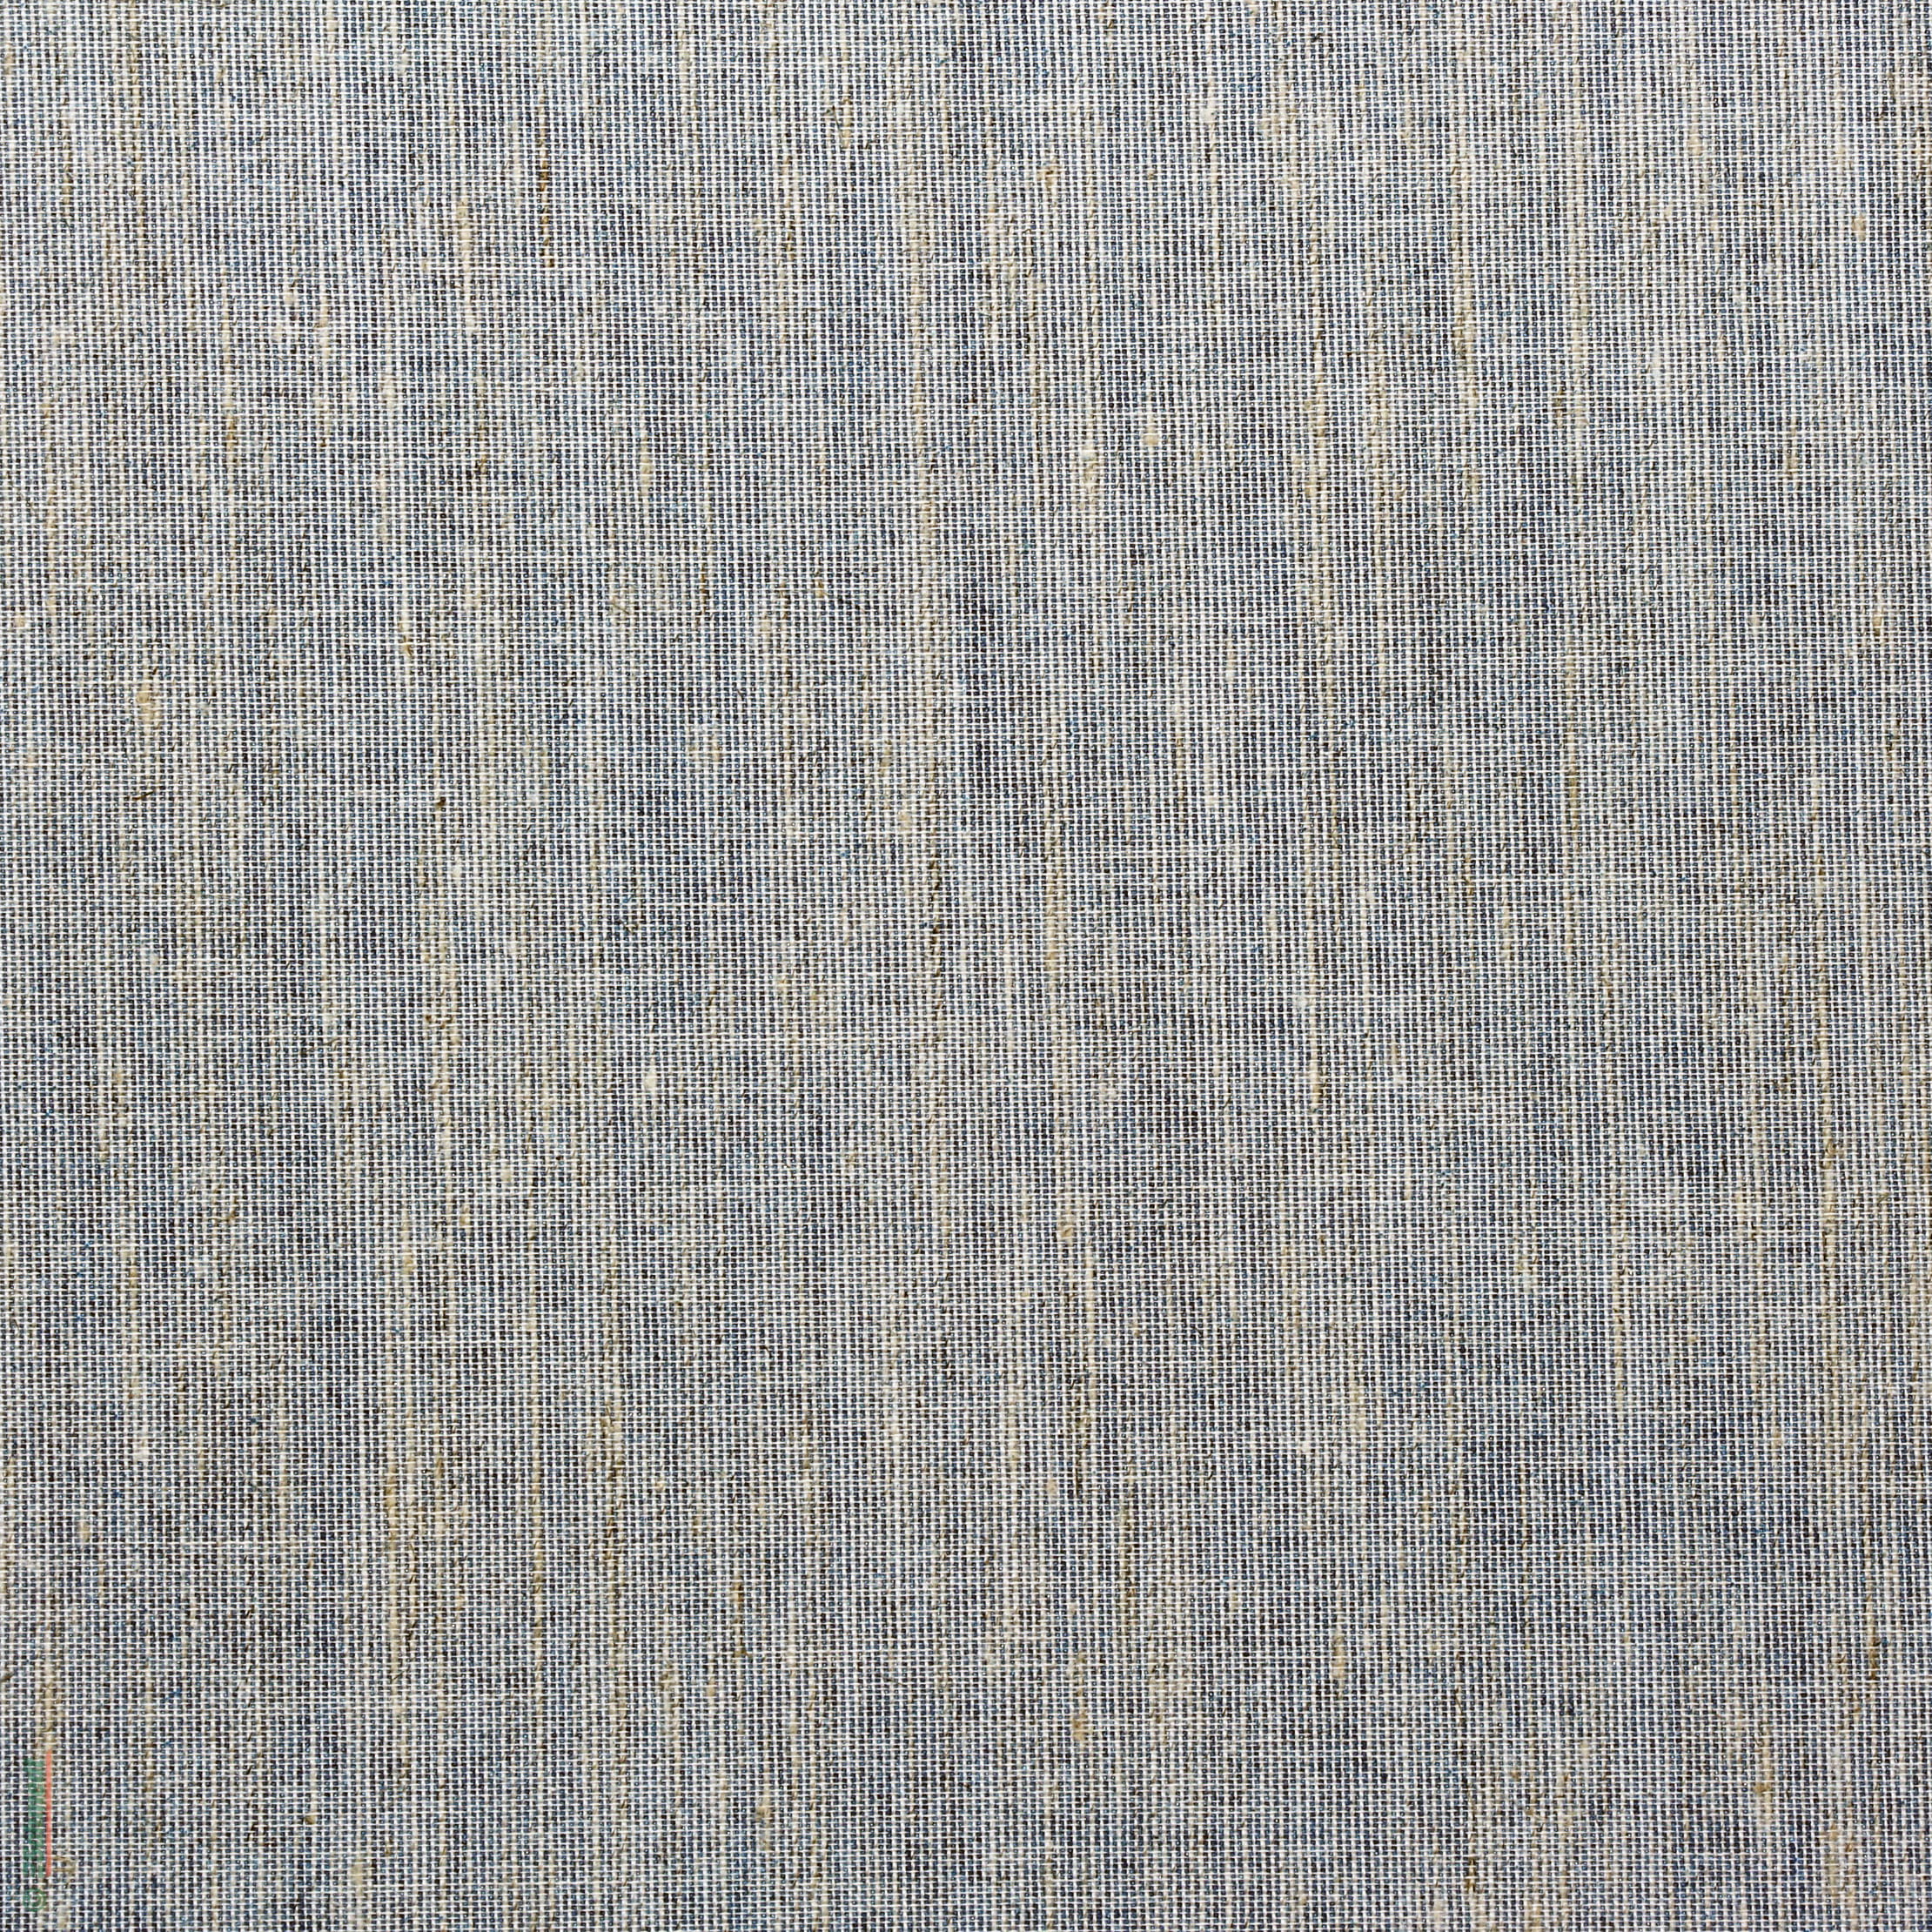
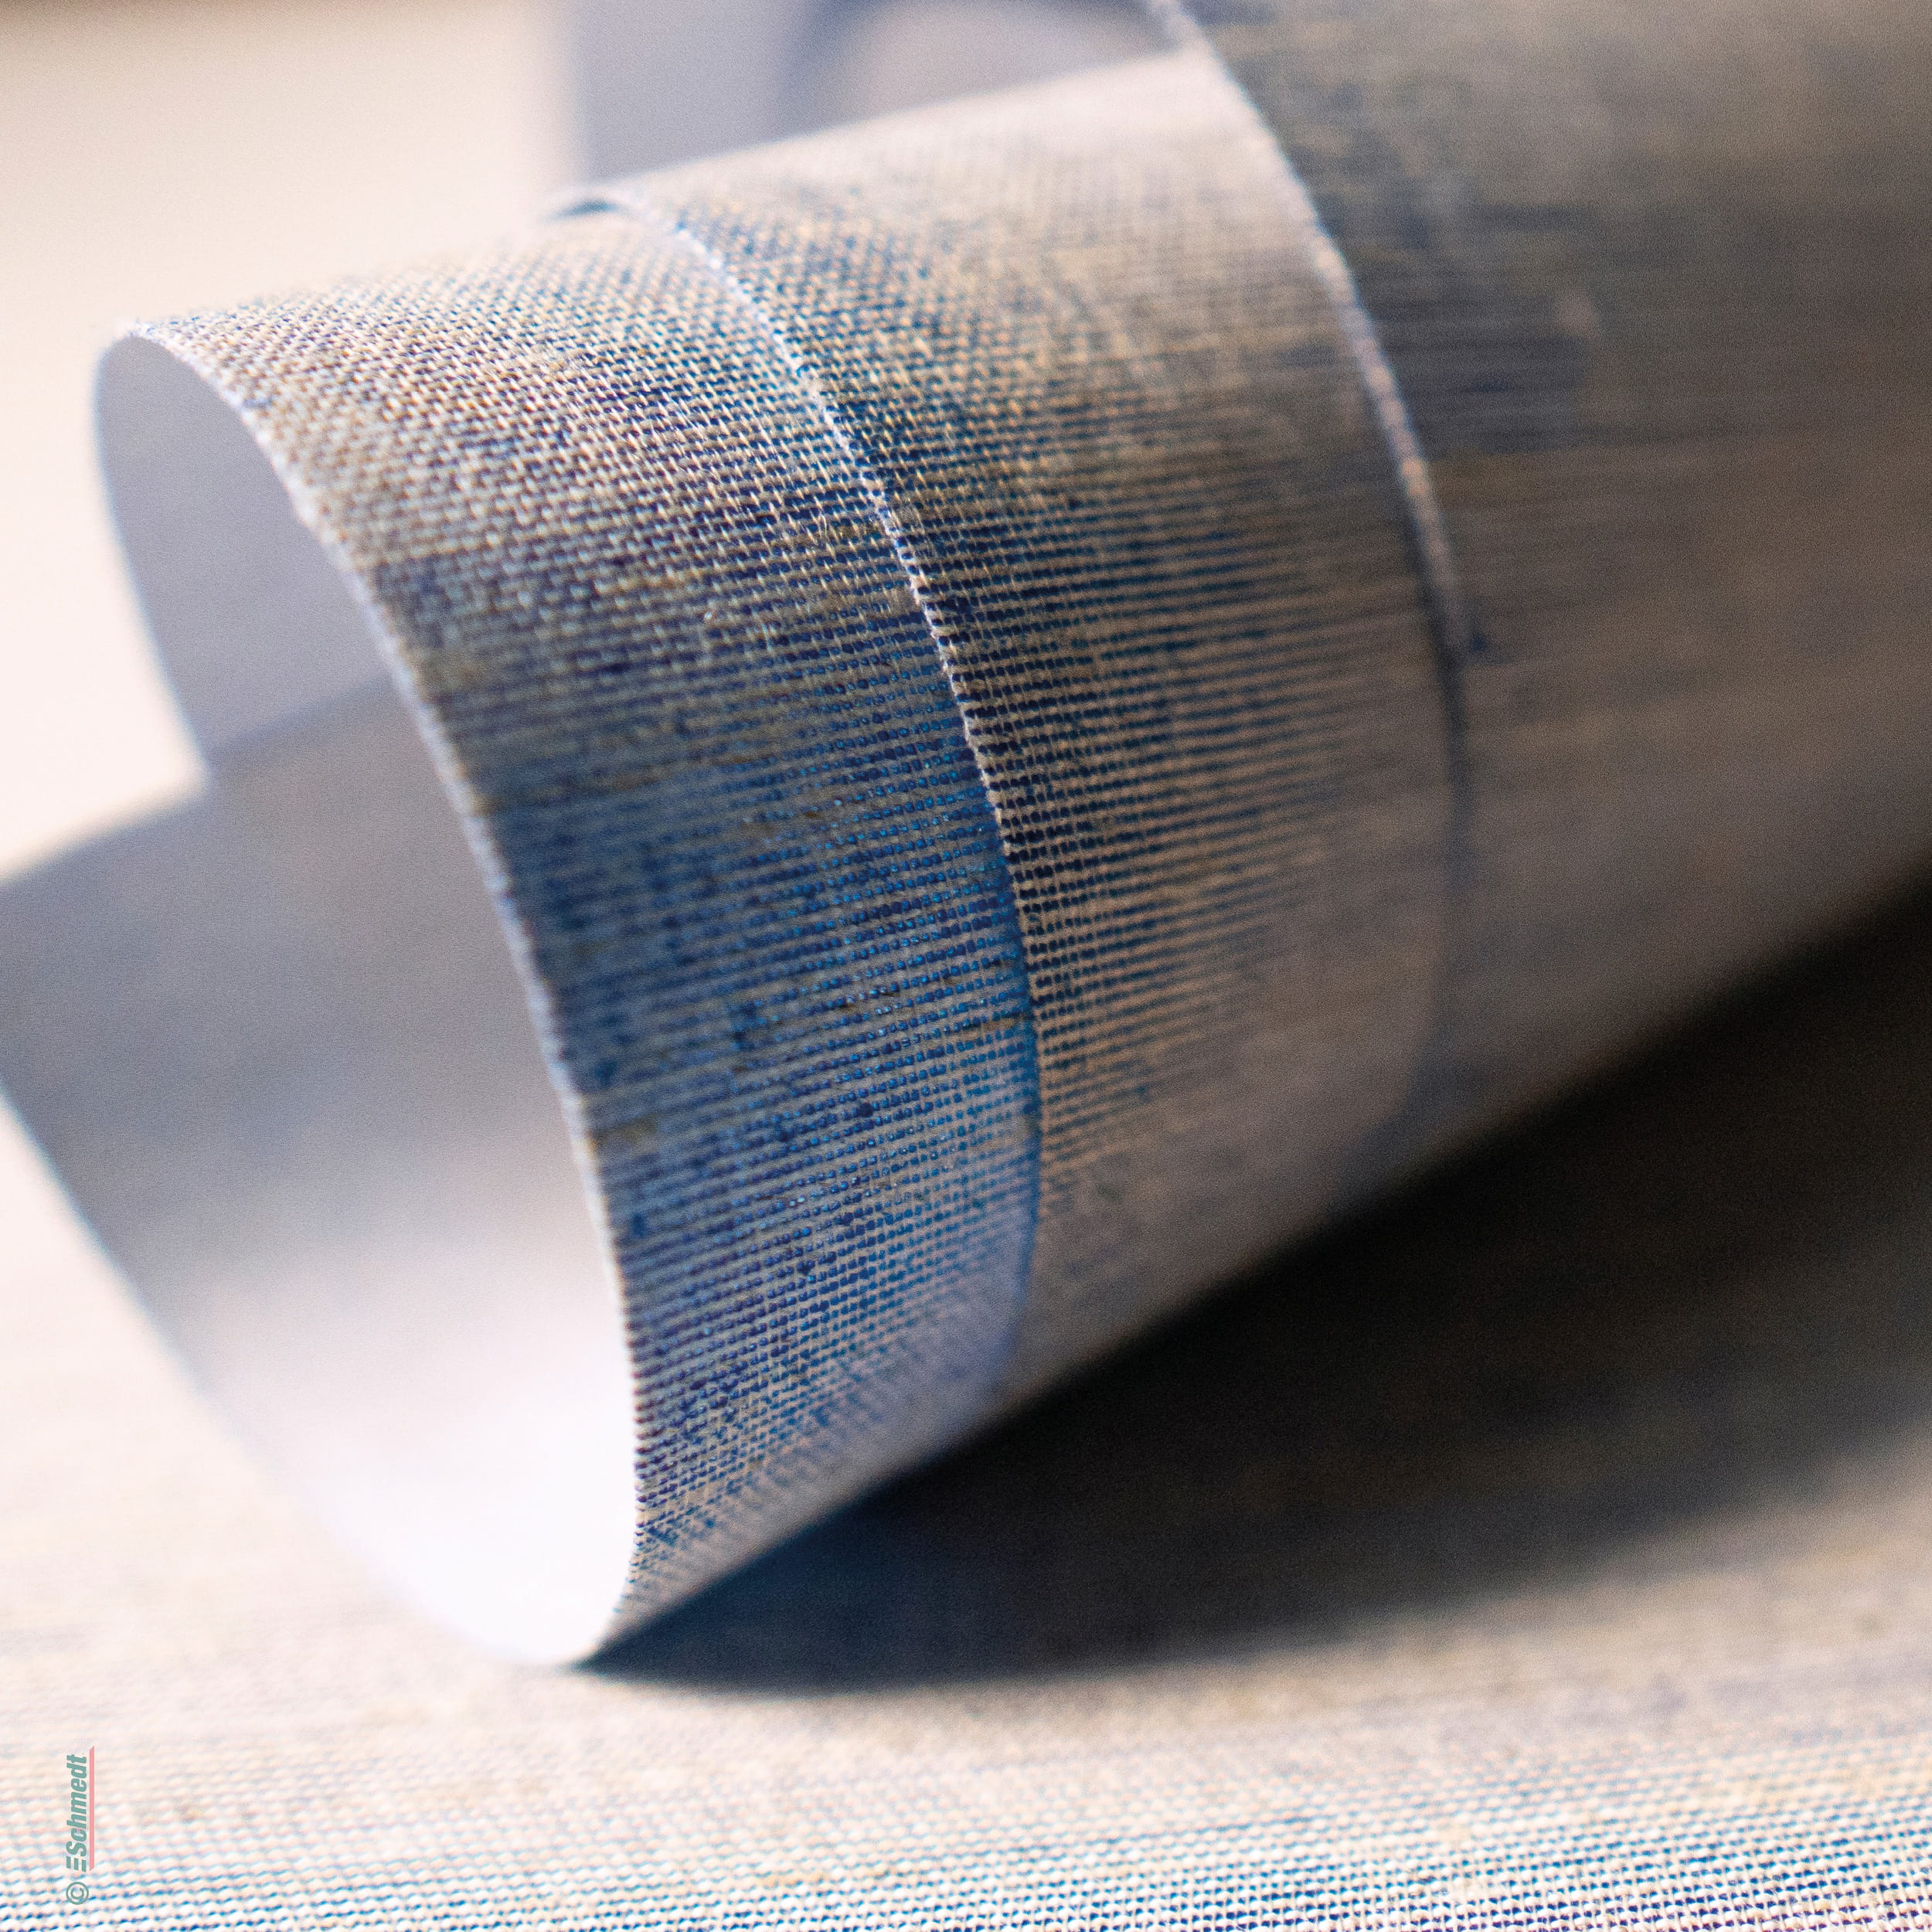
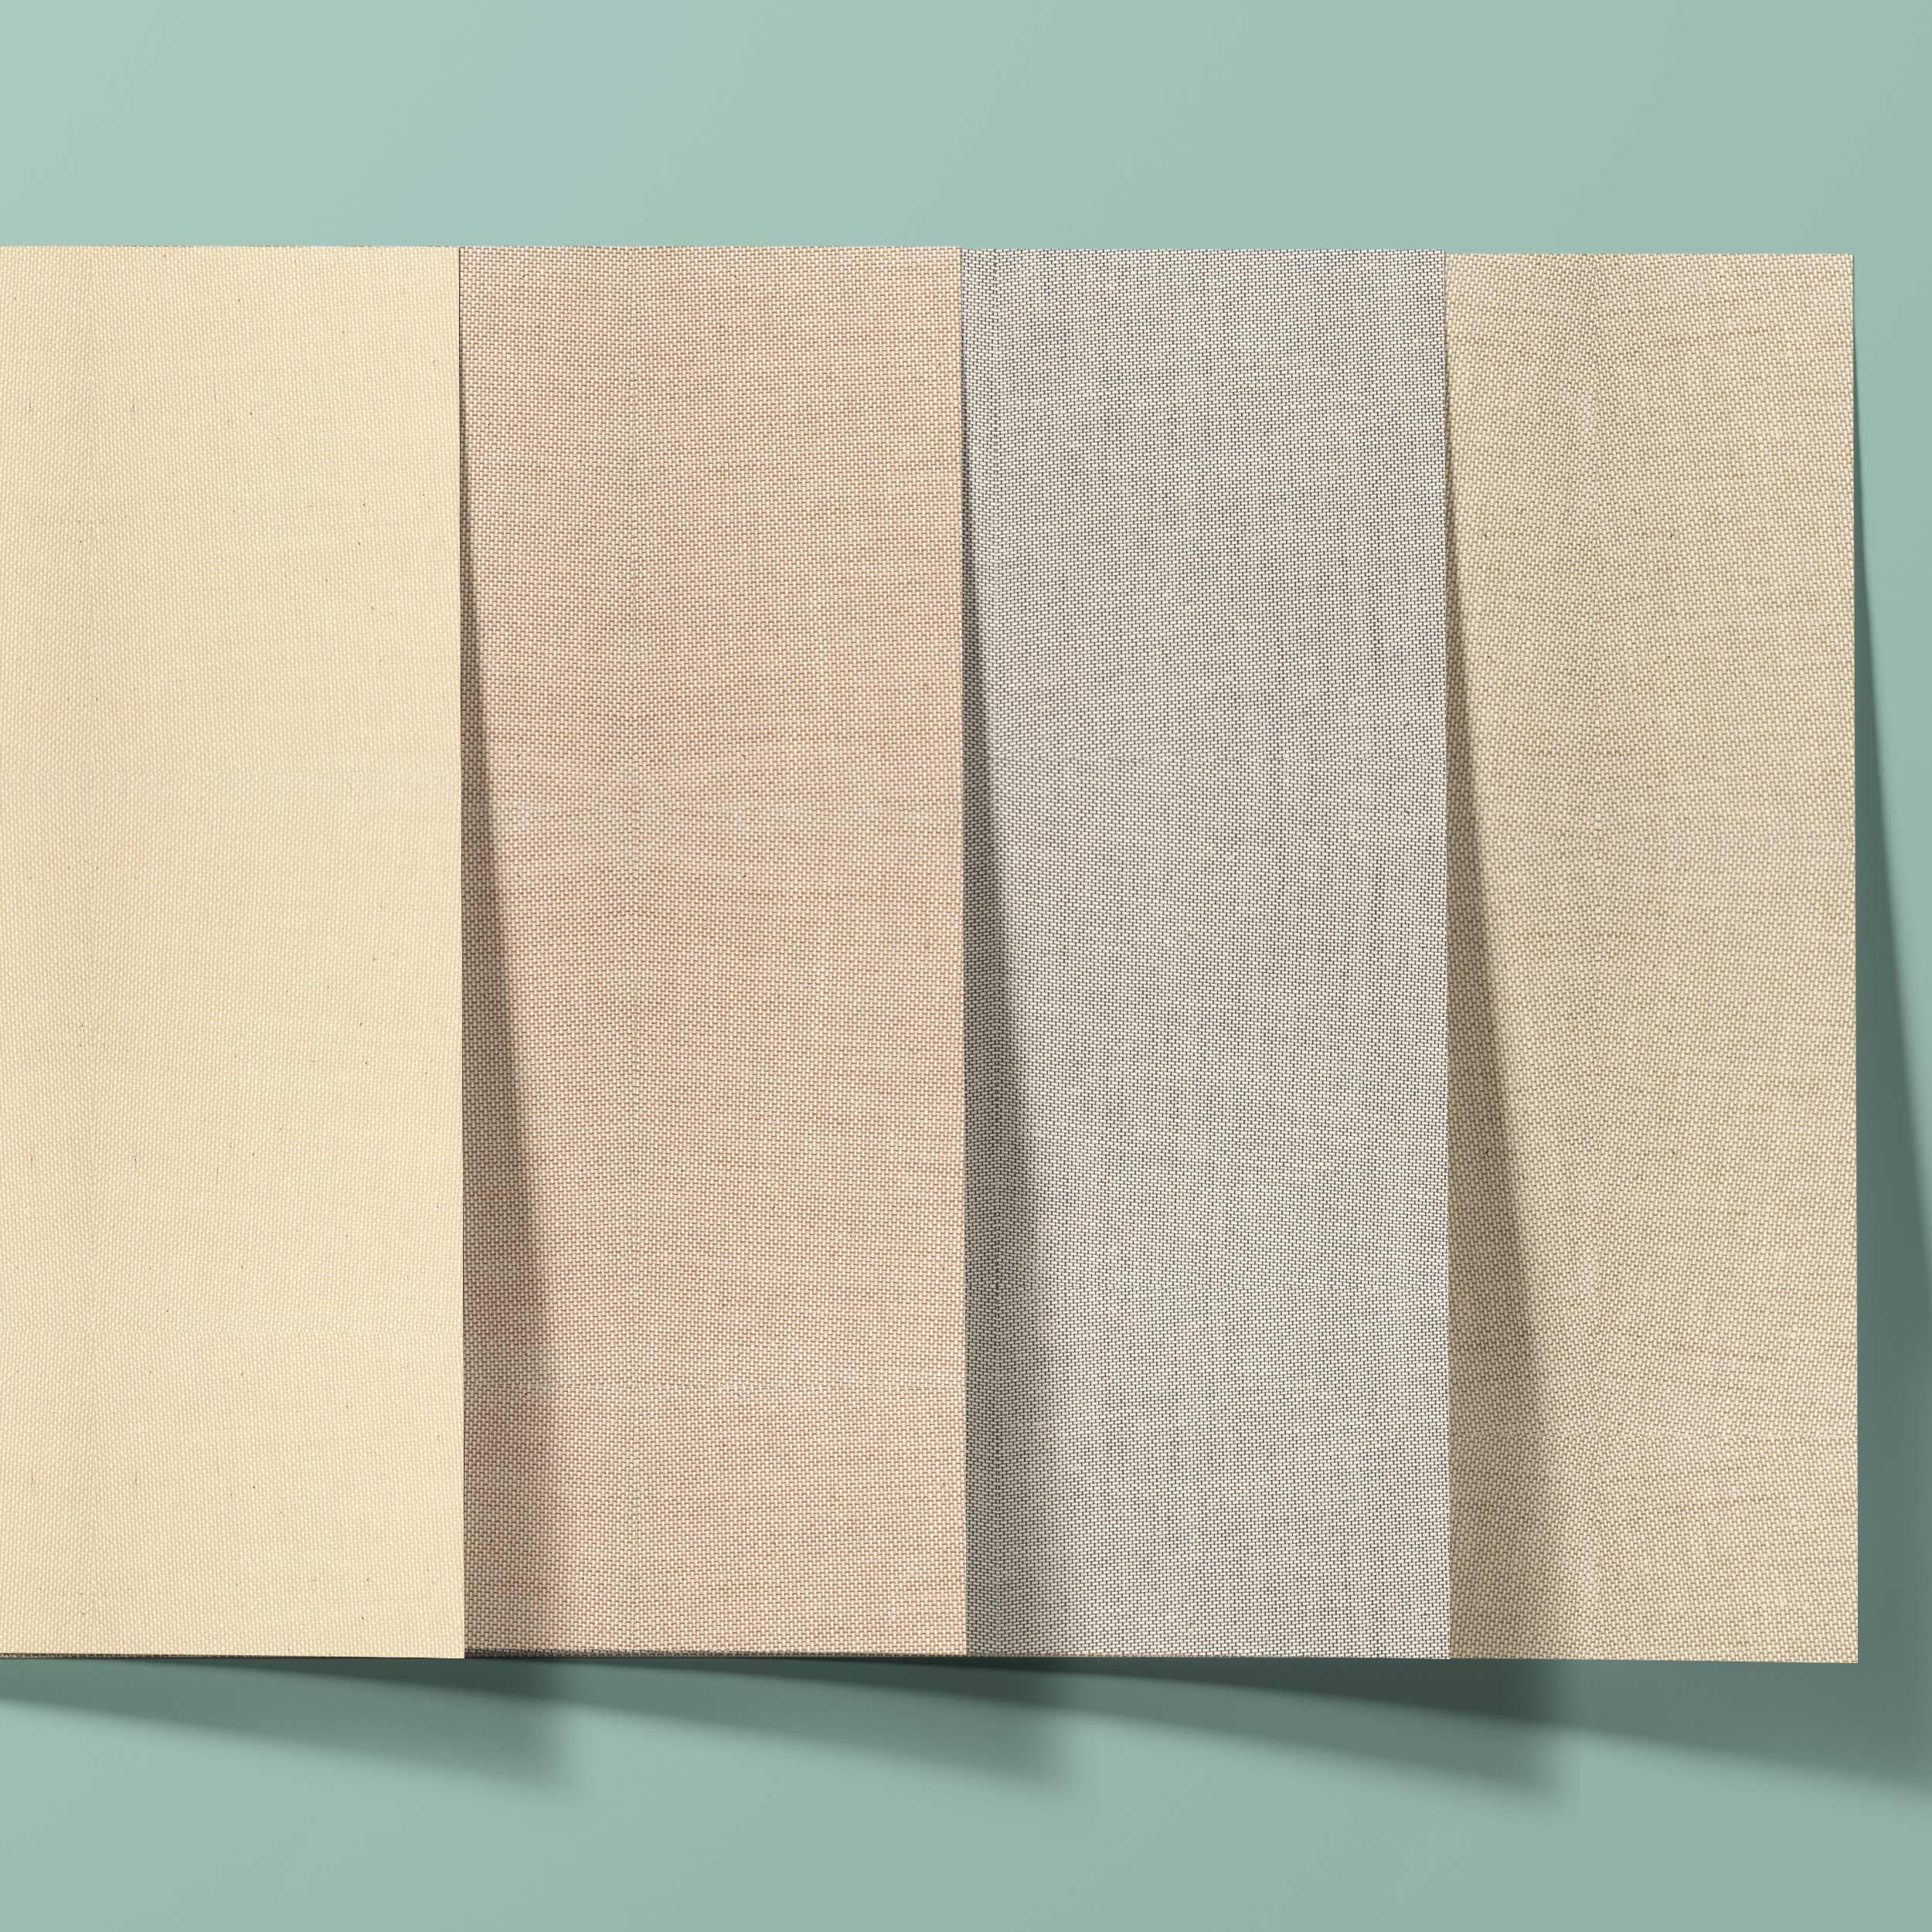
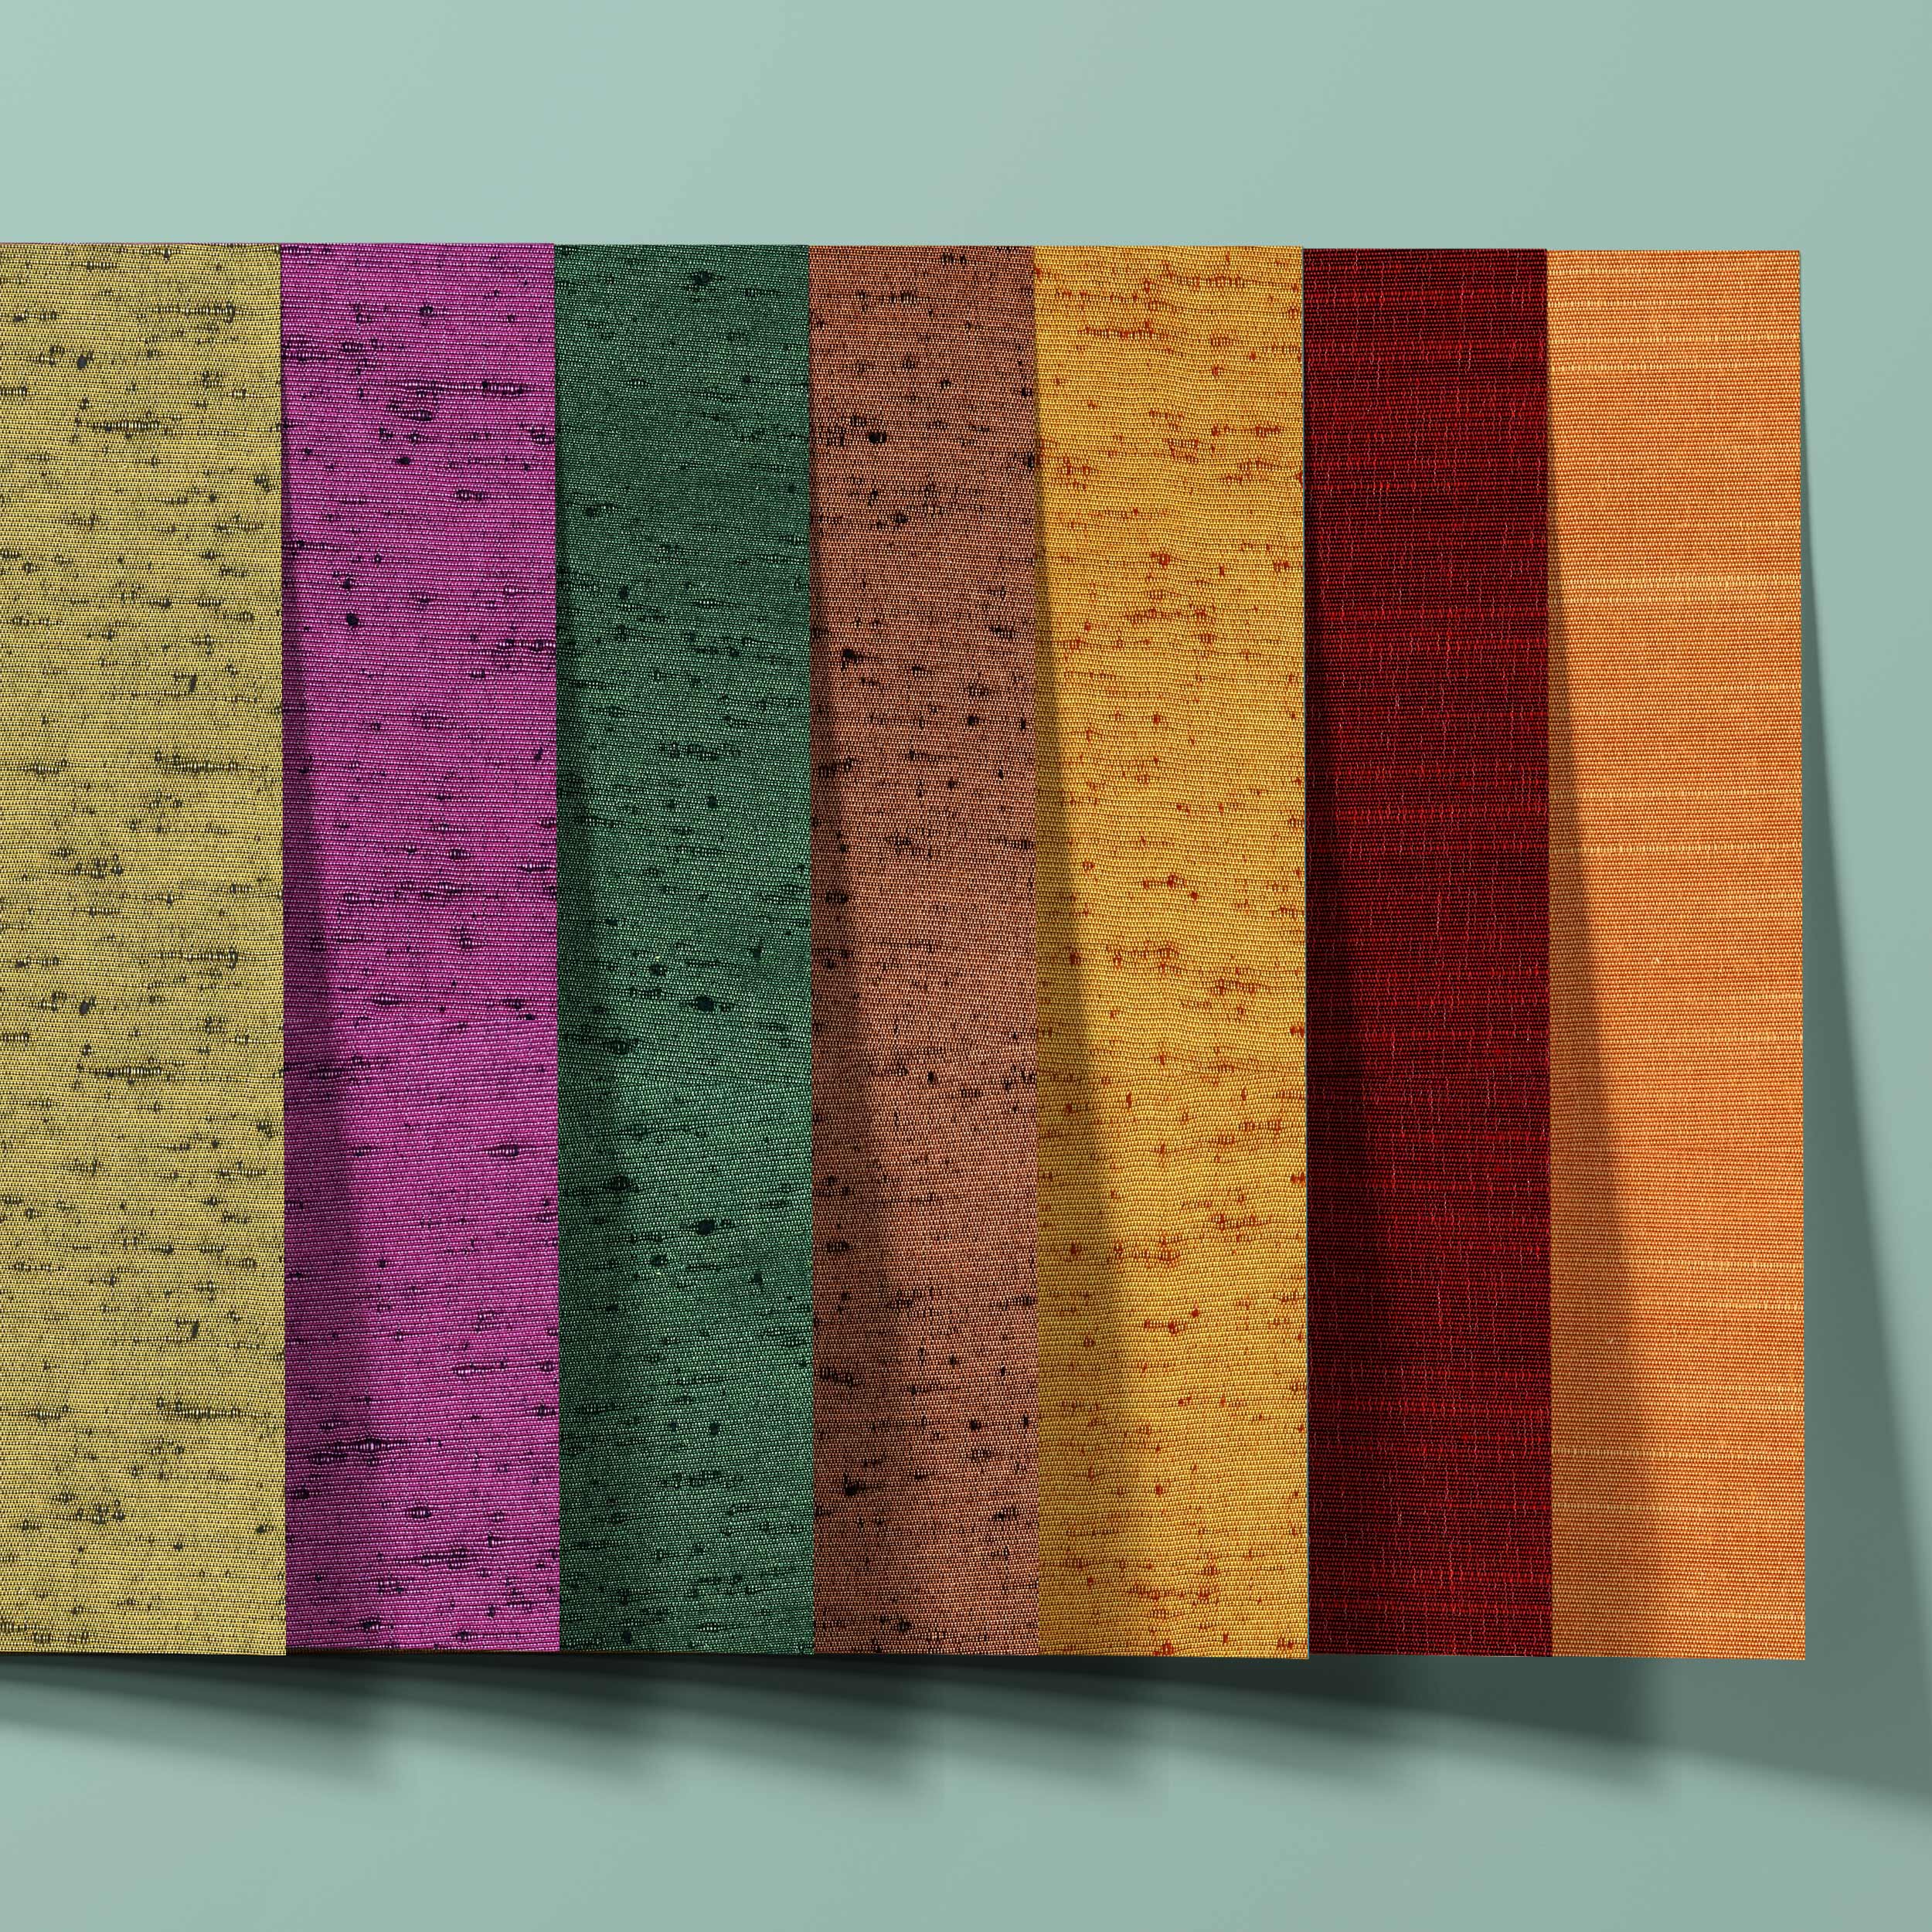
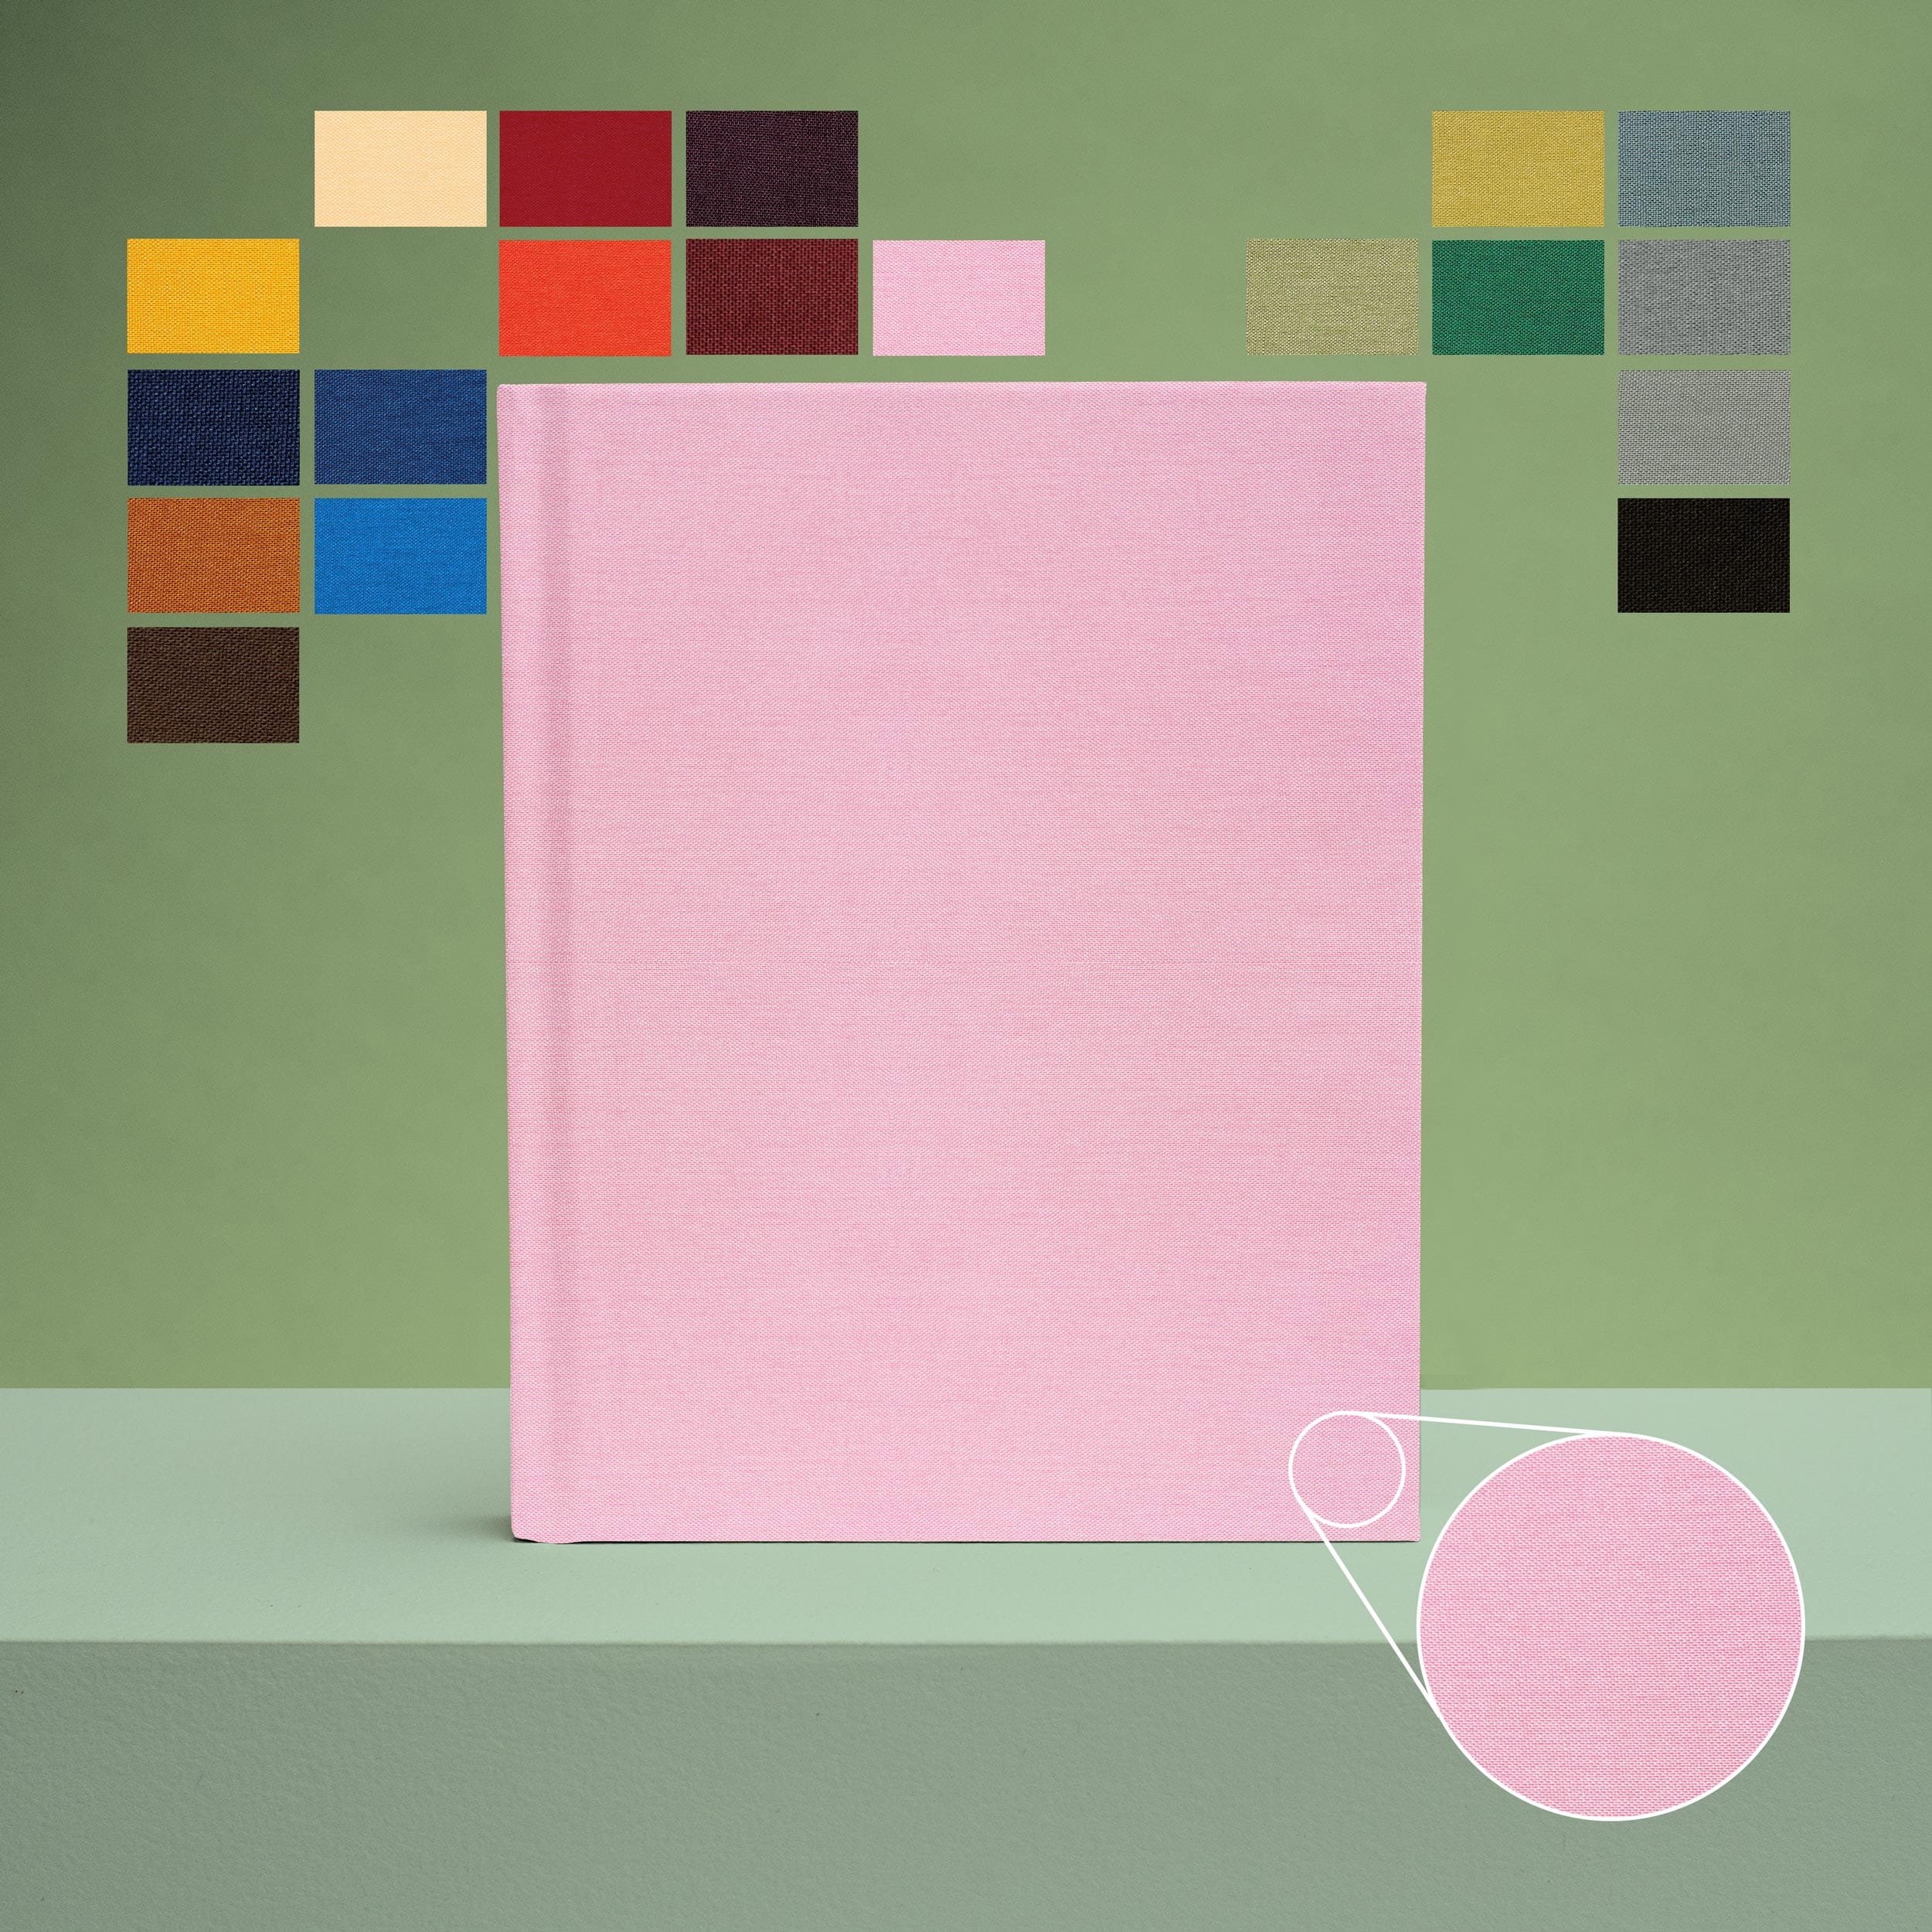
The cloth for your book cover decides both the appearance and the durability of the book from the outside. You can choose between 3 types of materials: Colored papers, cloth and leather. With colored papers, keep in mind that the first signs of wear will appear after about 6 months, depending on the load on the book. Cloth such as Buckram or Regency are easy to work with and have a high durability.
2 Step by step to book cover
We will show you how to make your book cover perfectly with the cover making angle in just 6 steps. Besides the description below, the process is also shown step by step in the following video:
Step 1: Make preparations
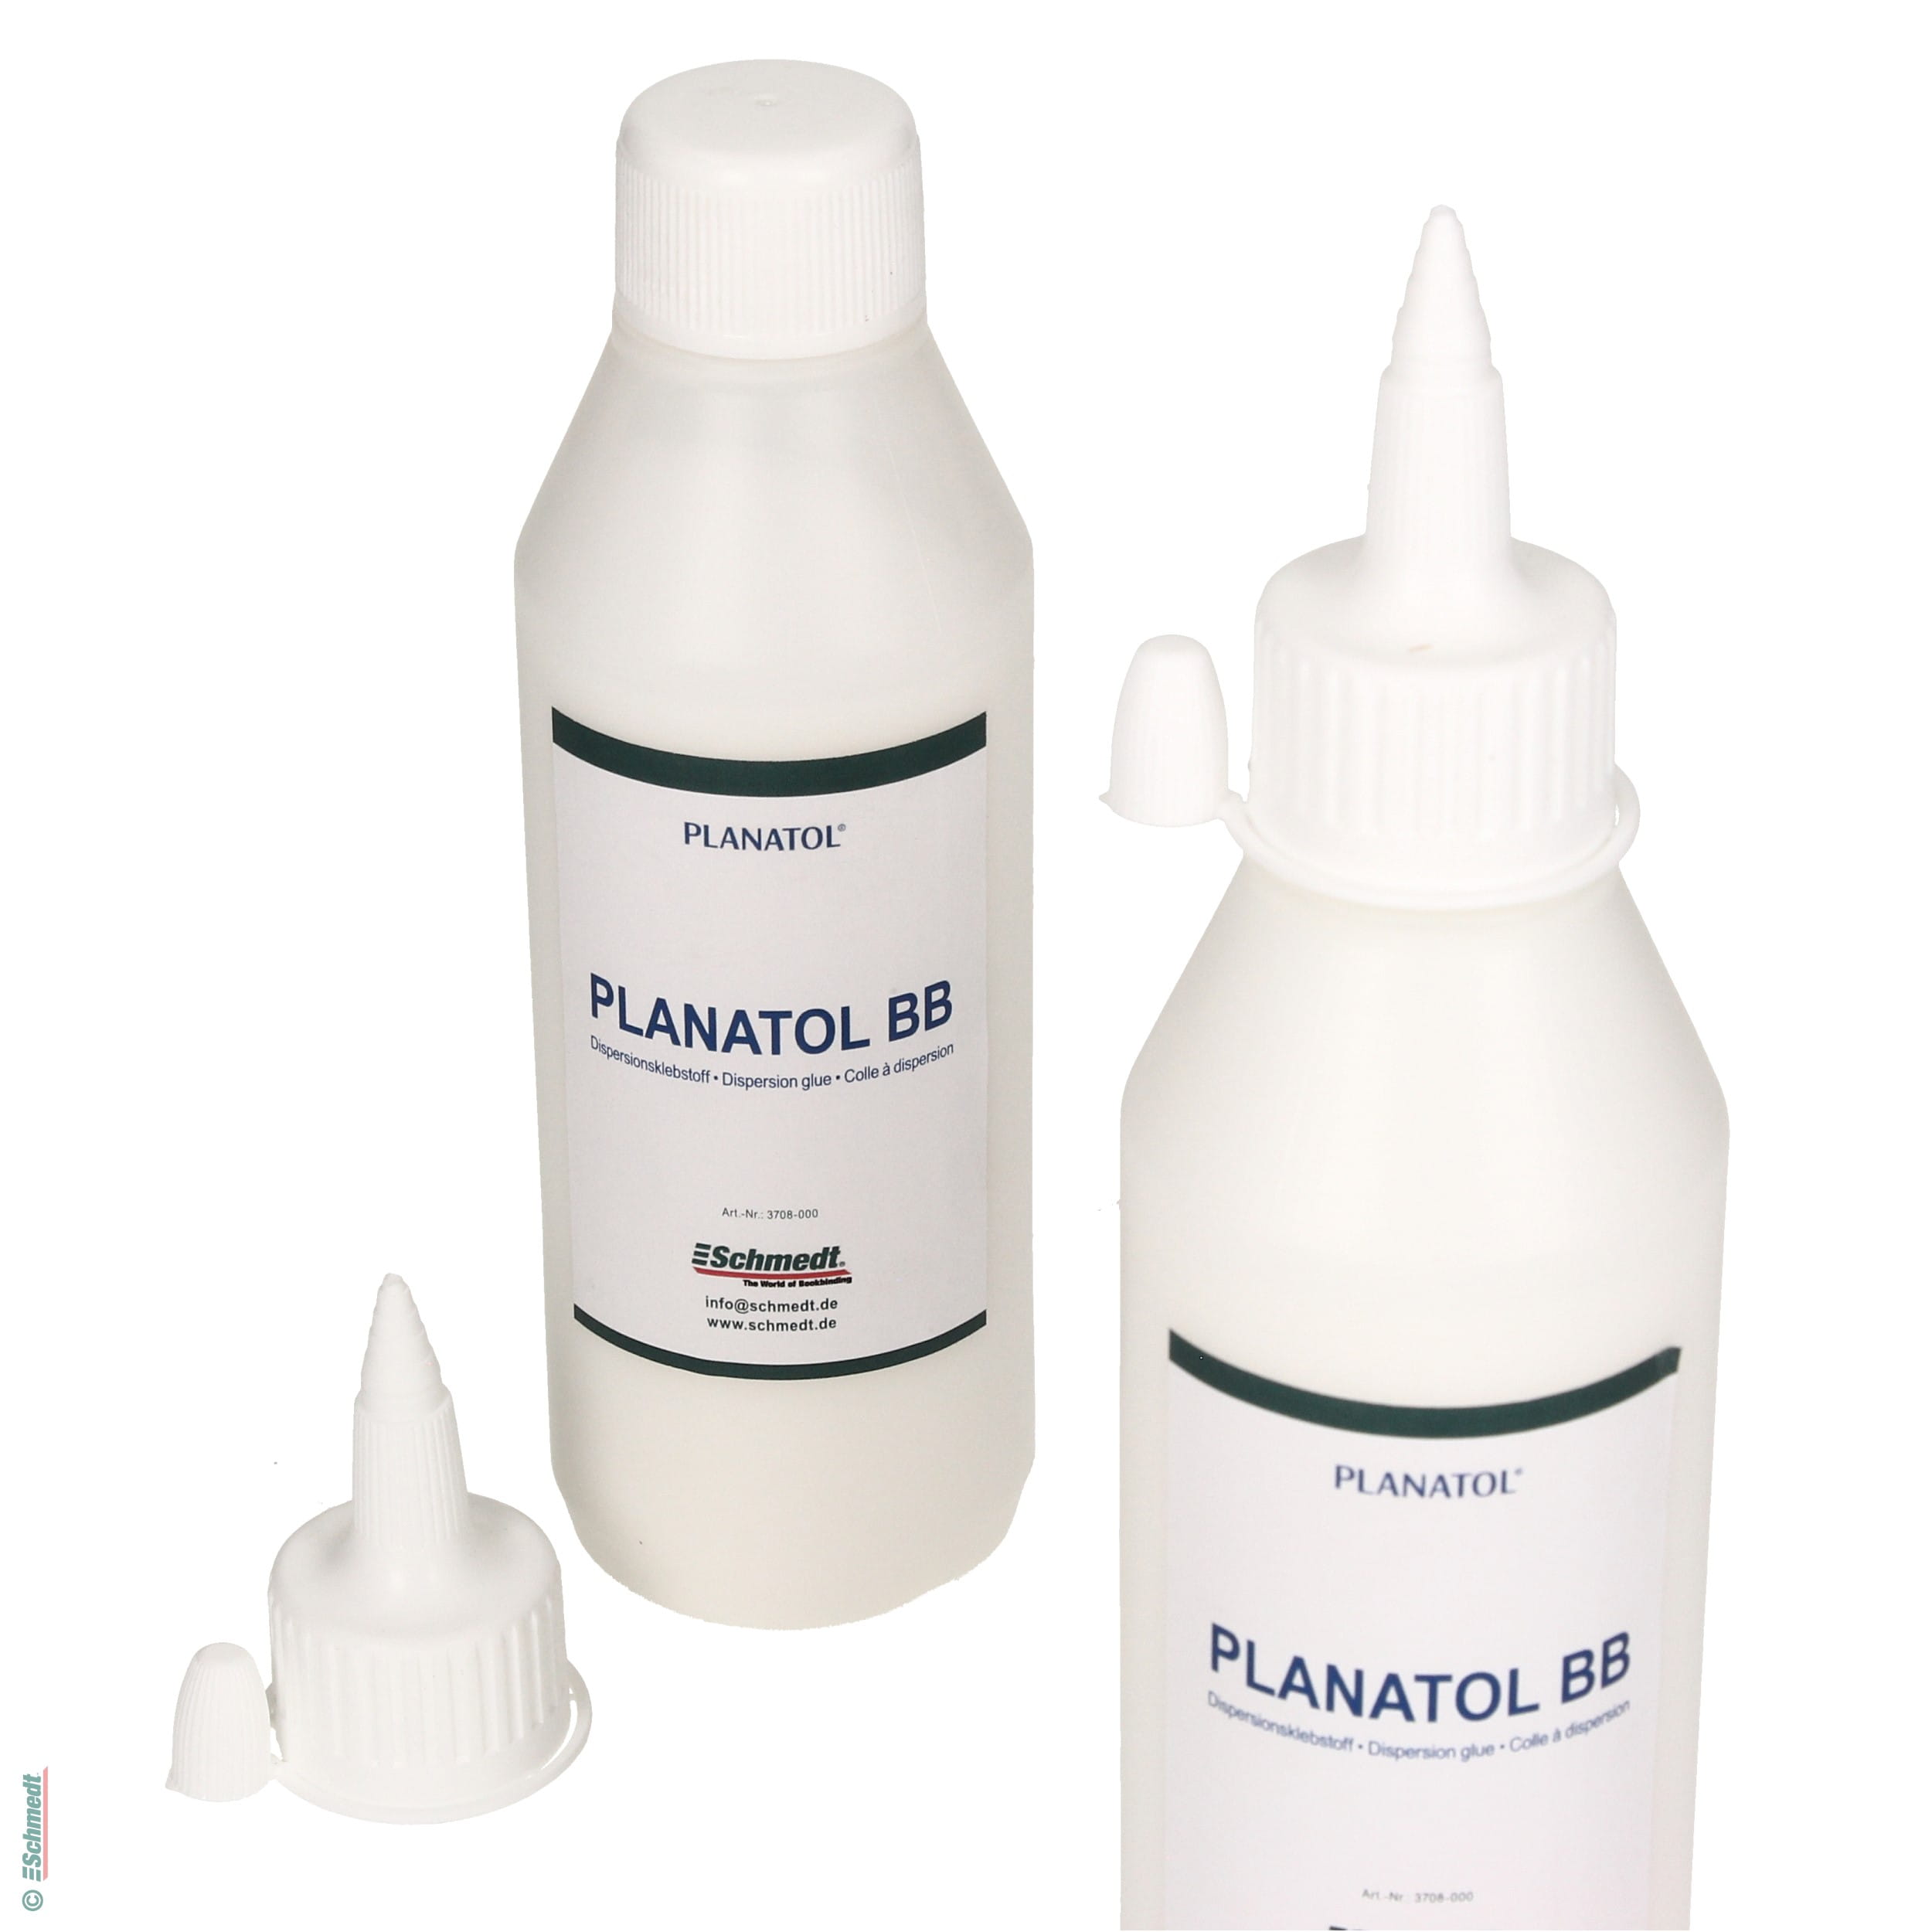
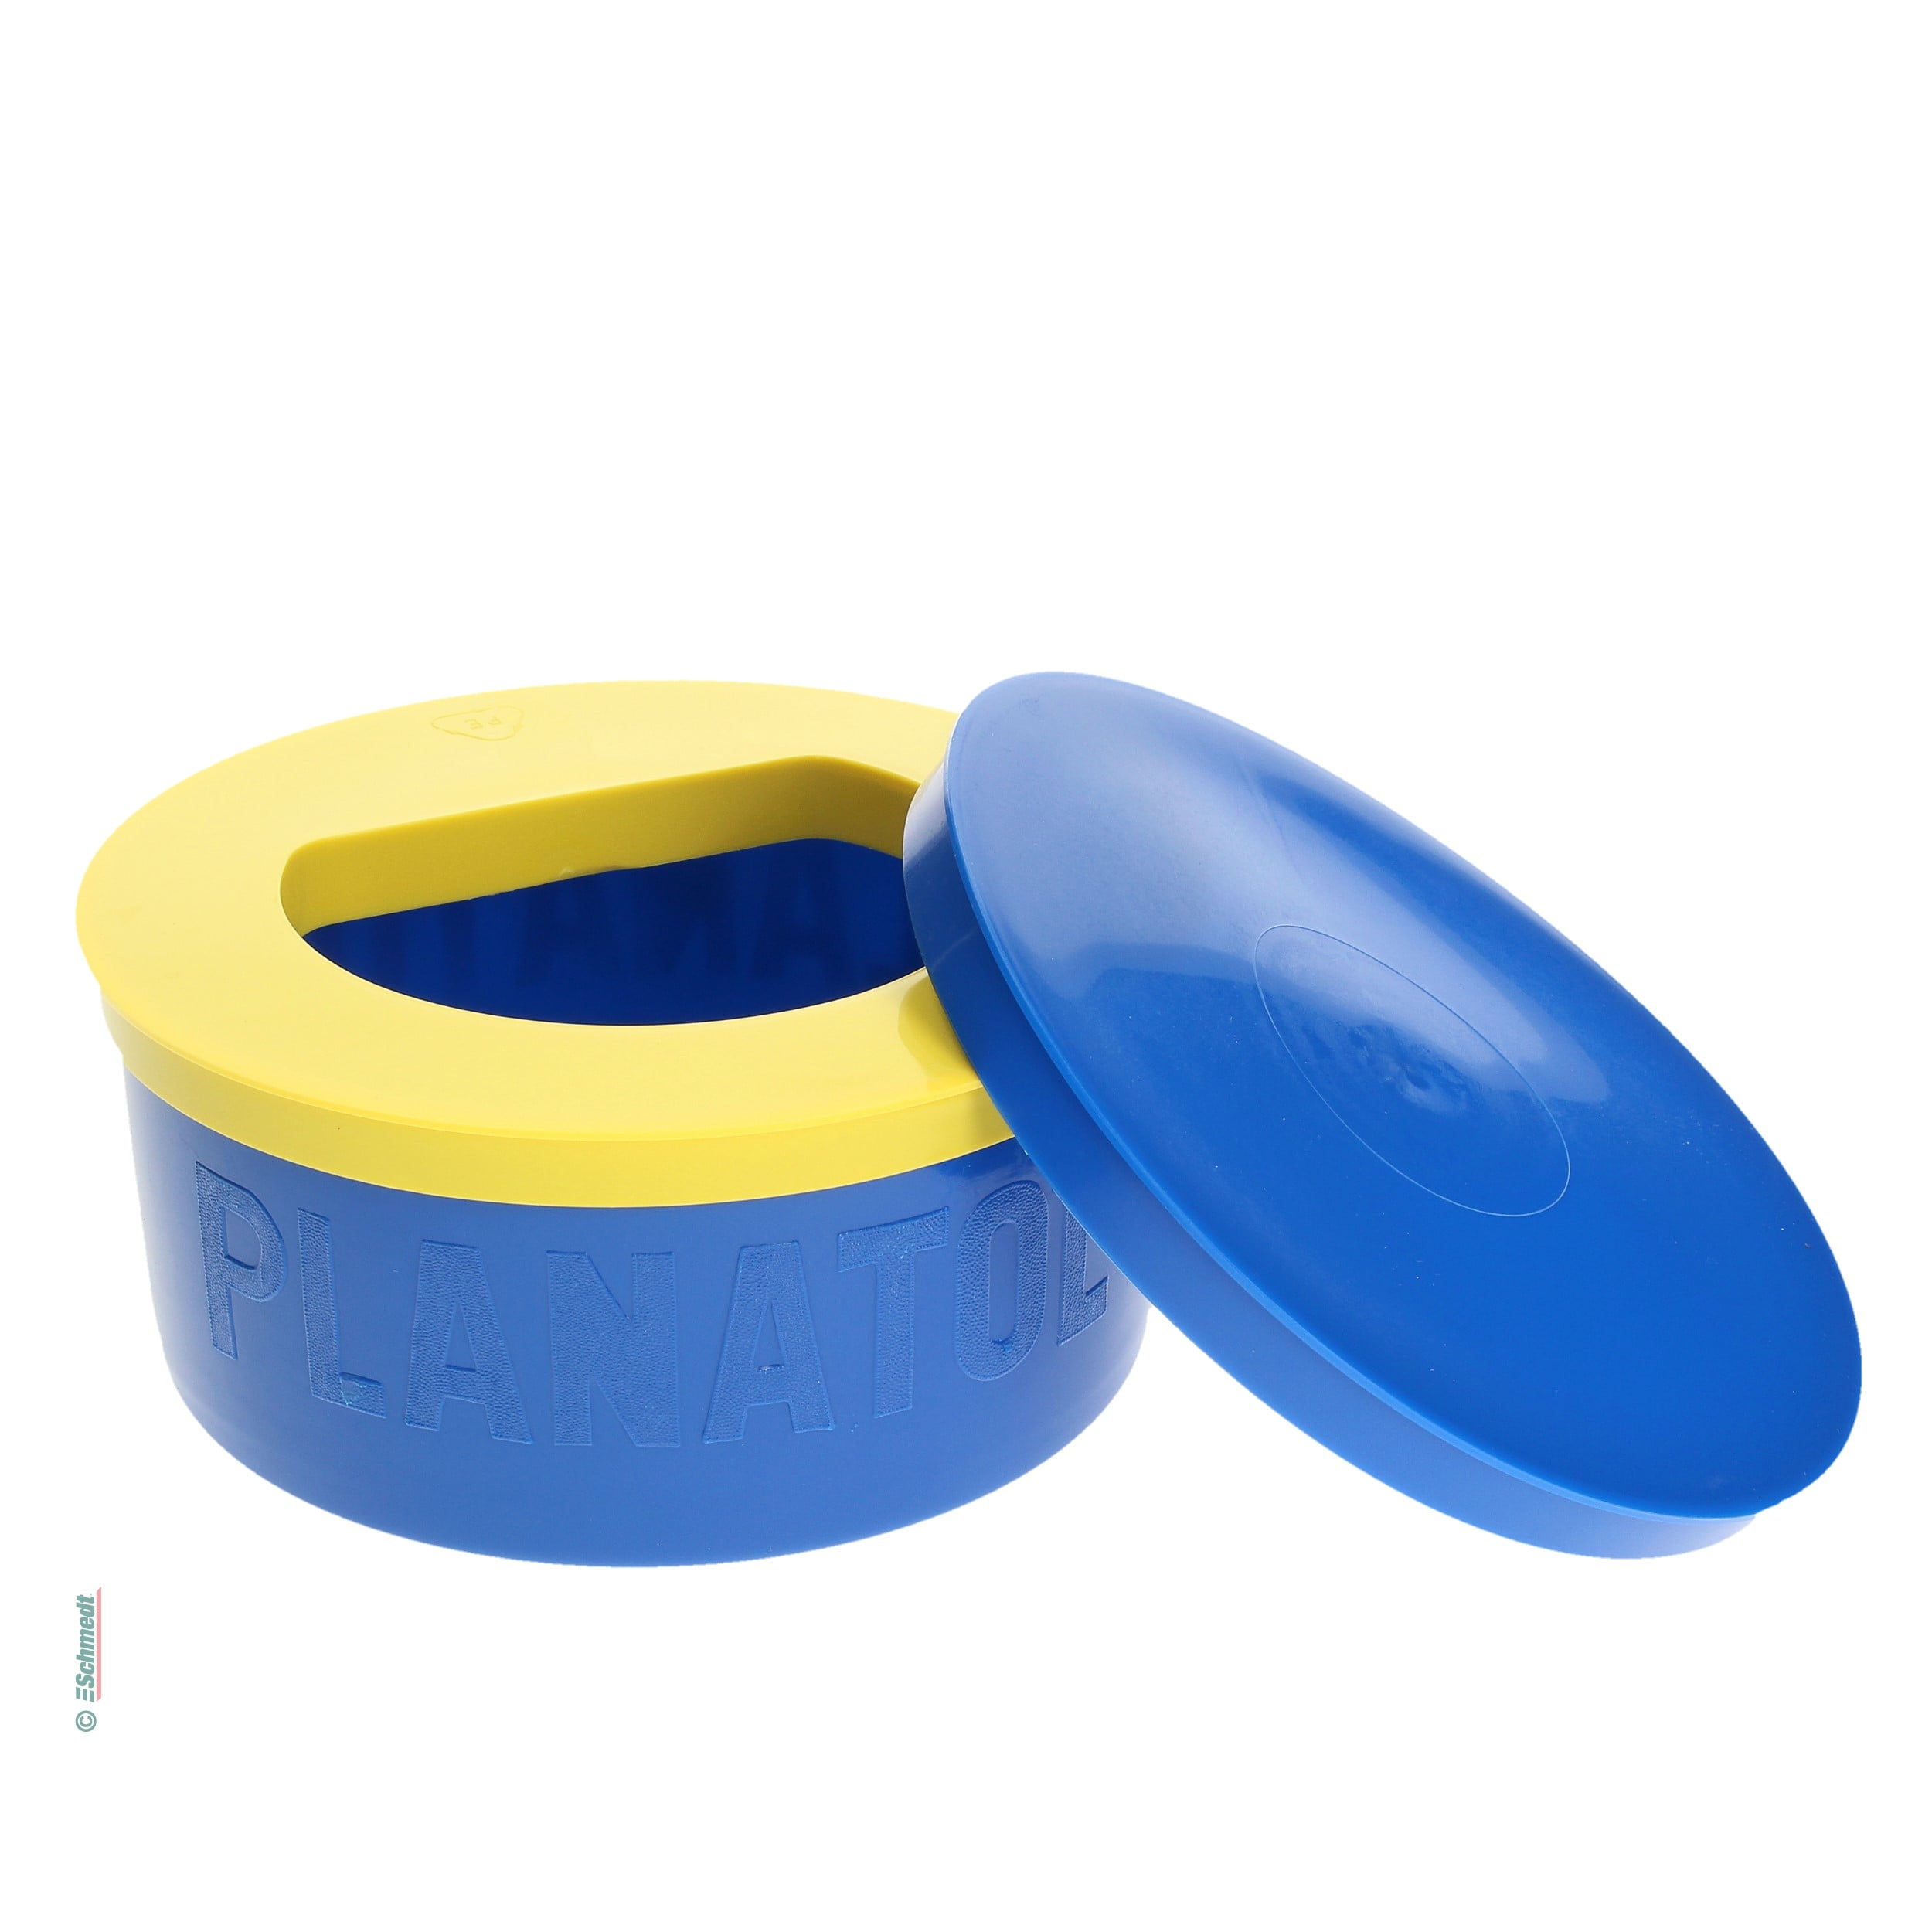
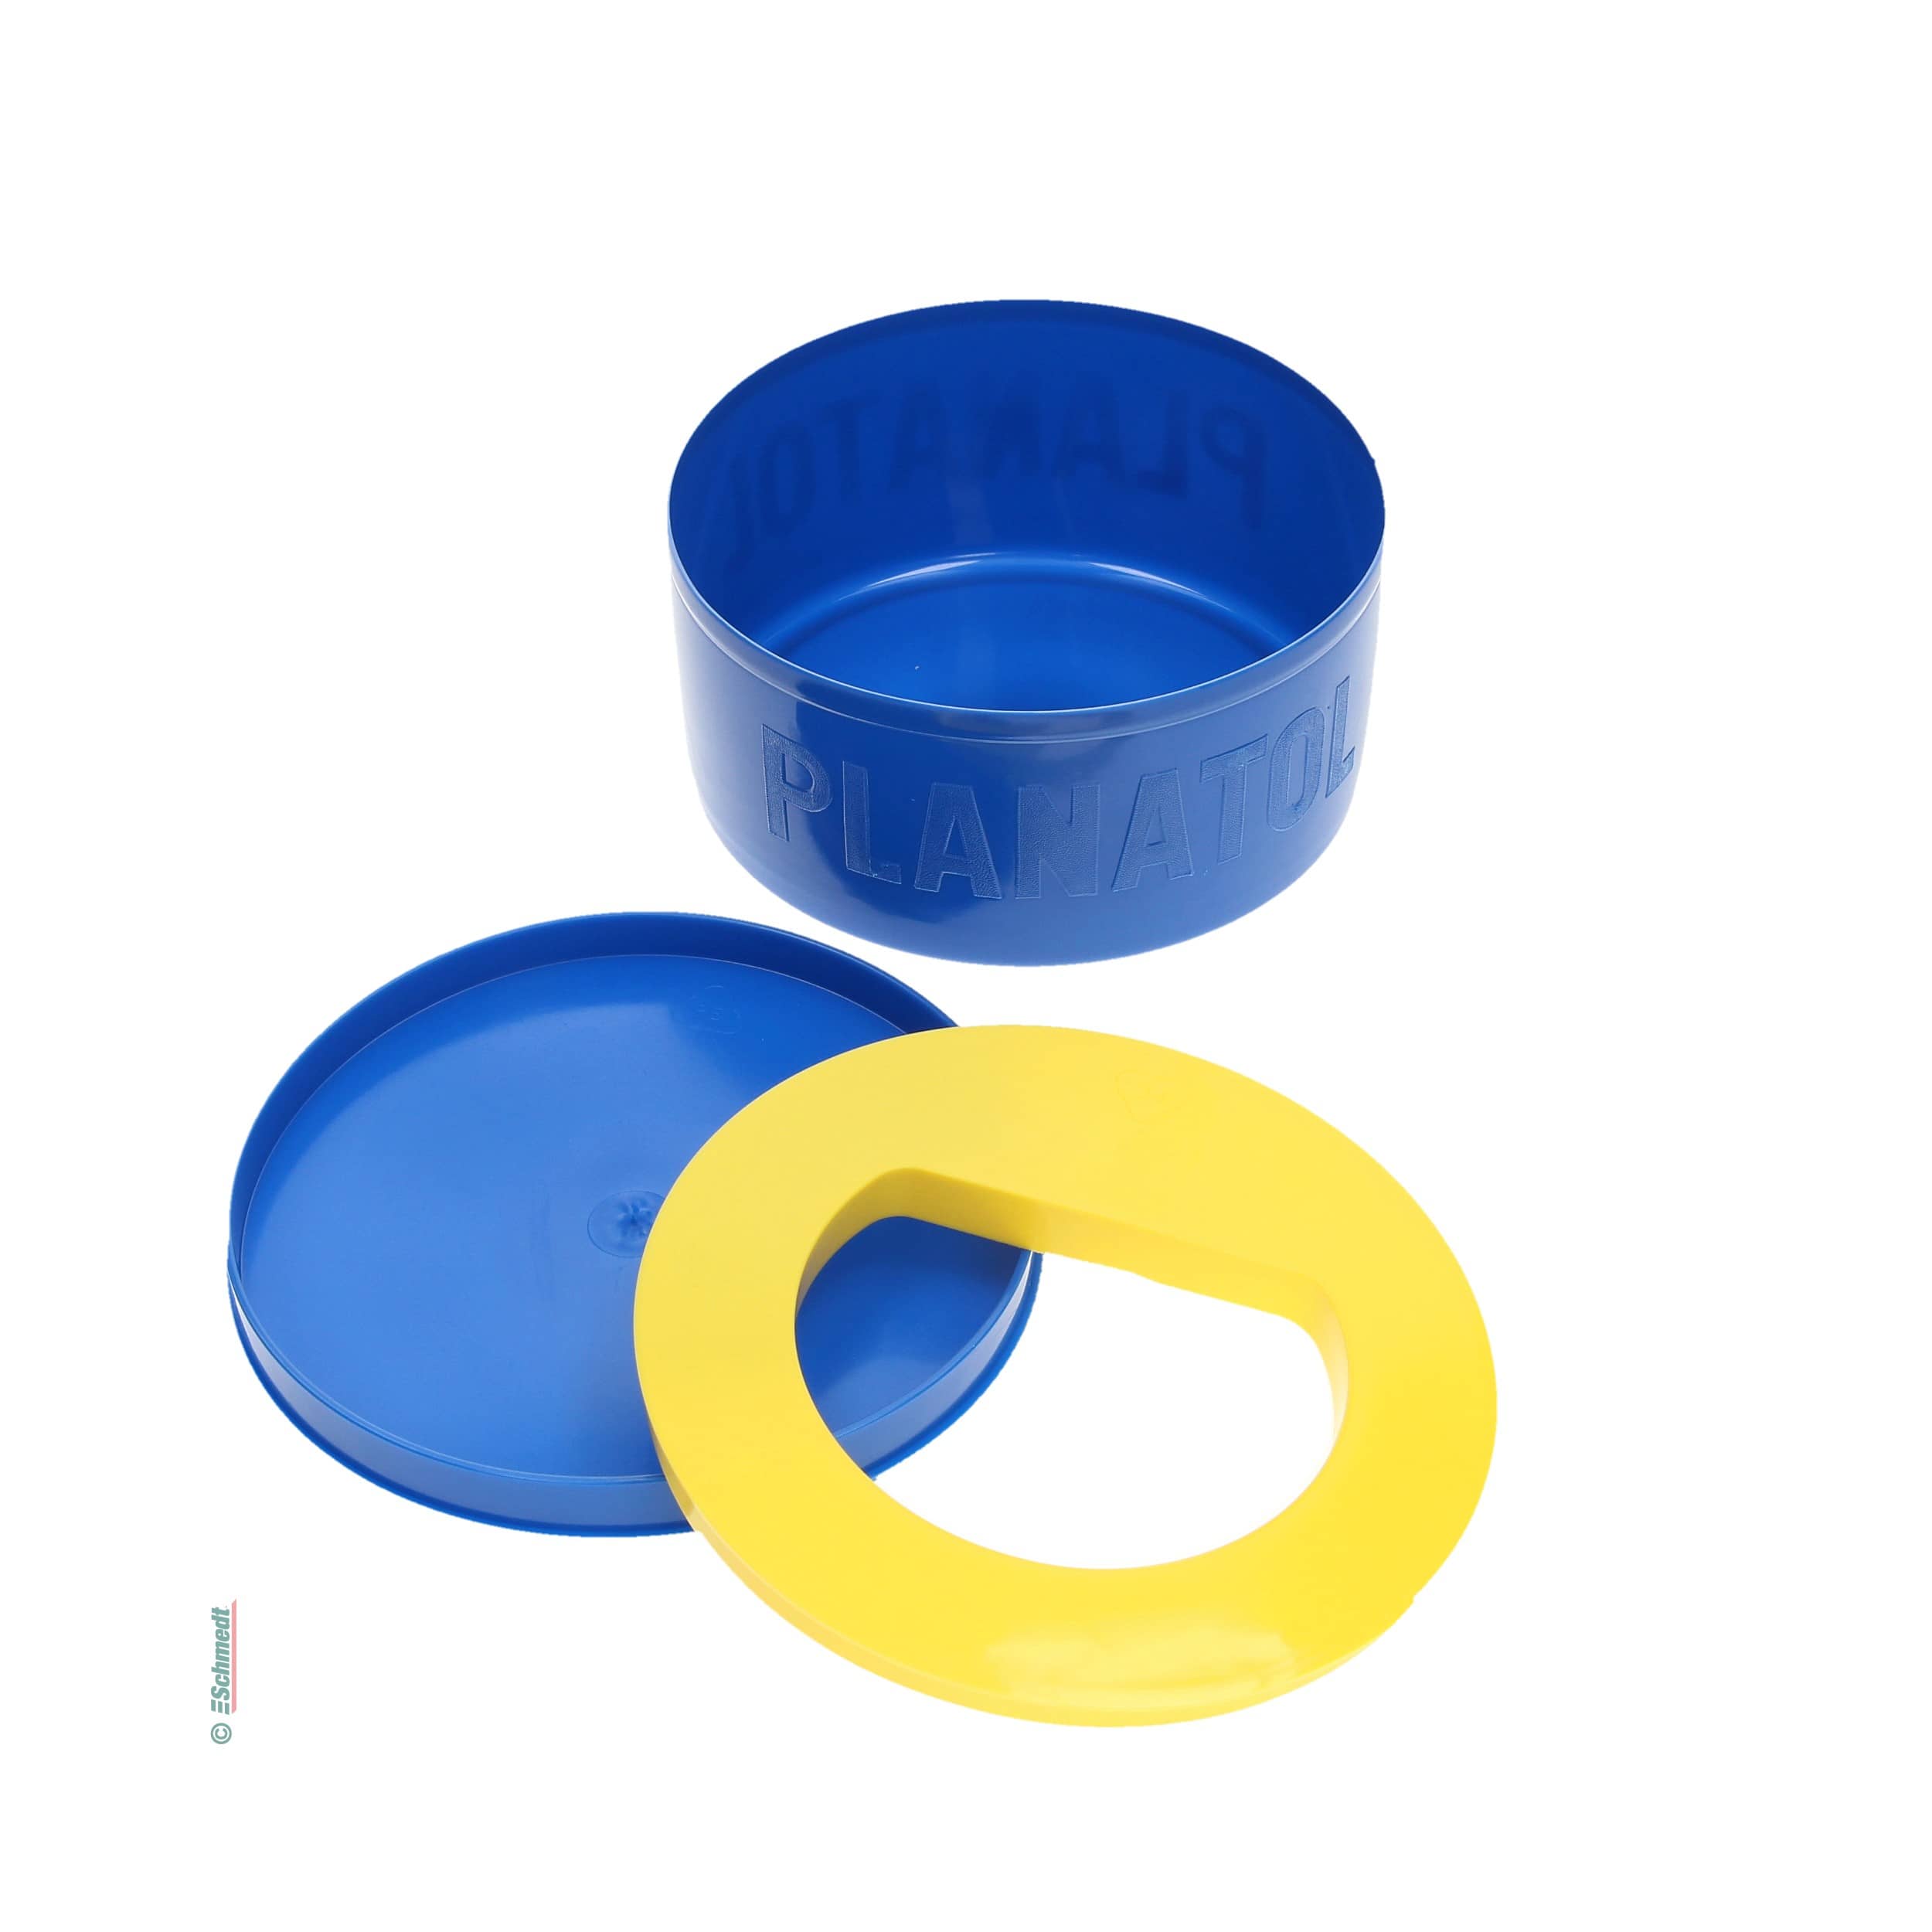
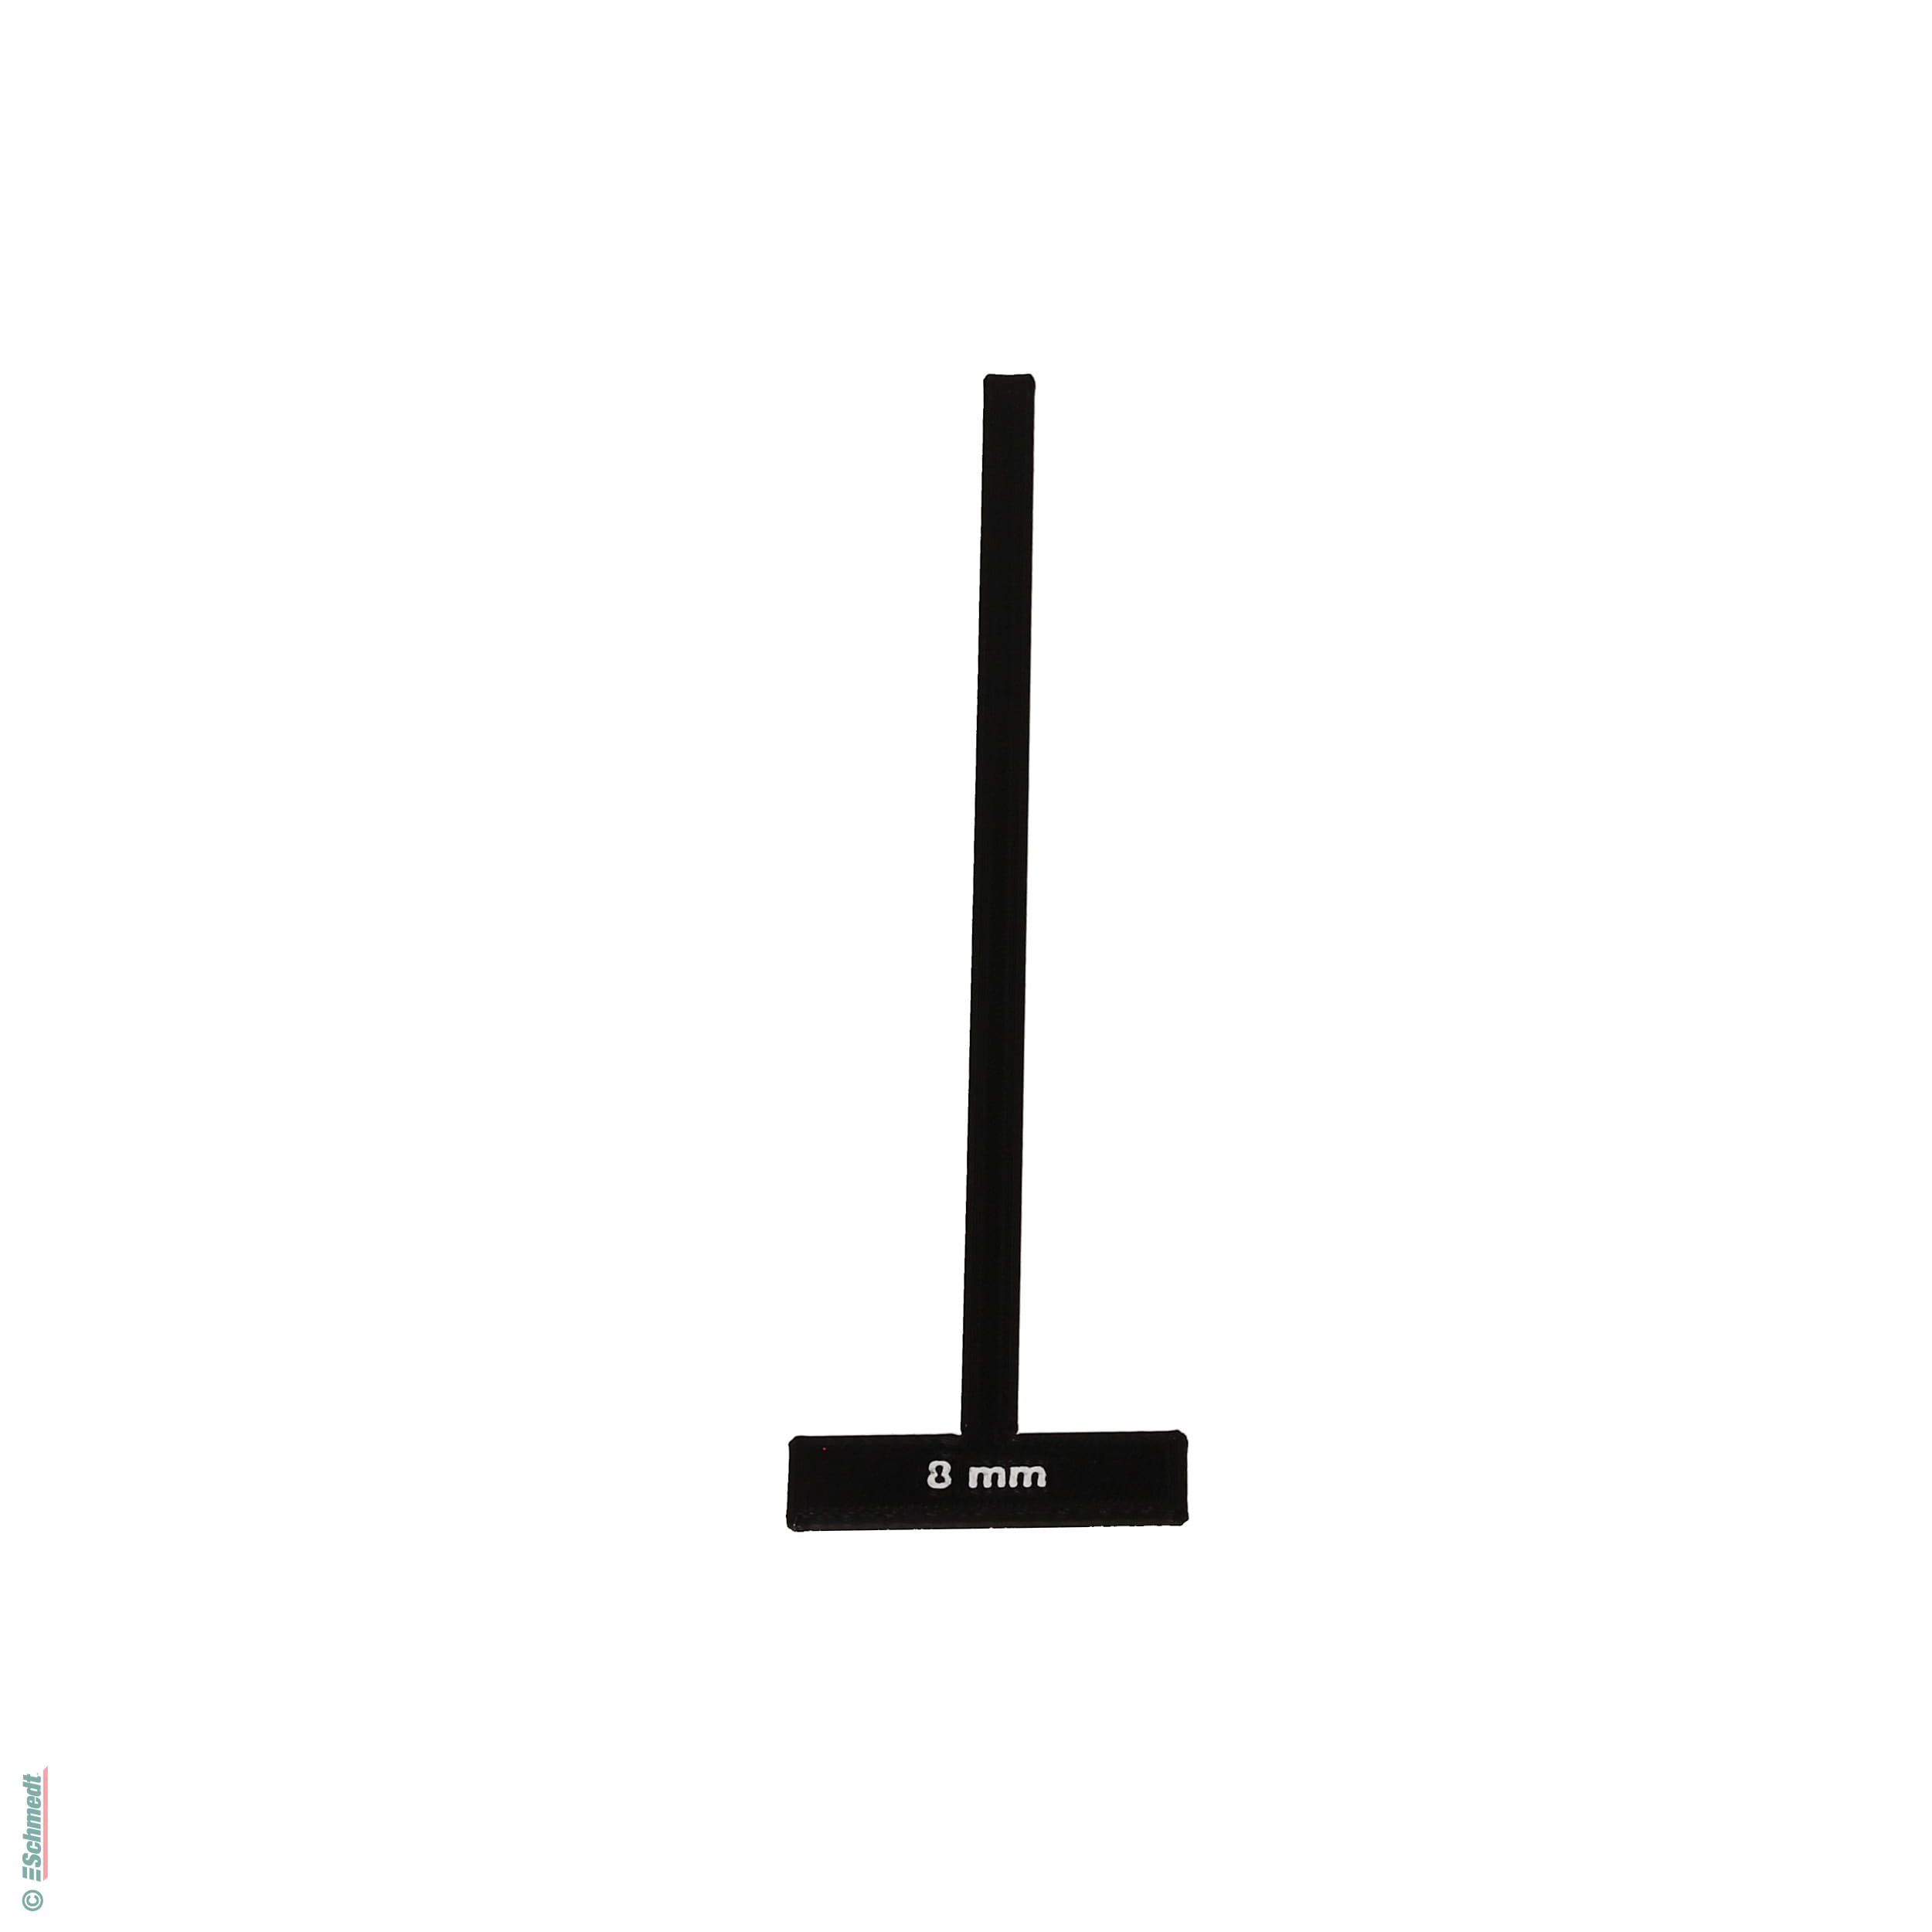
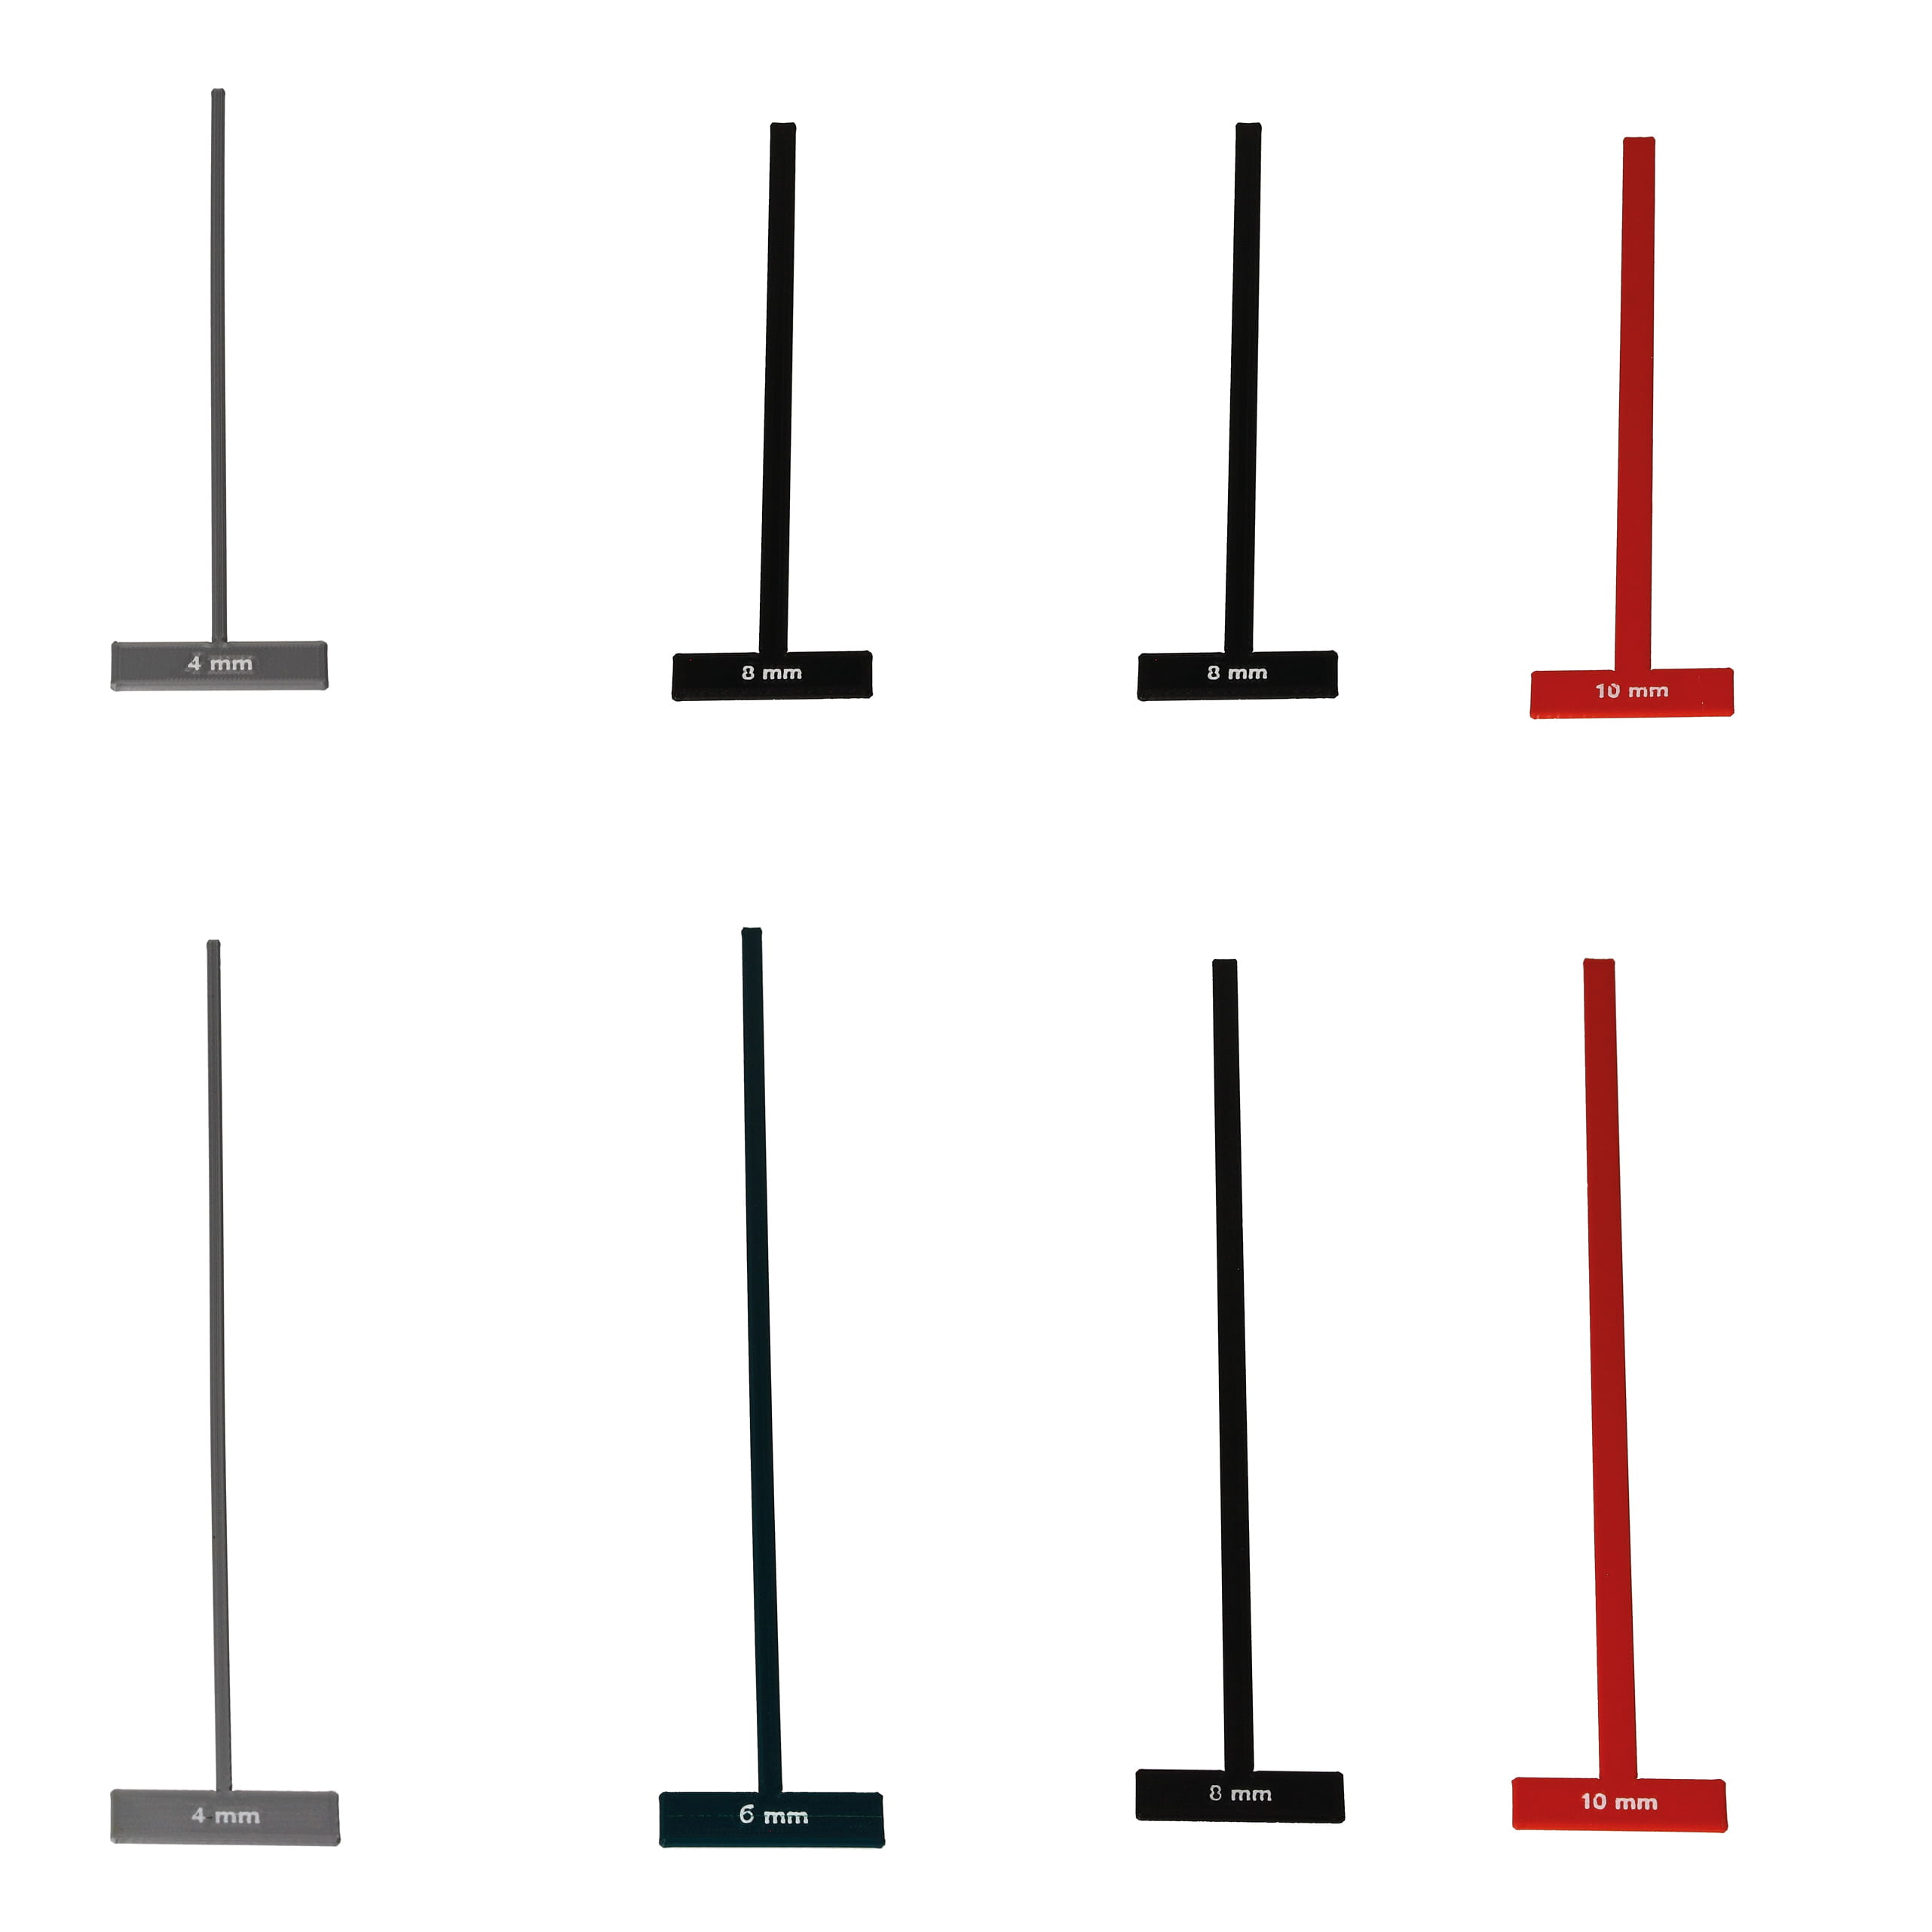
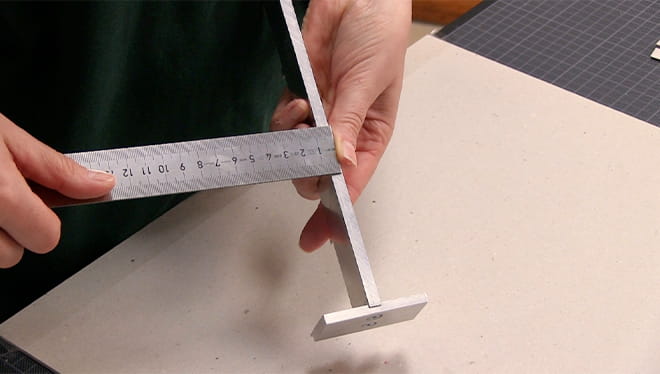
To start making book covers, first of all, prepare the workplace. Tape the work pad to the table so that it cannot slip during the next steps. Also, measure the required fold width for your project and transfer the glue into a suitable glue container.
Step 2: Glue on cloth
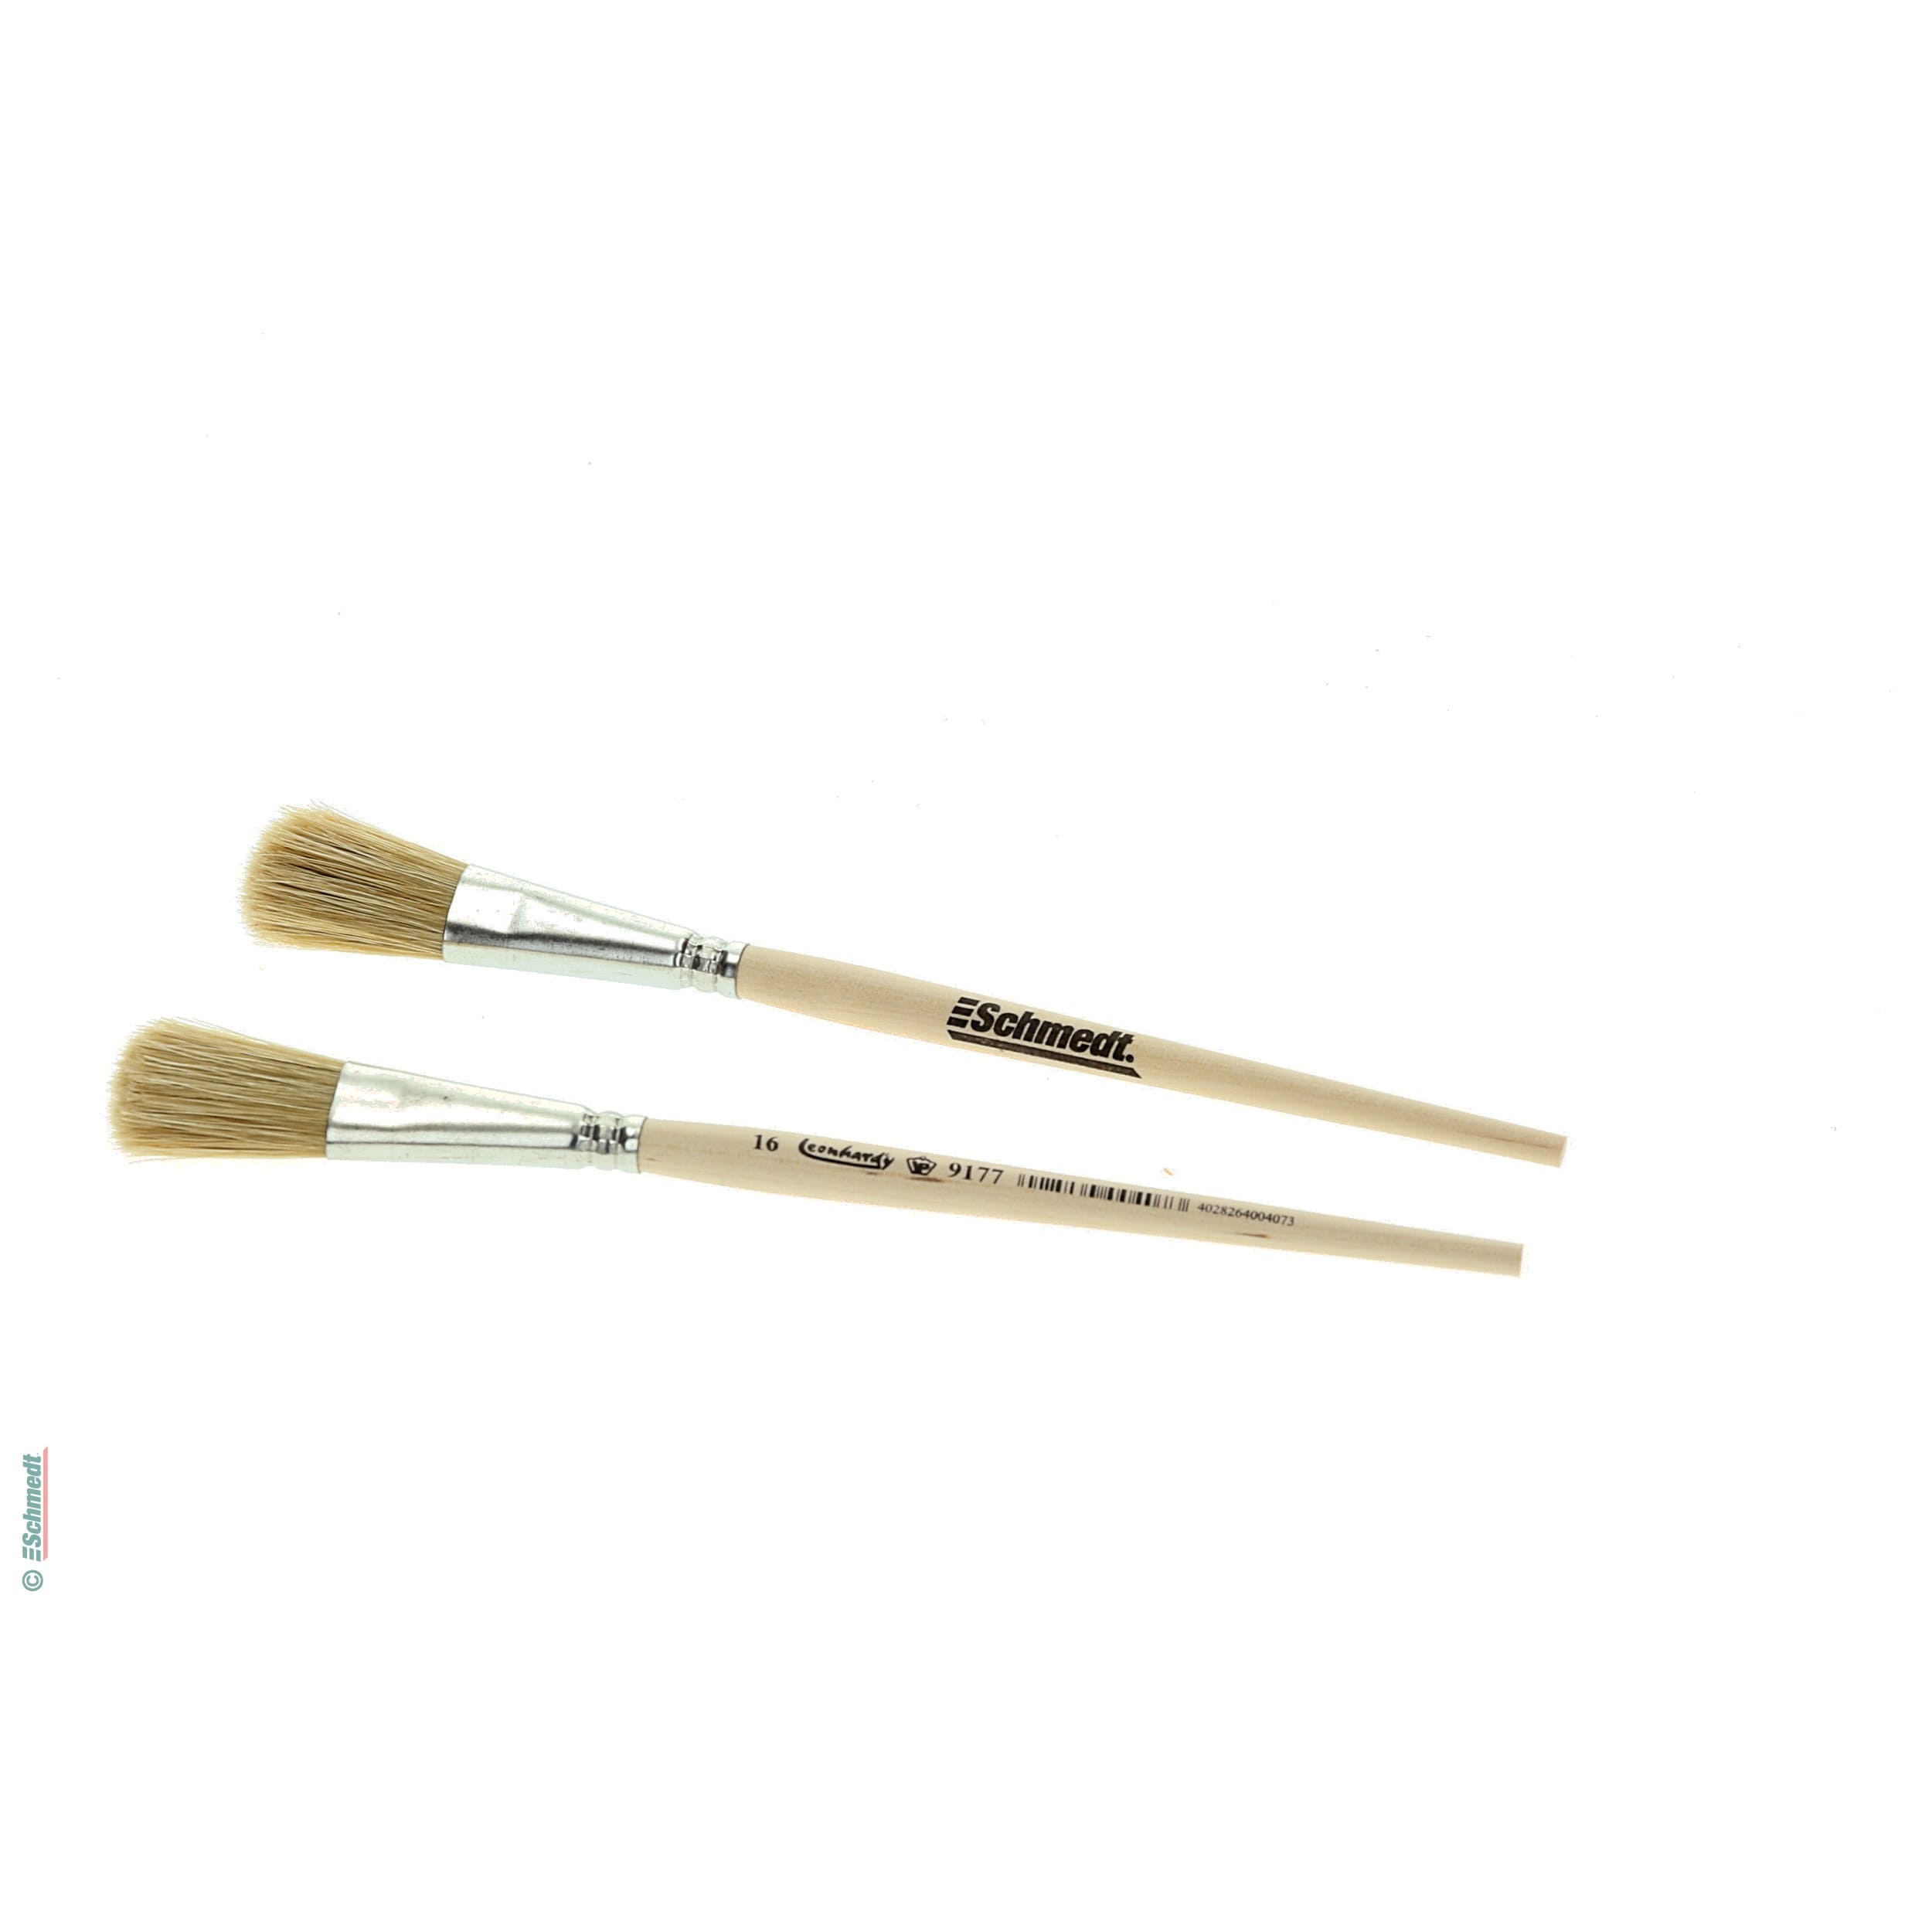
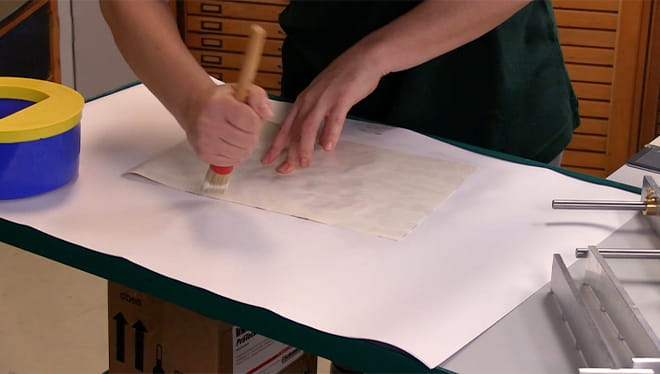
Now begin applying the glue to your chosen cloth Work your way to the edge in a star shape. By all means, spread the glue generously and over the entire surface. Make sure that the glue is not already dry before you have completed the last brush strokes. If this should be nevertheless already the case, repeat the procedure, until each place with fresh glue is saturated.
Step 3: Lay down the case
Now lay the glued cloth on the work surface. First create your first clues where you want to lay the cover board. It is best to mark the position with a pencil. When the cardboard has the correct position, press it firmly.

Step 4: Put on the Casemaking square
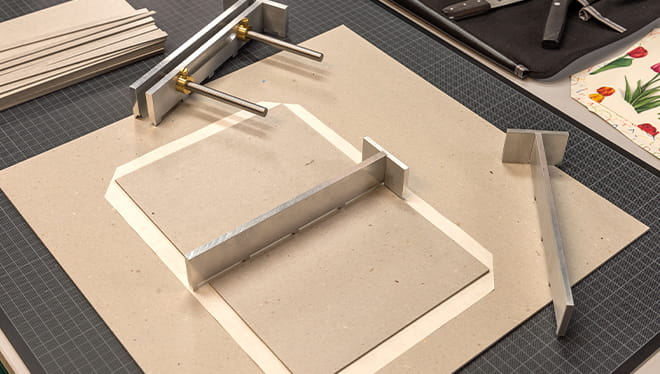
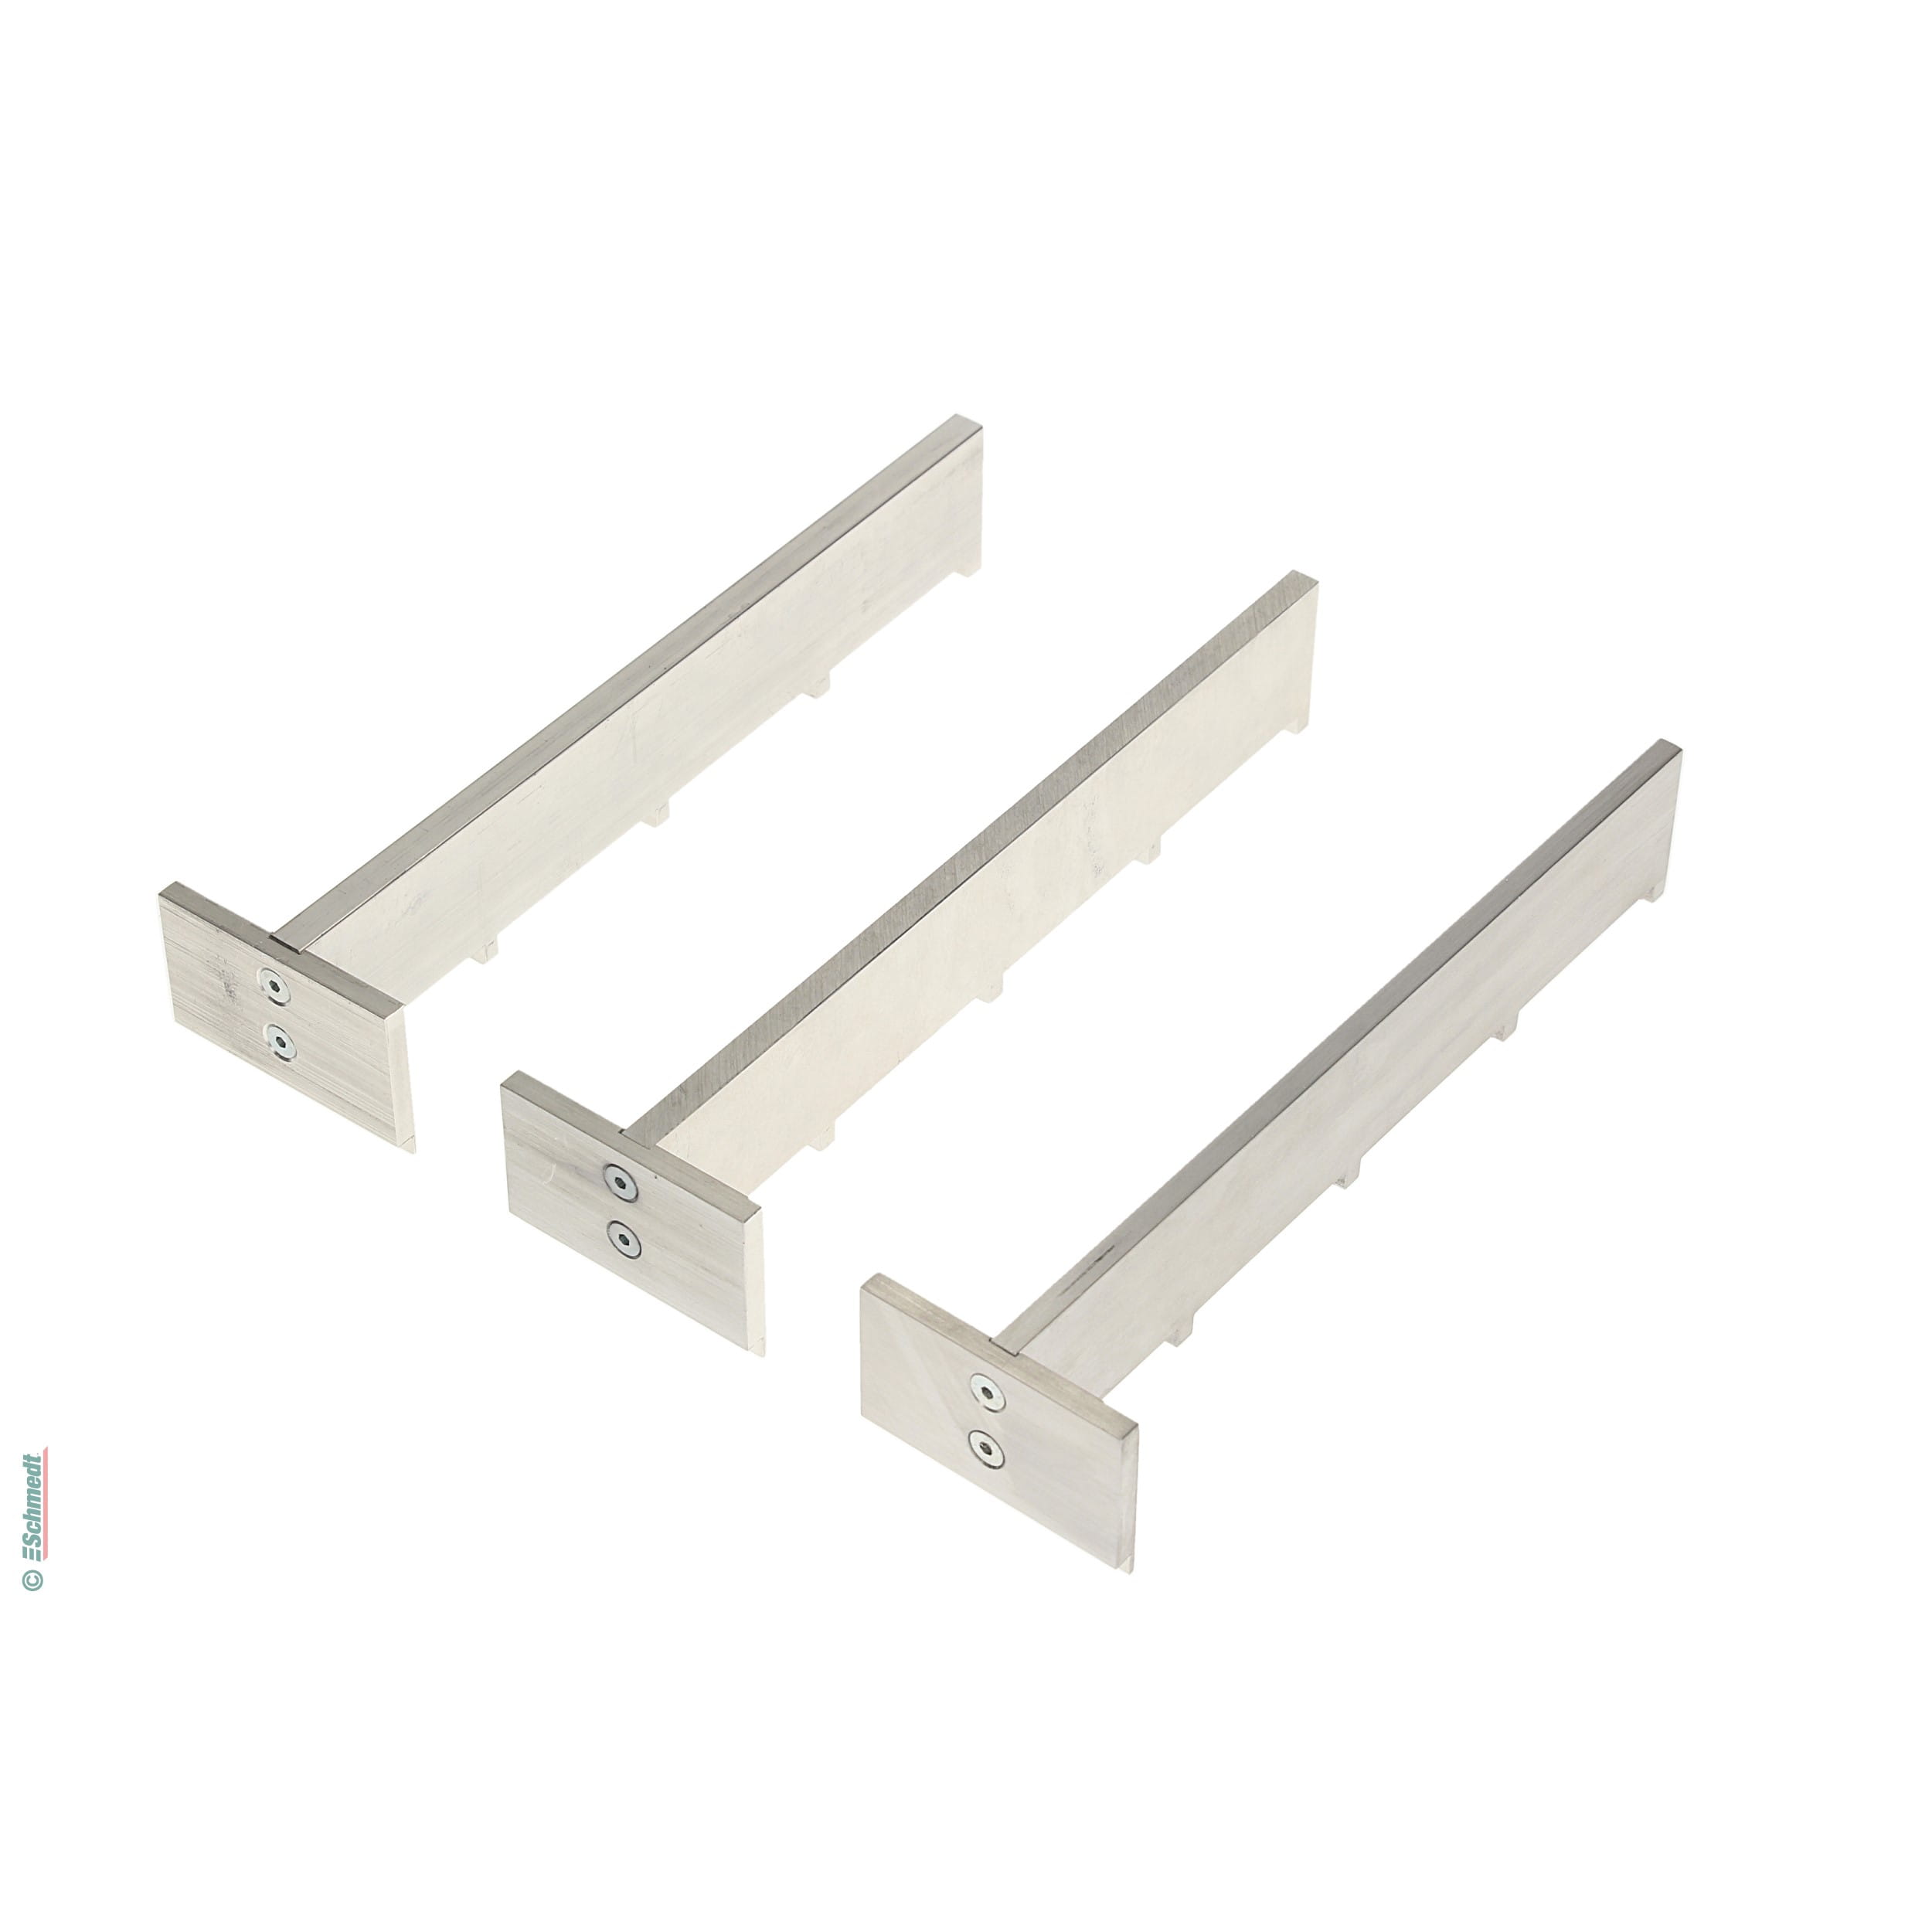
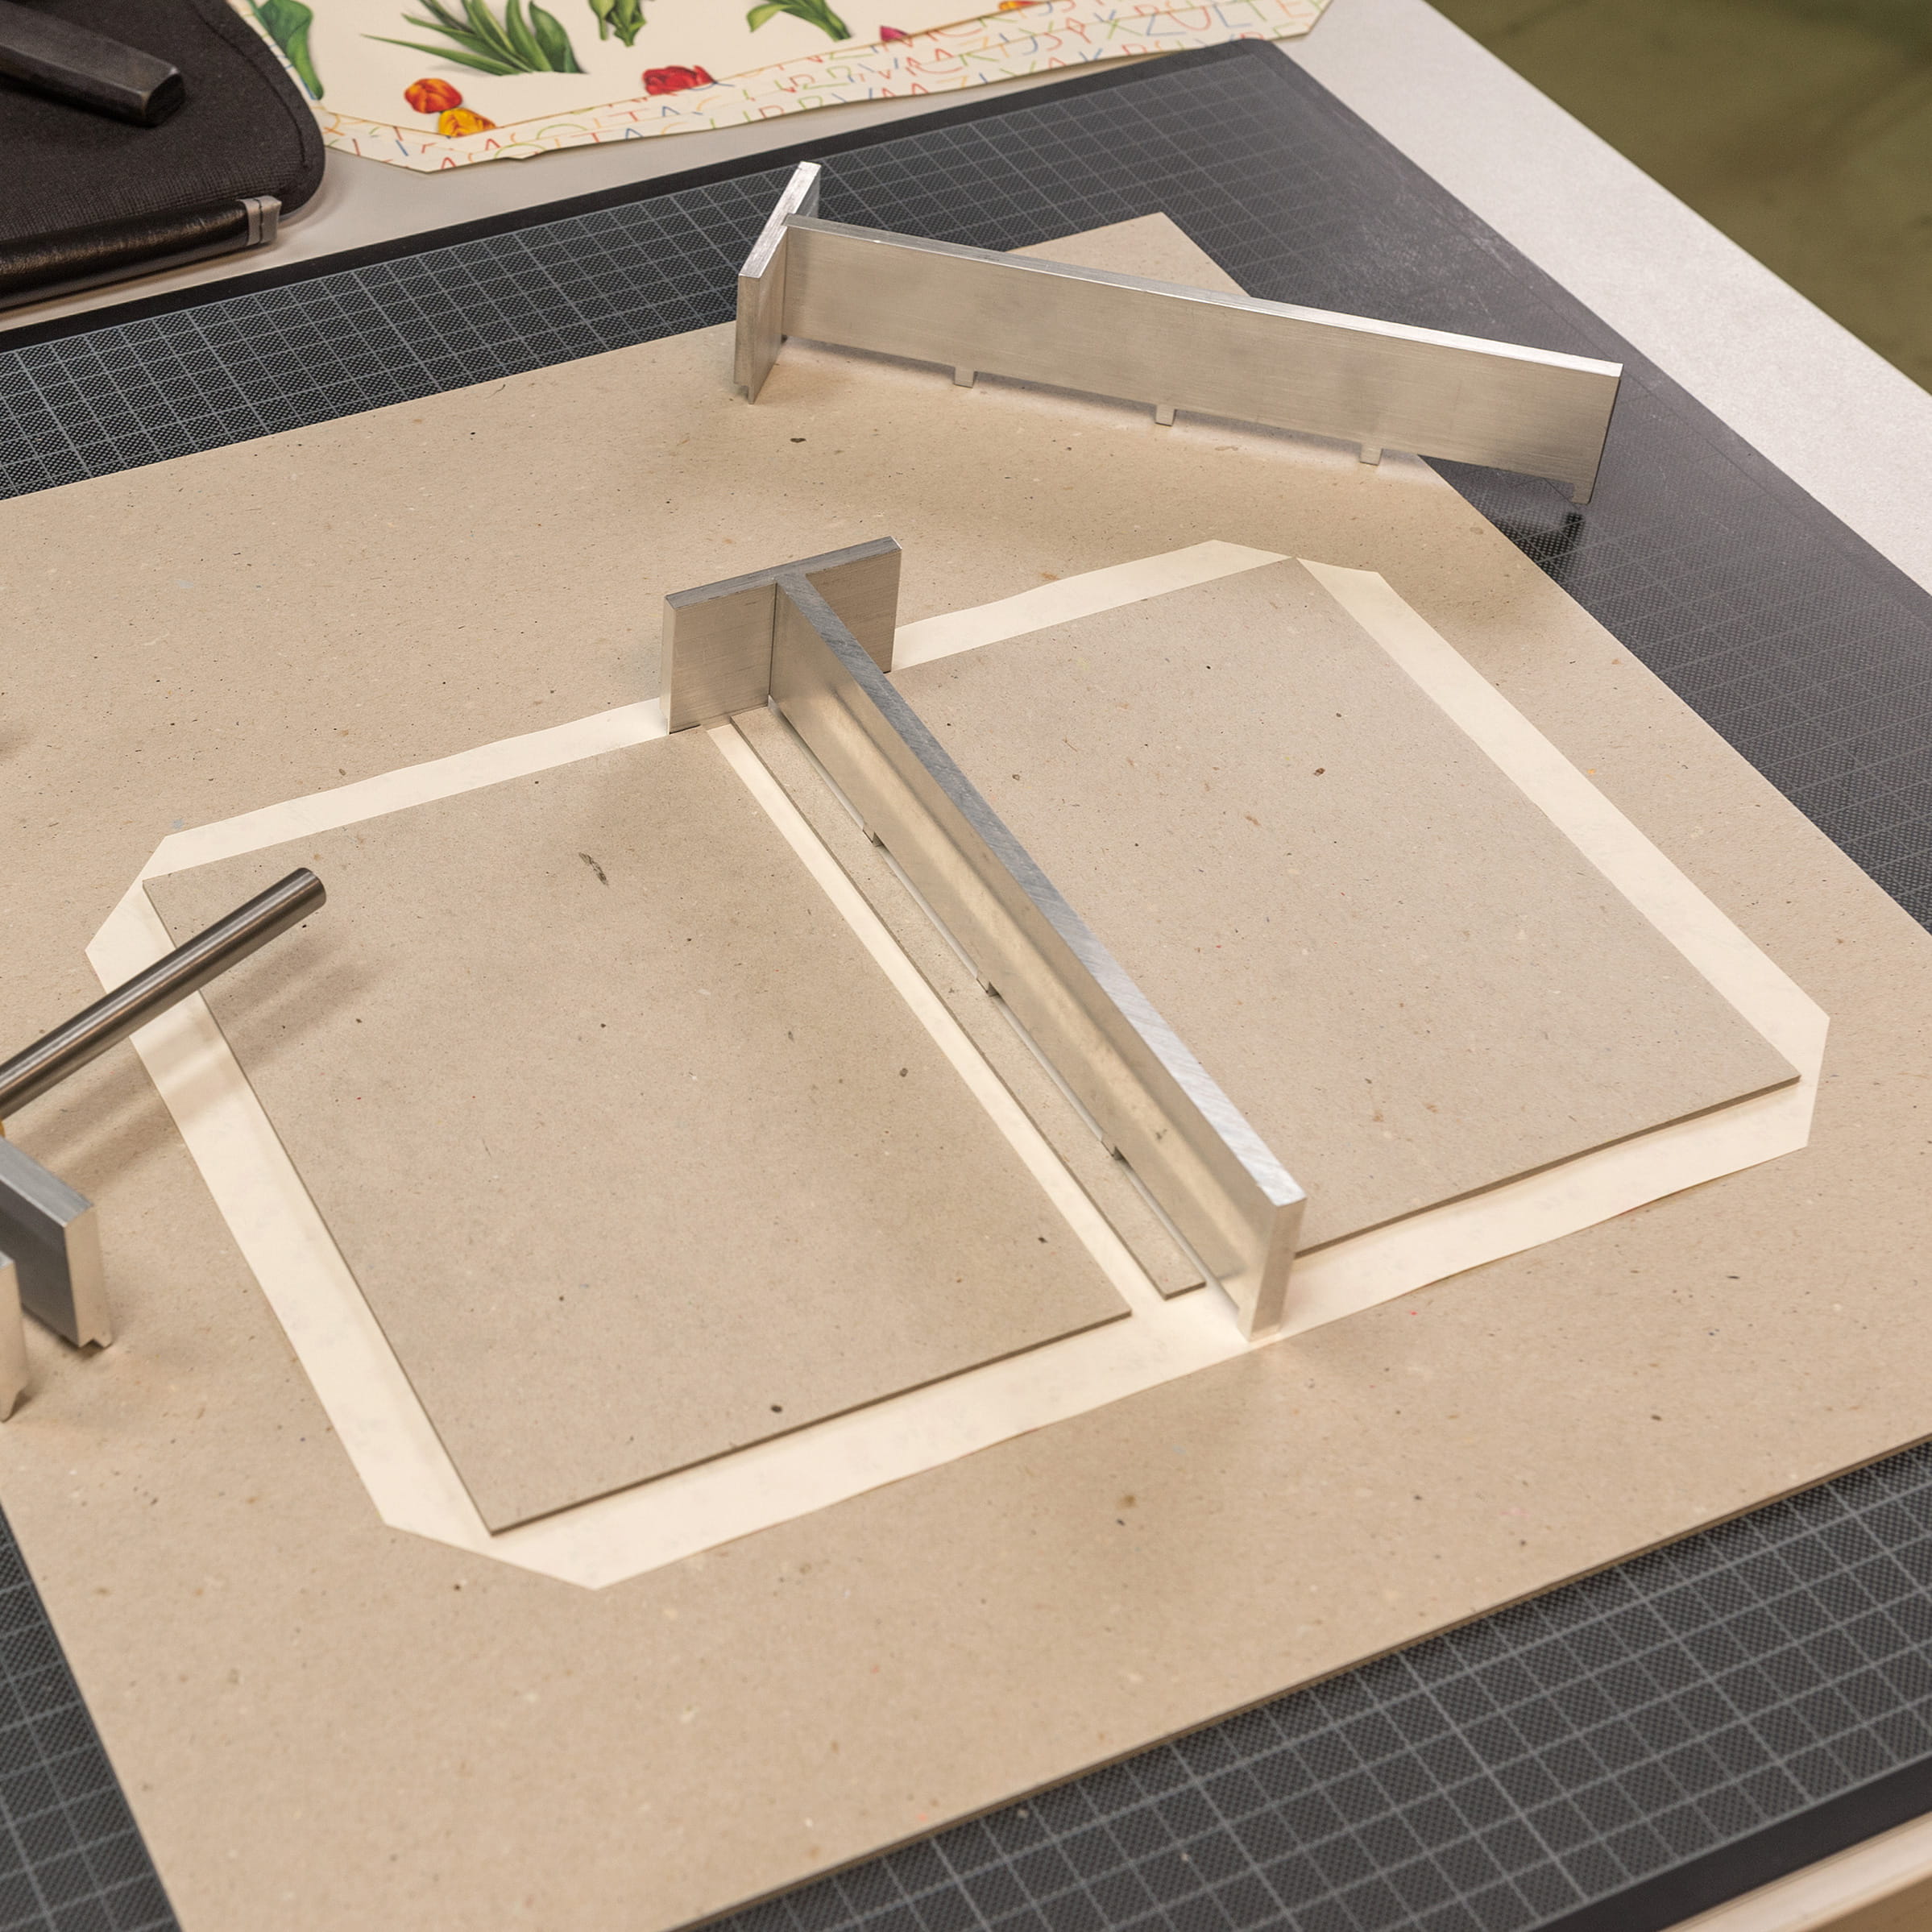
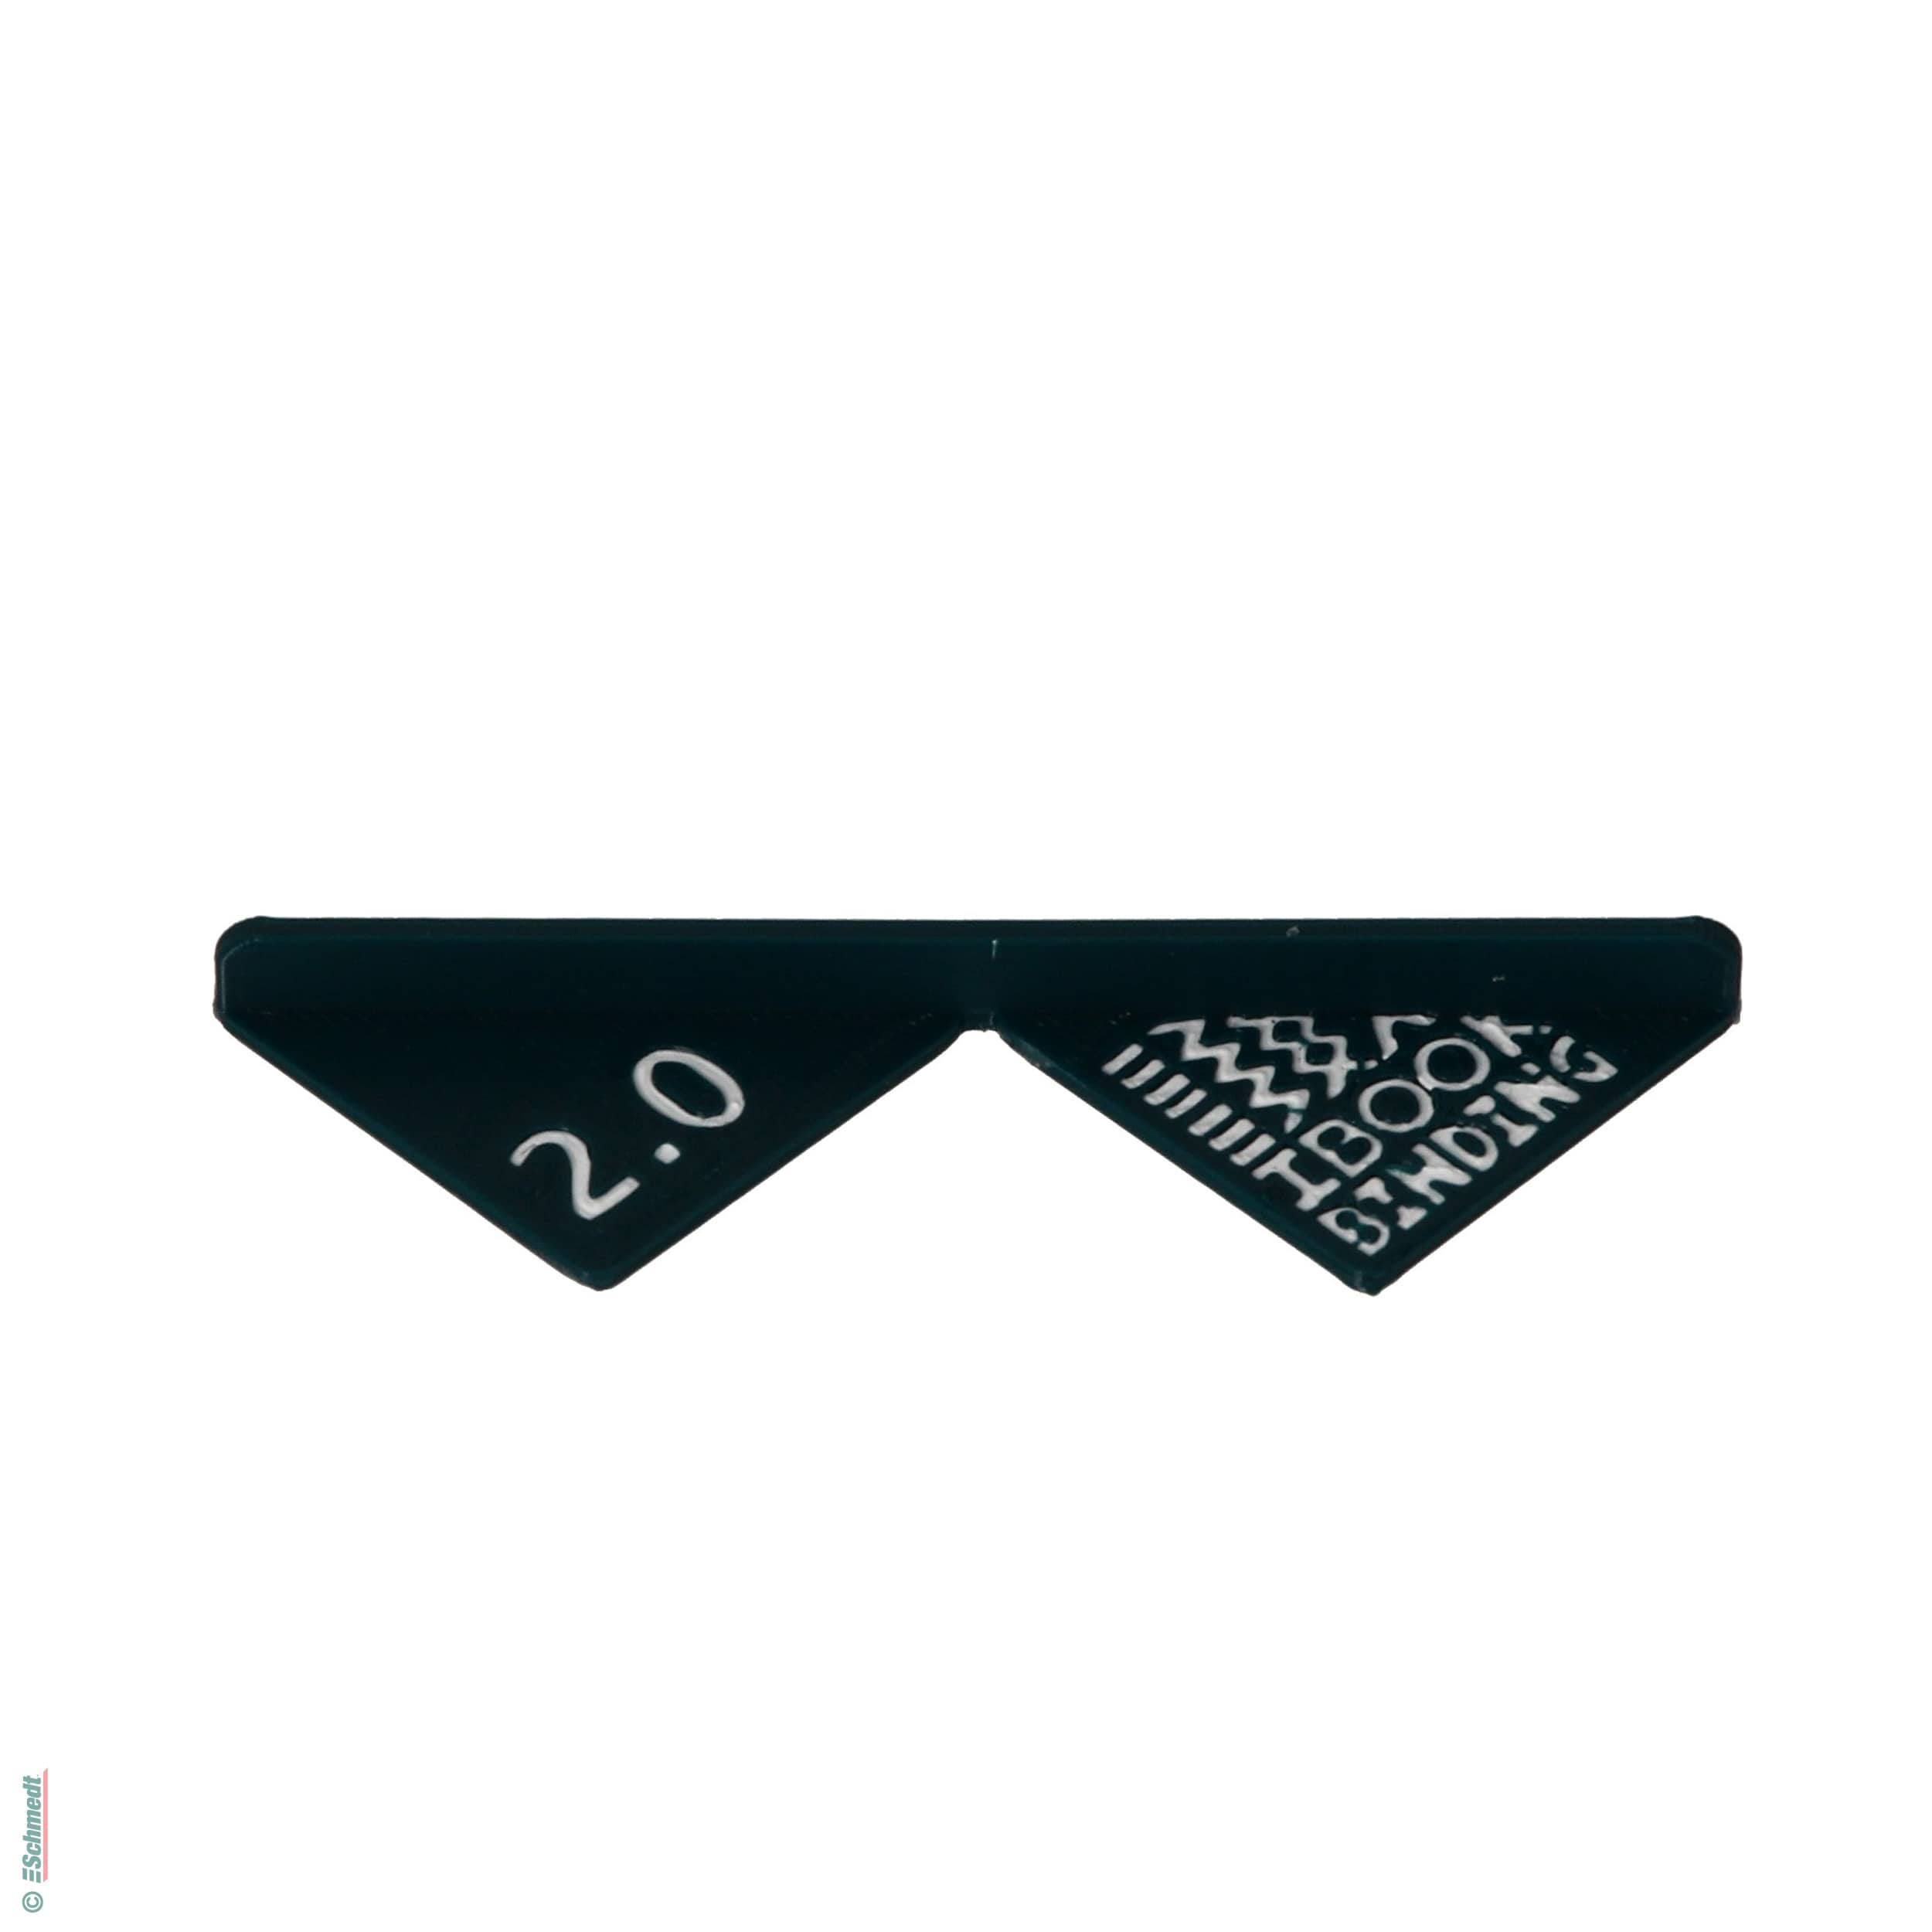
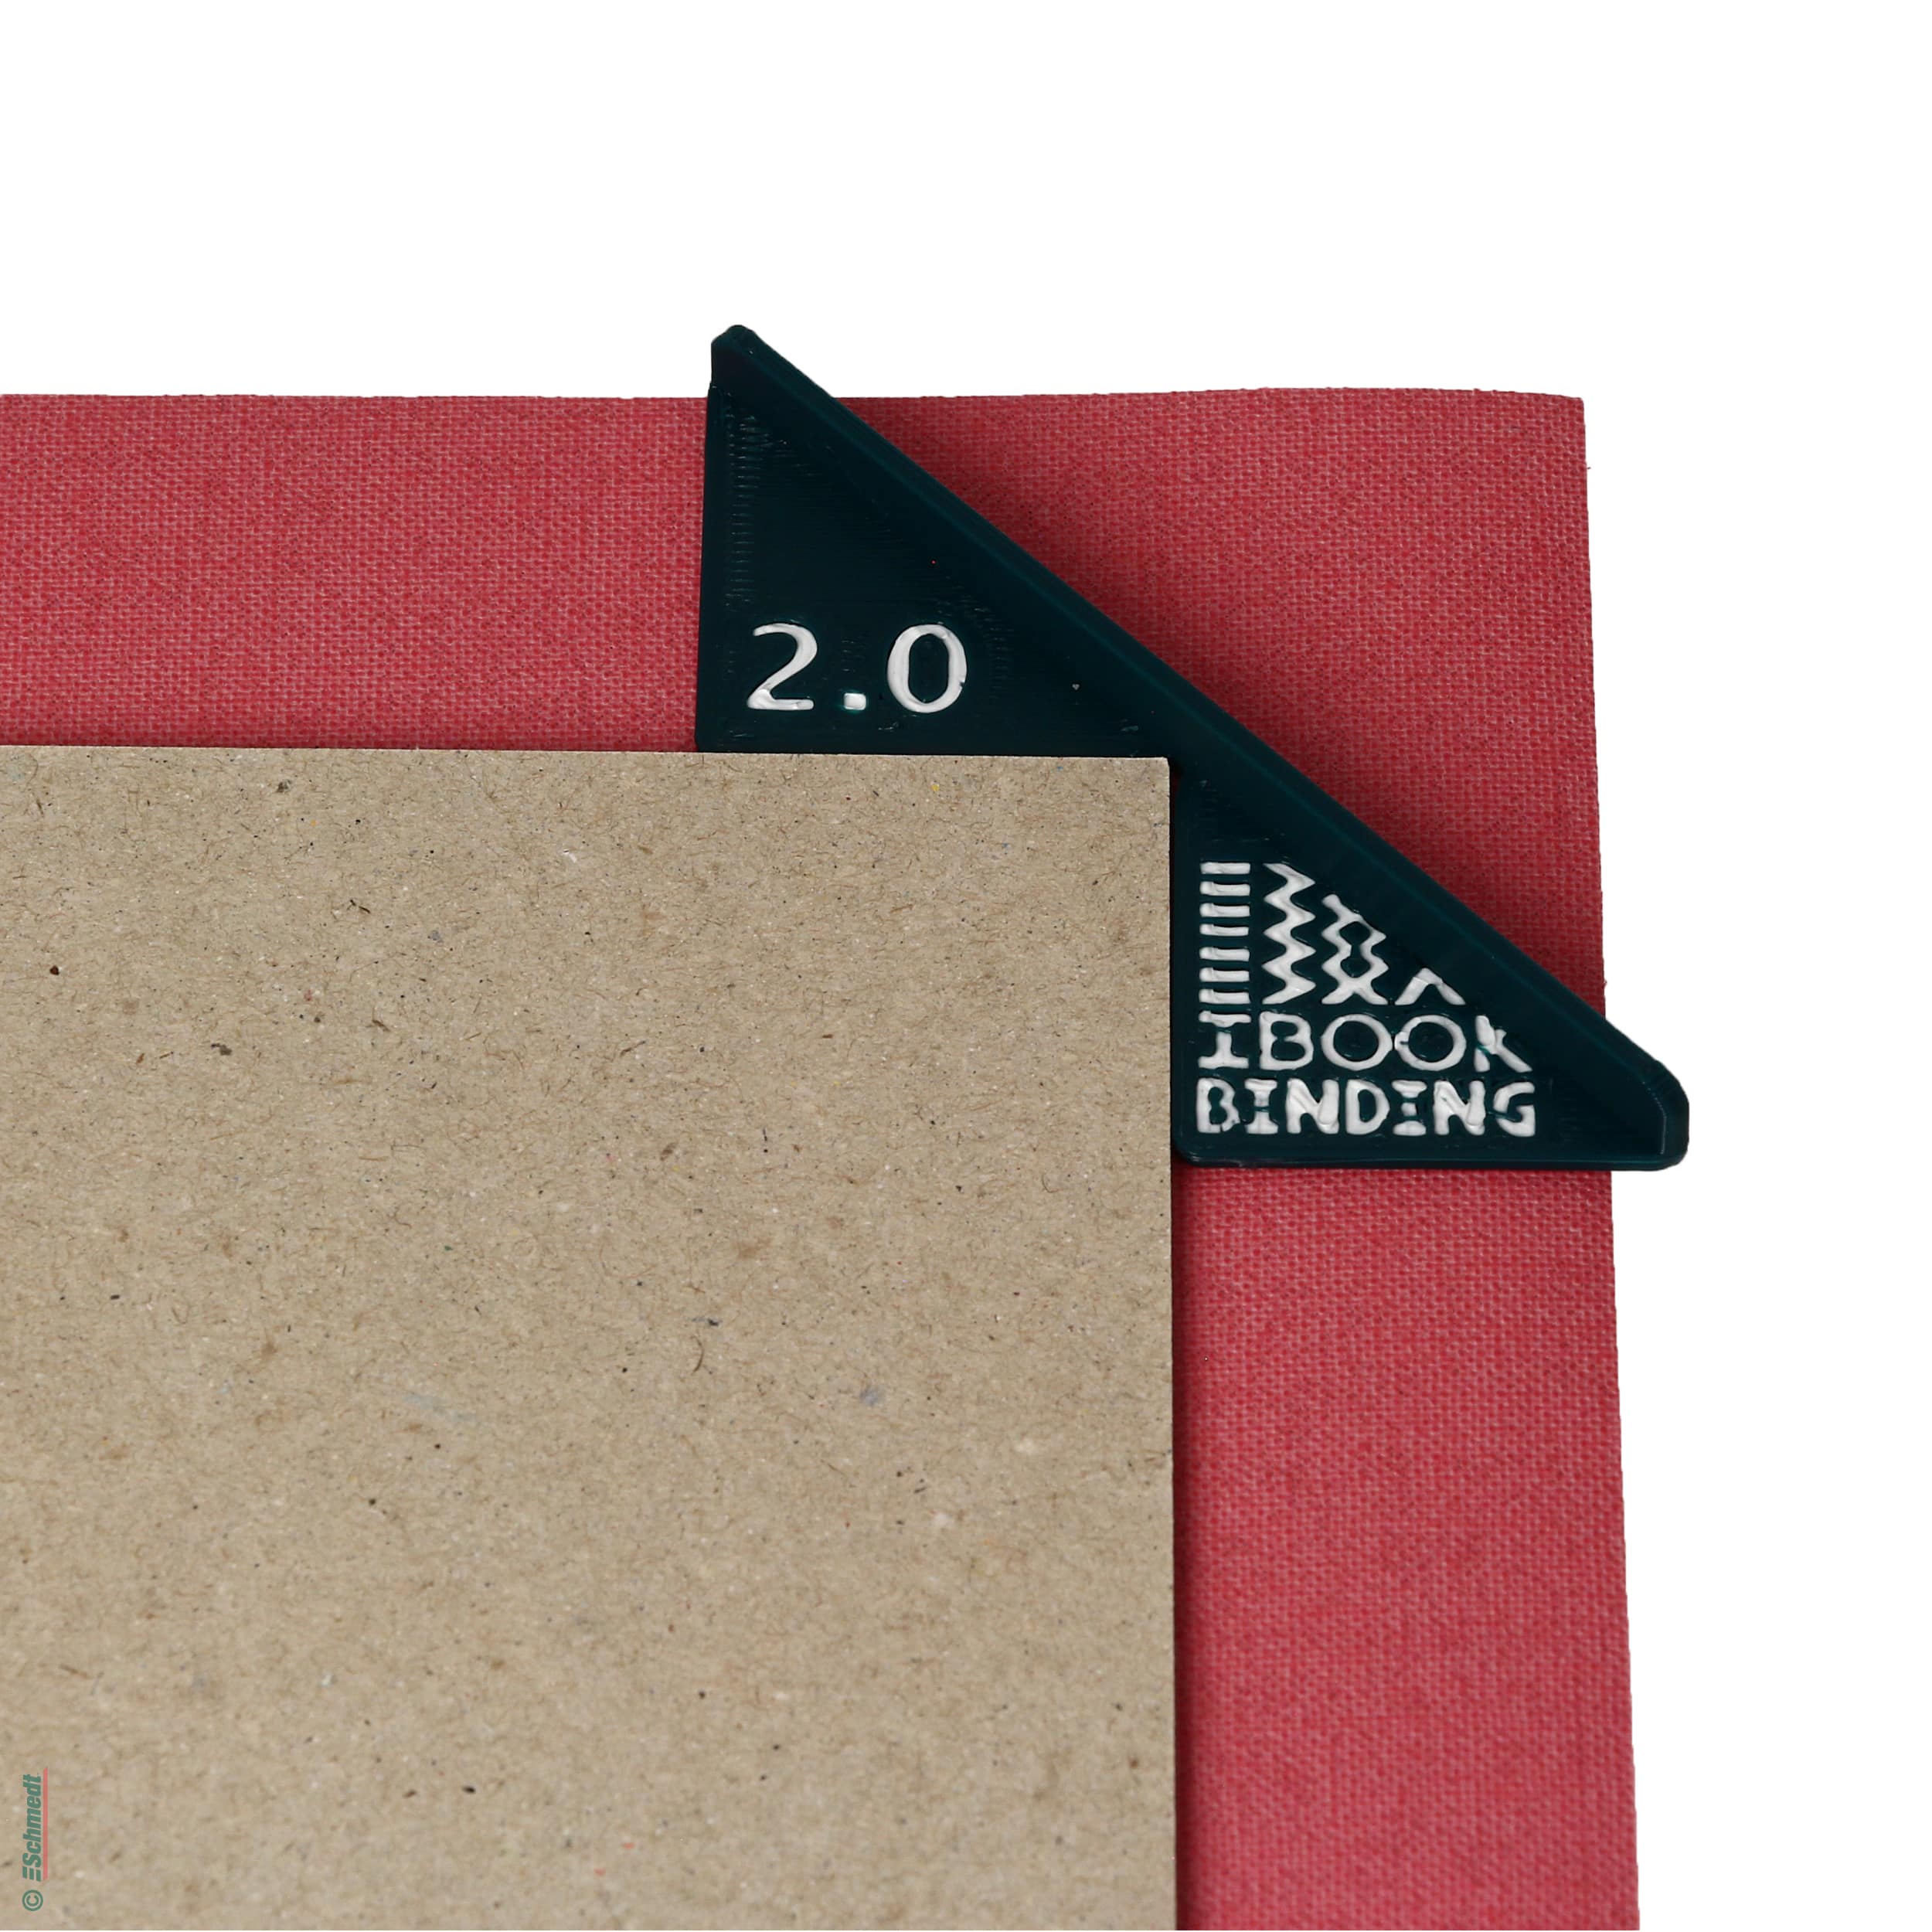
Now add the Casemaking square. For this step, place the angle directly against the previously taped cardboard. This way you make sure that the distance and the angle are always the same. You can easily place the back insert against the angle. Then move the angle to the back insert - the second lid cardboard follows. Press the boards and remove the ceiling making angle.

Step 5: Cut the corners
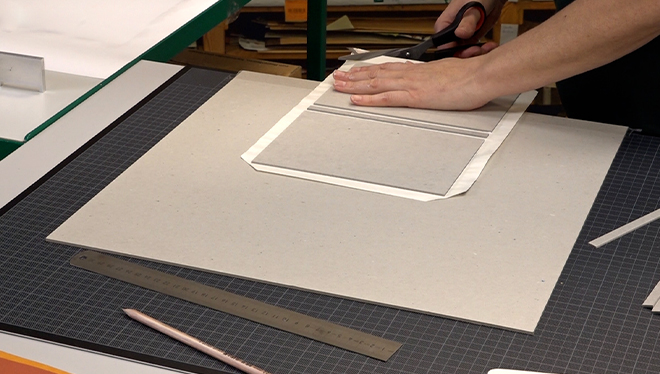
To fold the cloth over at the corners so you can't see the cardboard underneath, cut off the binding material at the corners. To do this, use the corner cutter - a handy tool for this step, because this allows you to cut the corners at the correct angle. If you do not have this tool, align your scissors at a 45 degree angle and cut the fabric with a little distance from the cardboard.
Step 6: Fold over binding material
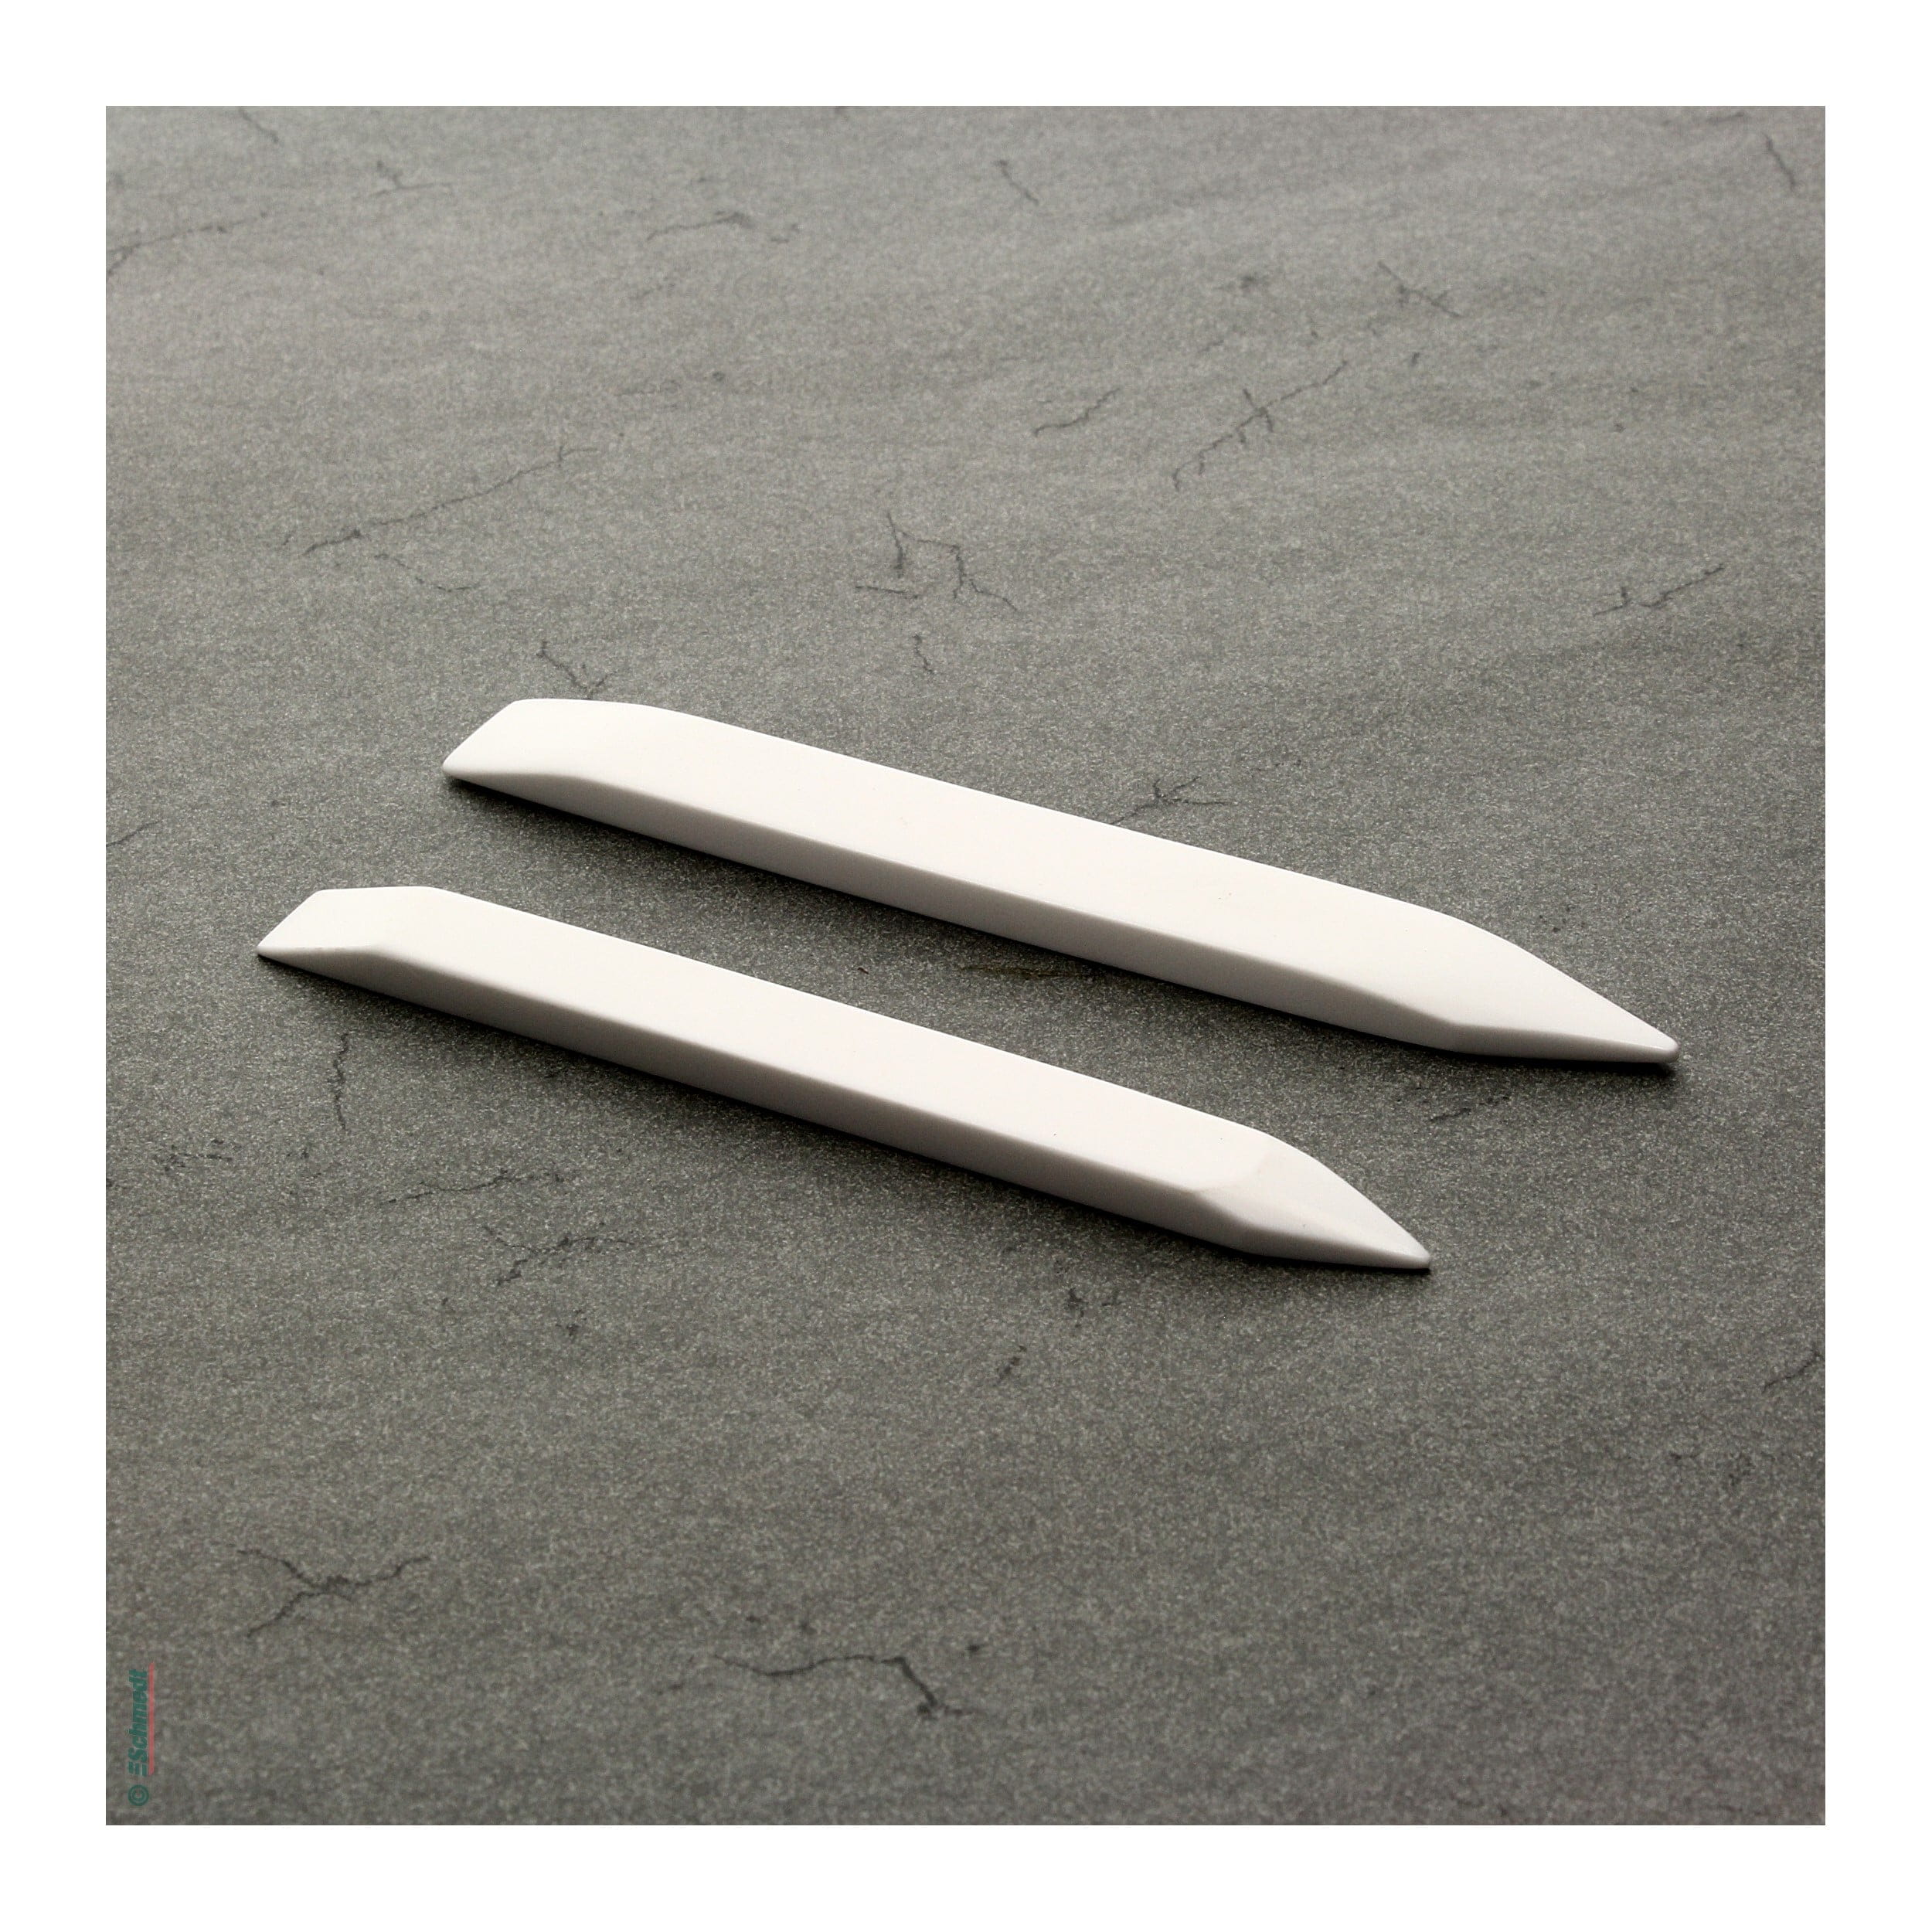
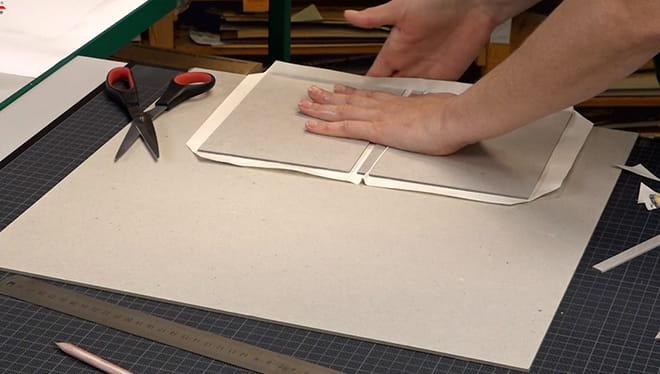
If the overhanging cloth should have dried in the meantime, that's no problem. Simply glue those areas back on. Slide the cover over the edge of your table so that the long edge extends over the table. This will give you a good grip for the now overhanging material of the wrap. As you fold the tissue over, be sure to pull the material tightly around the edge of the cardboard. Tape the cloth in place and rub with a folding leg. Then fold in the corners and fold over the short sides.
Finish the book cover
Trace all edges with the folding leg. Also run the folding leg over the lines that are visible on the fold and spine insert. Sometimes the corners can look a little misshapen if there is too much material. You can correct that with the folding leg as well.

3 What you need for DIY book binding - book cover
You can easily make a book cover yourself with the following materials and tools
4 Buy high quality binding cloth
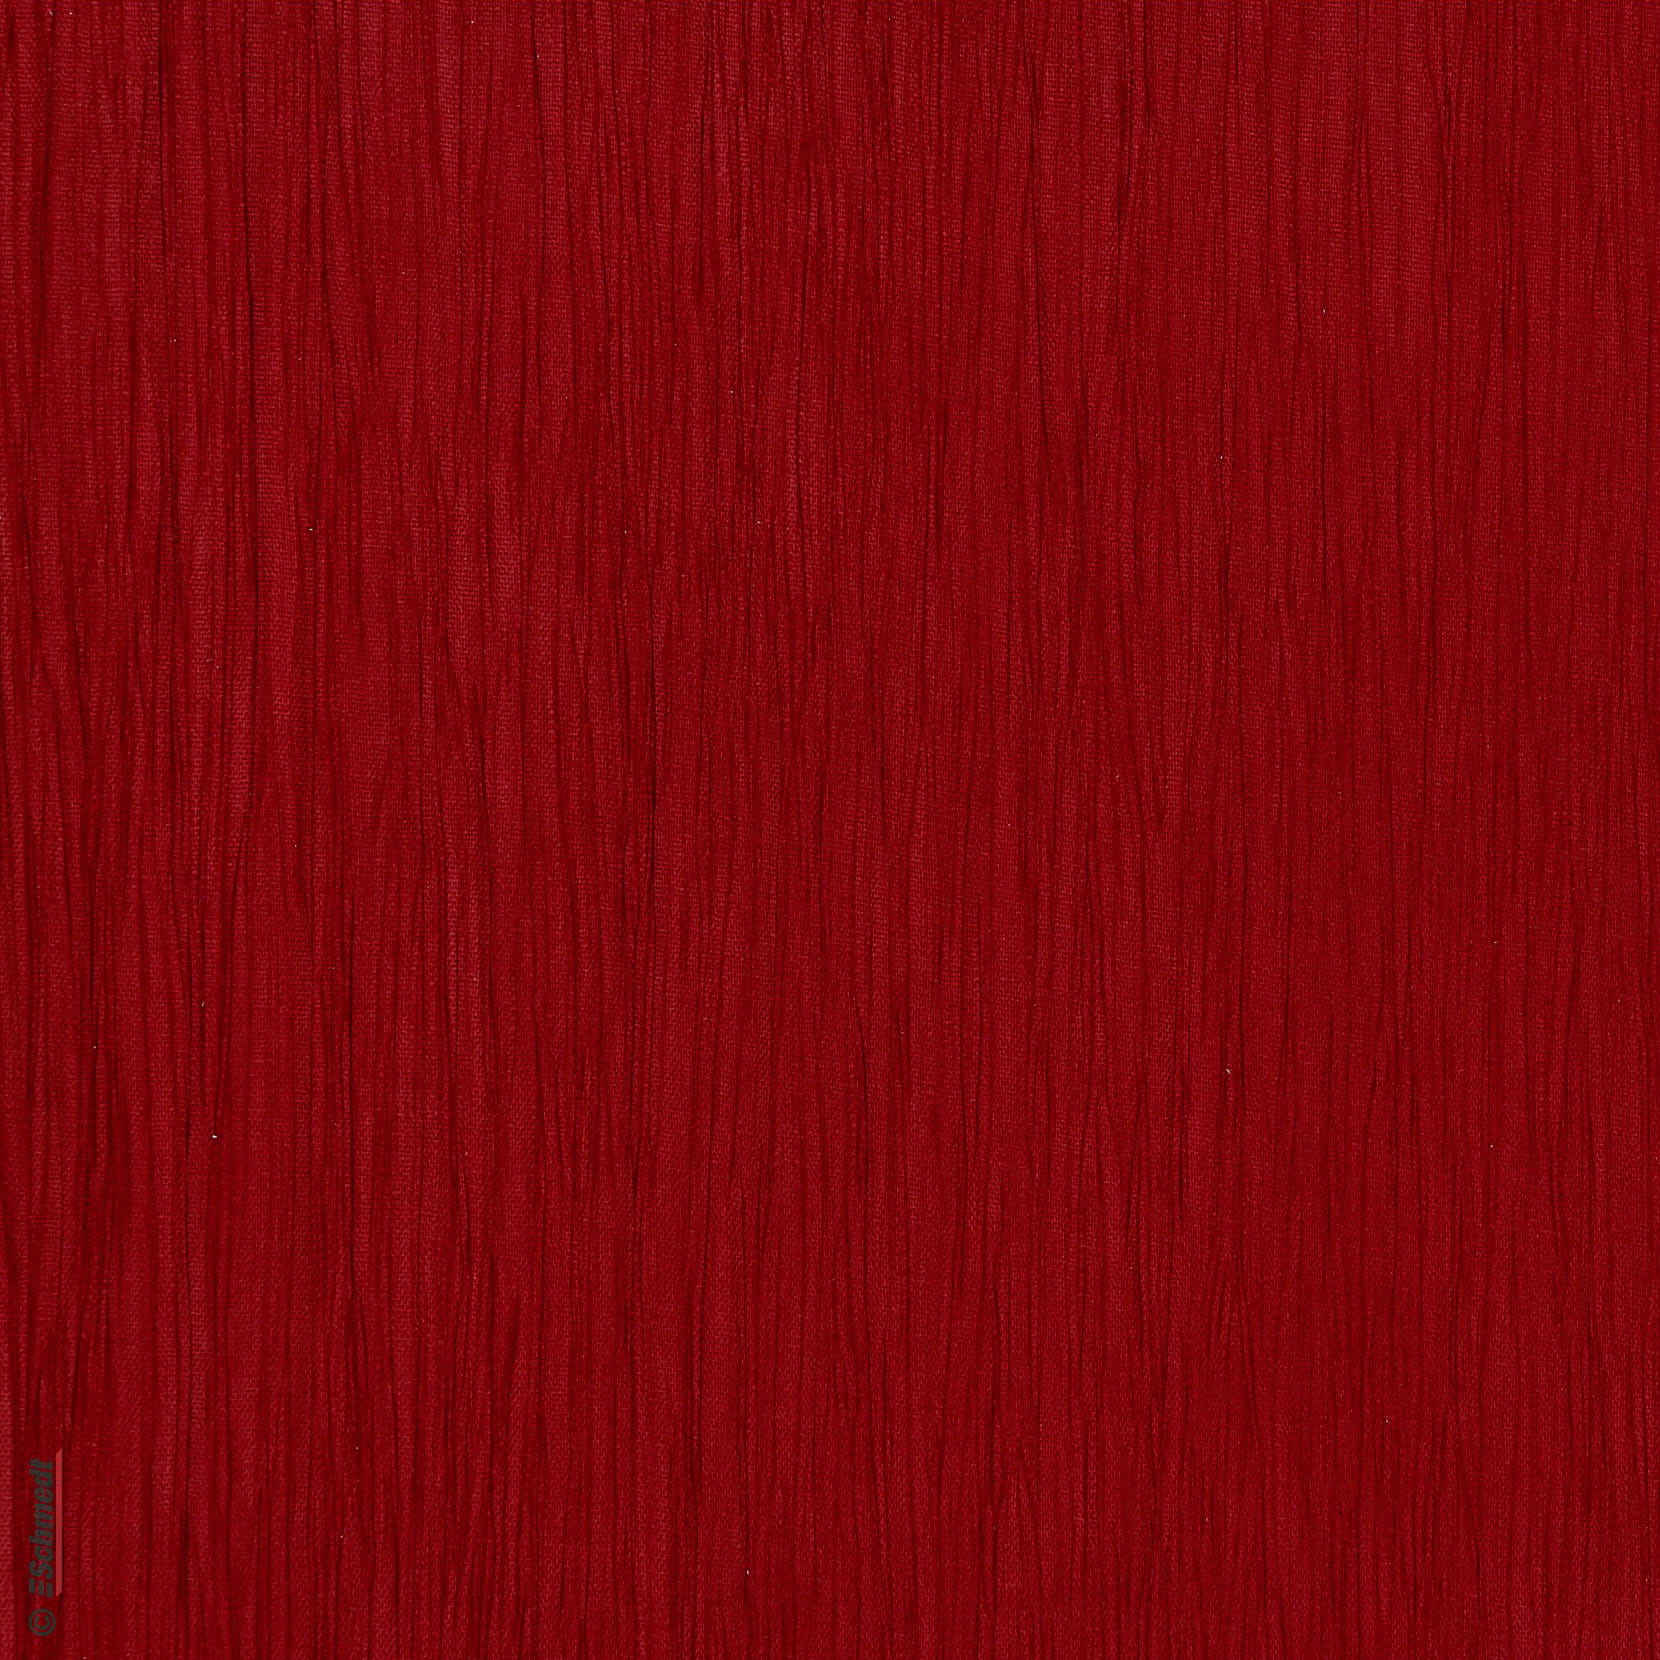
Binding cloth in numerous varieties and colors for a wide variety of DIY-projects

