How to gild edges in just 5 steps - A step-by-step guide to edge gilding
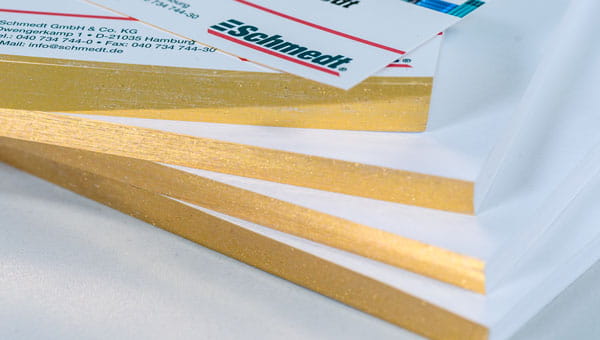
Book-edge finishing was historically used for very high-value books - in the past, every valuable and special book had an edge covered in gold, chalk, graphite or dye. The gilded edge was the highest quality method and was done with real gold leaf (see also our tutorial with gold leaf). Nowadays, edge gilding is used very little and has a very special effect as a result.
Table of contents:
1 Introduction
A book edge, as the name suggests, is the place where the book block has been trimmed. Since one side of the book is the spine, i.e. it holds the book block together, there are three book edges in total. If you want to gild book edges, there is an alternative to gilding with gold leaf: gilding with the edge gilding roller and a edge gilding foil applied by heat. With the right materials and tools, a gilt edge is easy to realise with a little craftsmanship. The most important thing is the preparation of the book edge If the surface is properly smoothed so that it already shines without gilding, the gilding will also be perfect. A clean environment and a steady hand are very helpful.
2 Step by step to a gilt edge
We show you how to gild book edges yourself in just five steps. In addition to the description below, the process is also illustrated in the following video:
Step 1: Preheat edge gilding roller
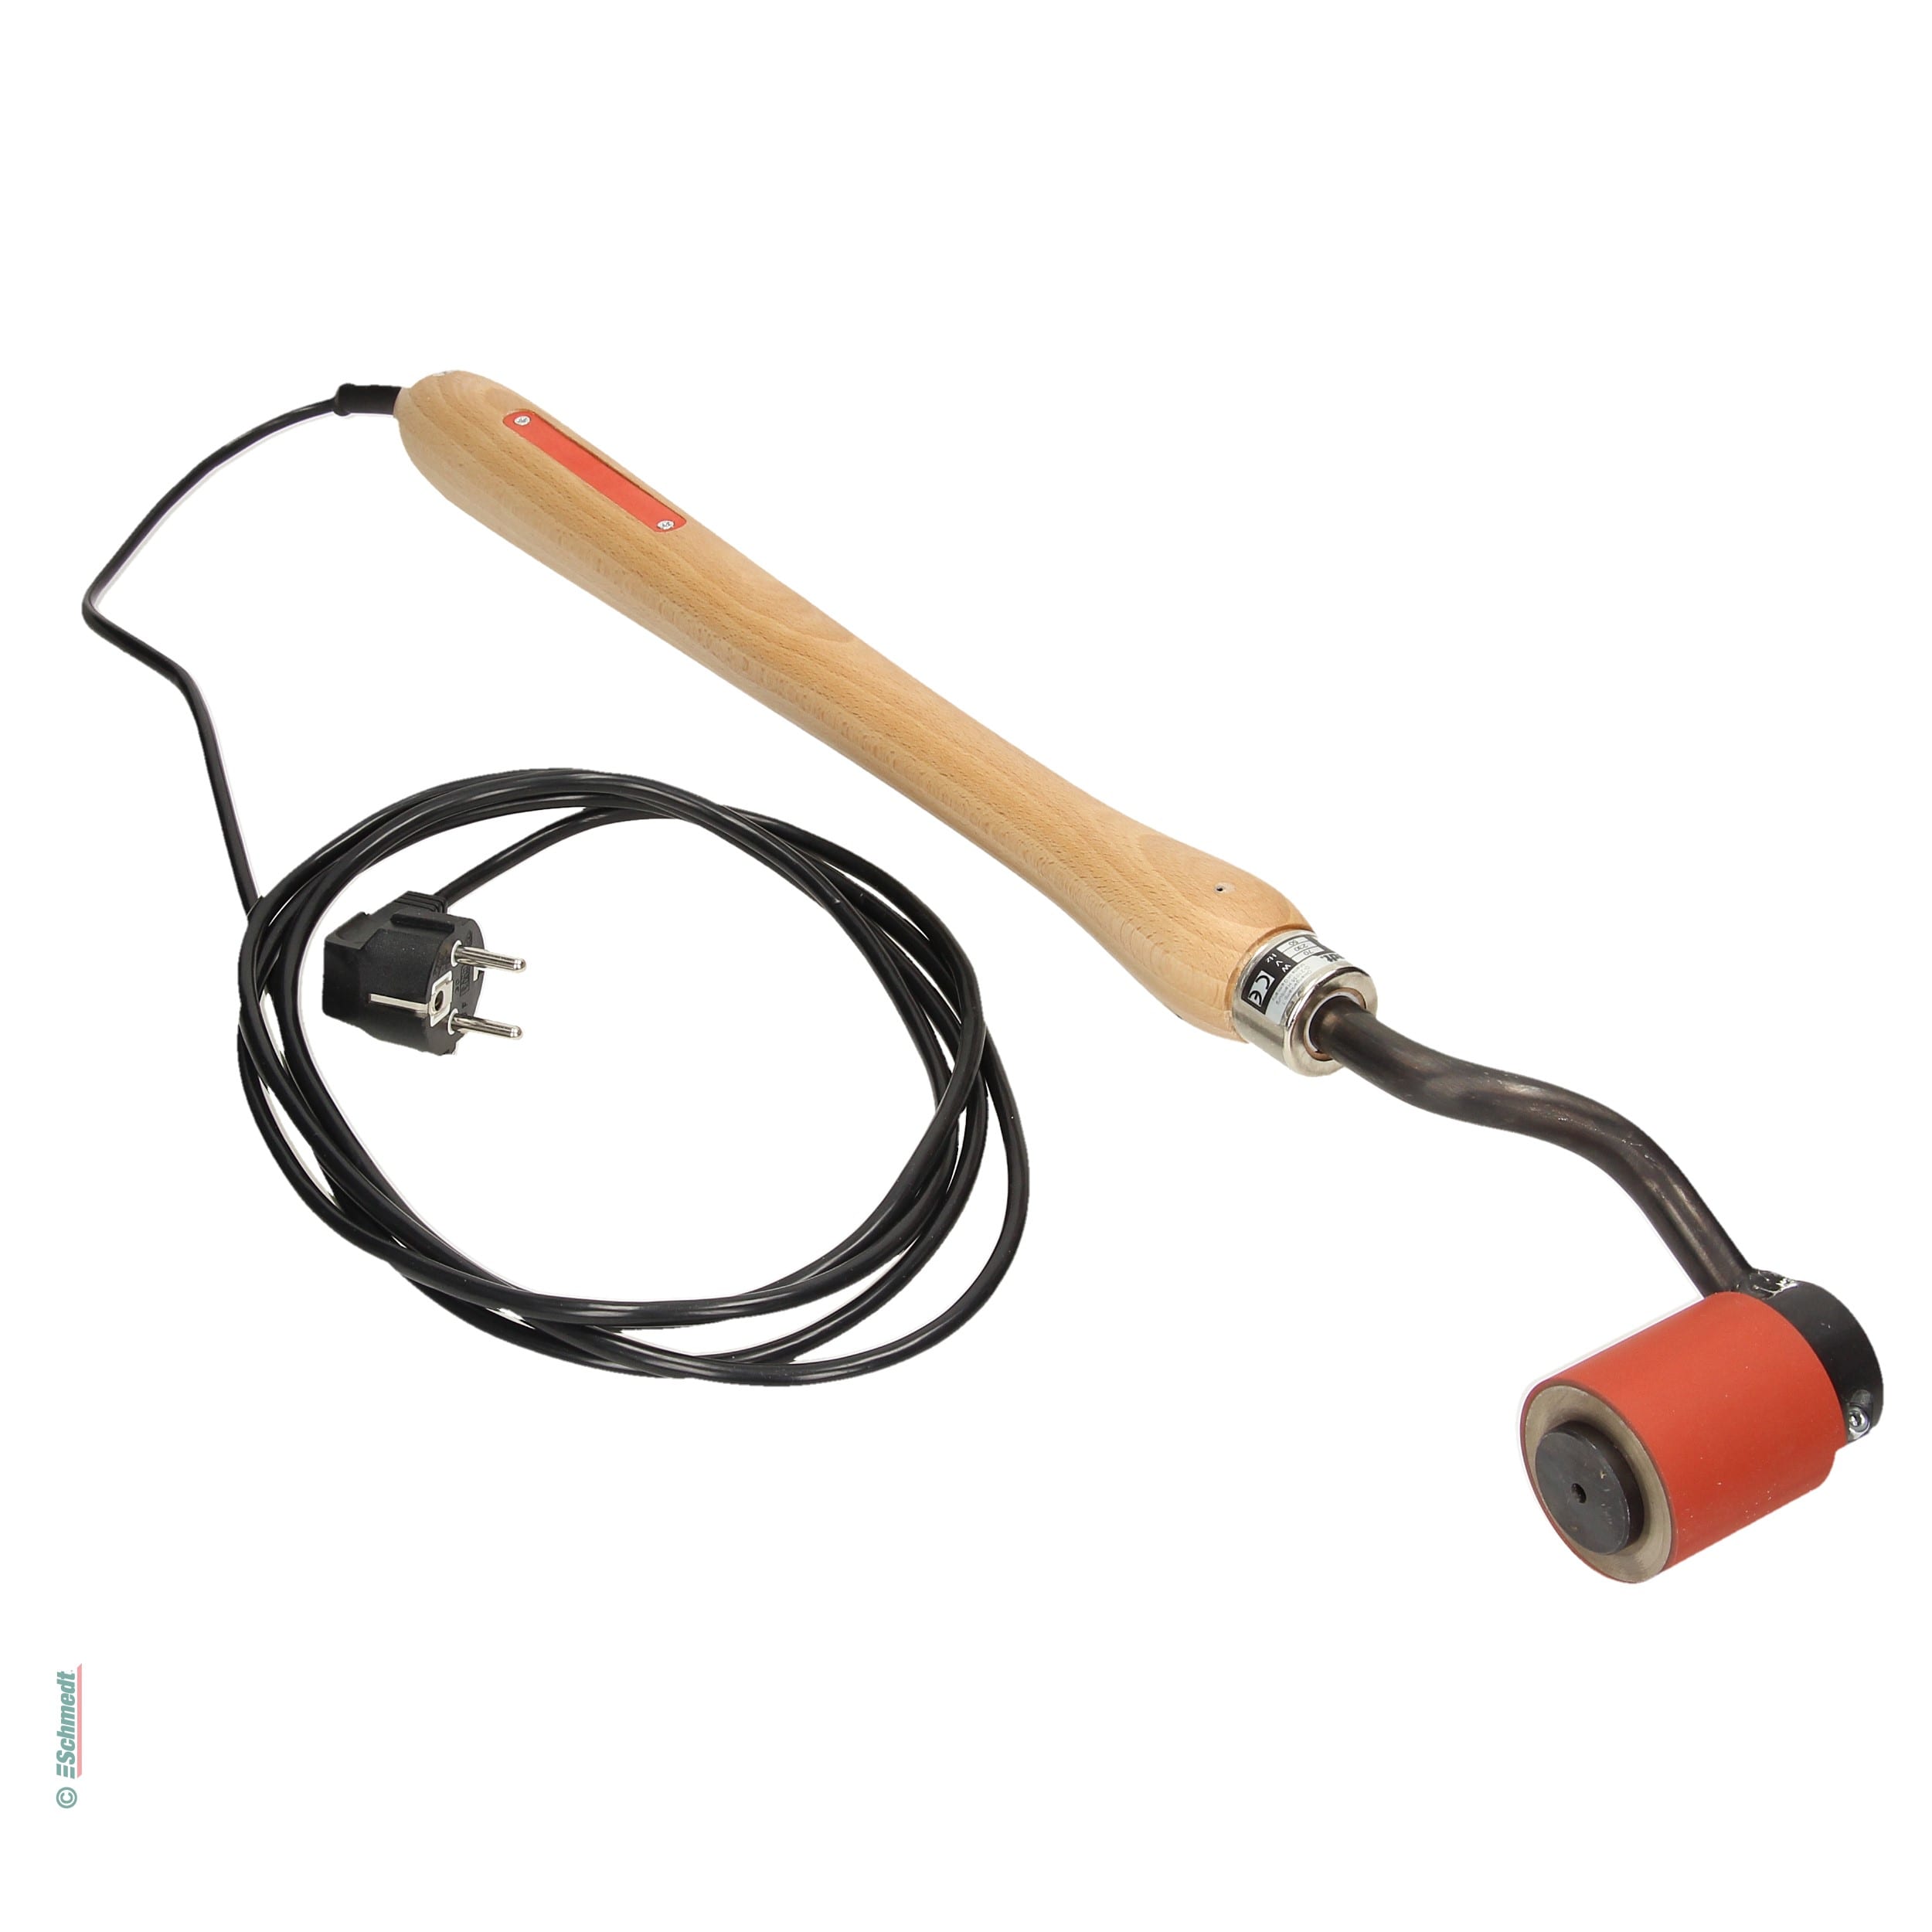
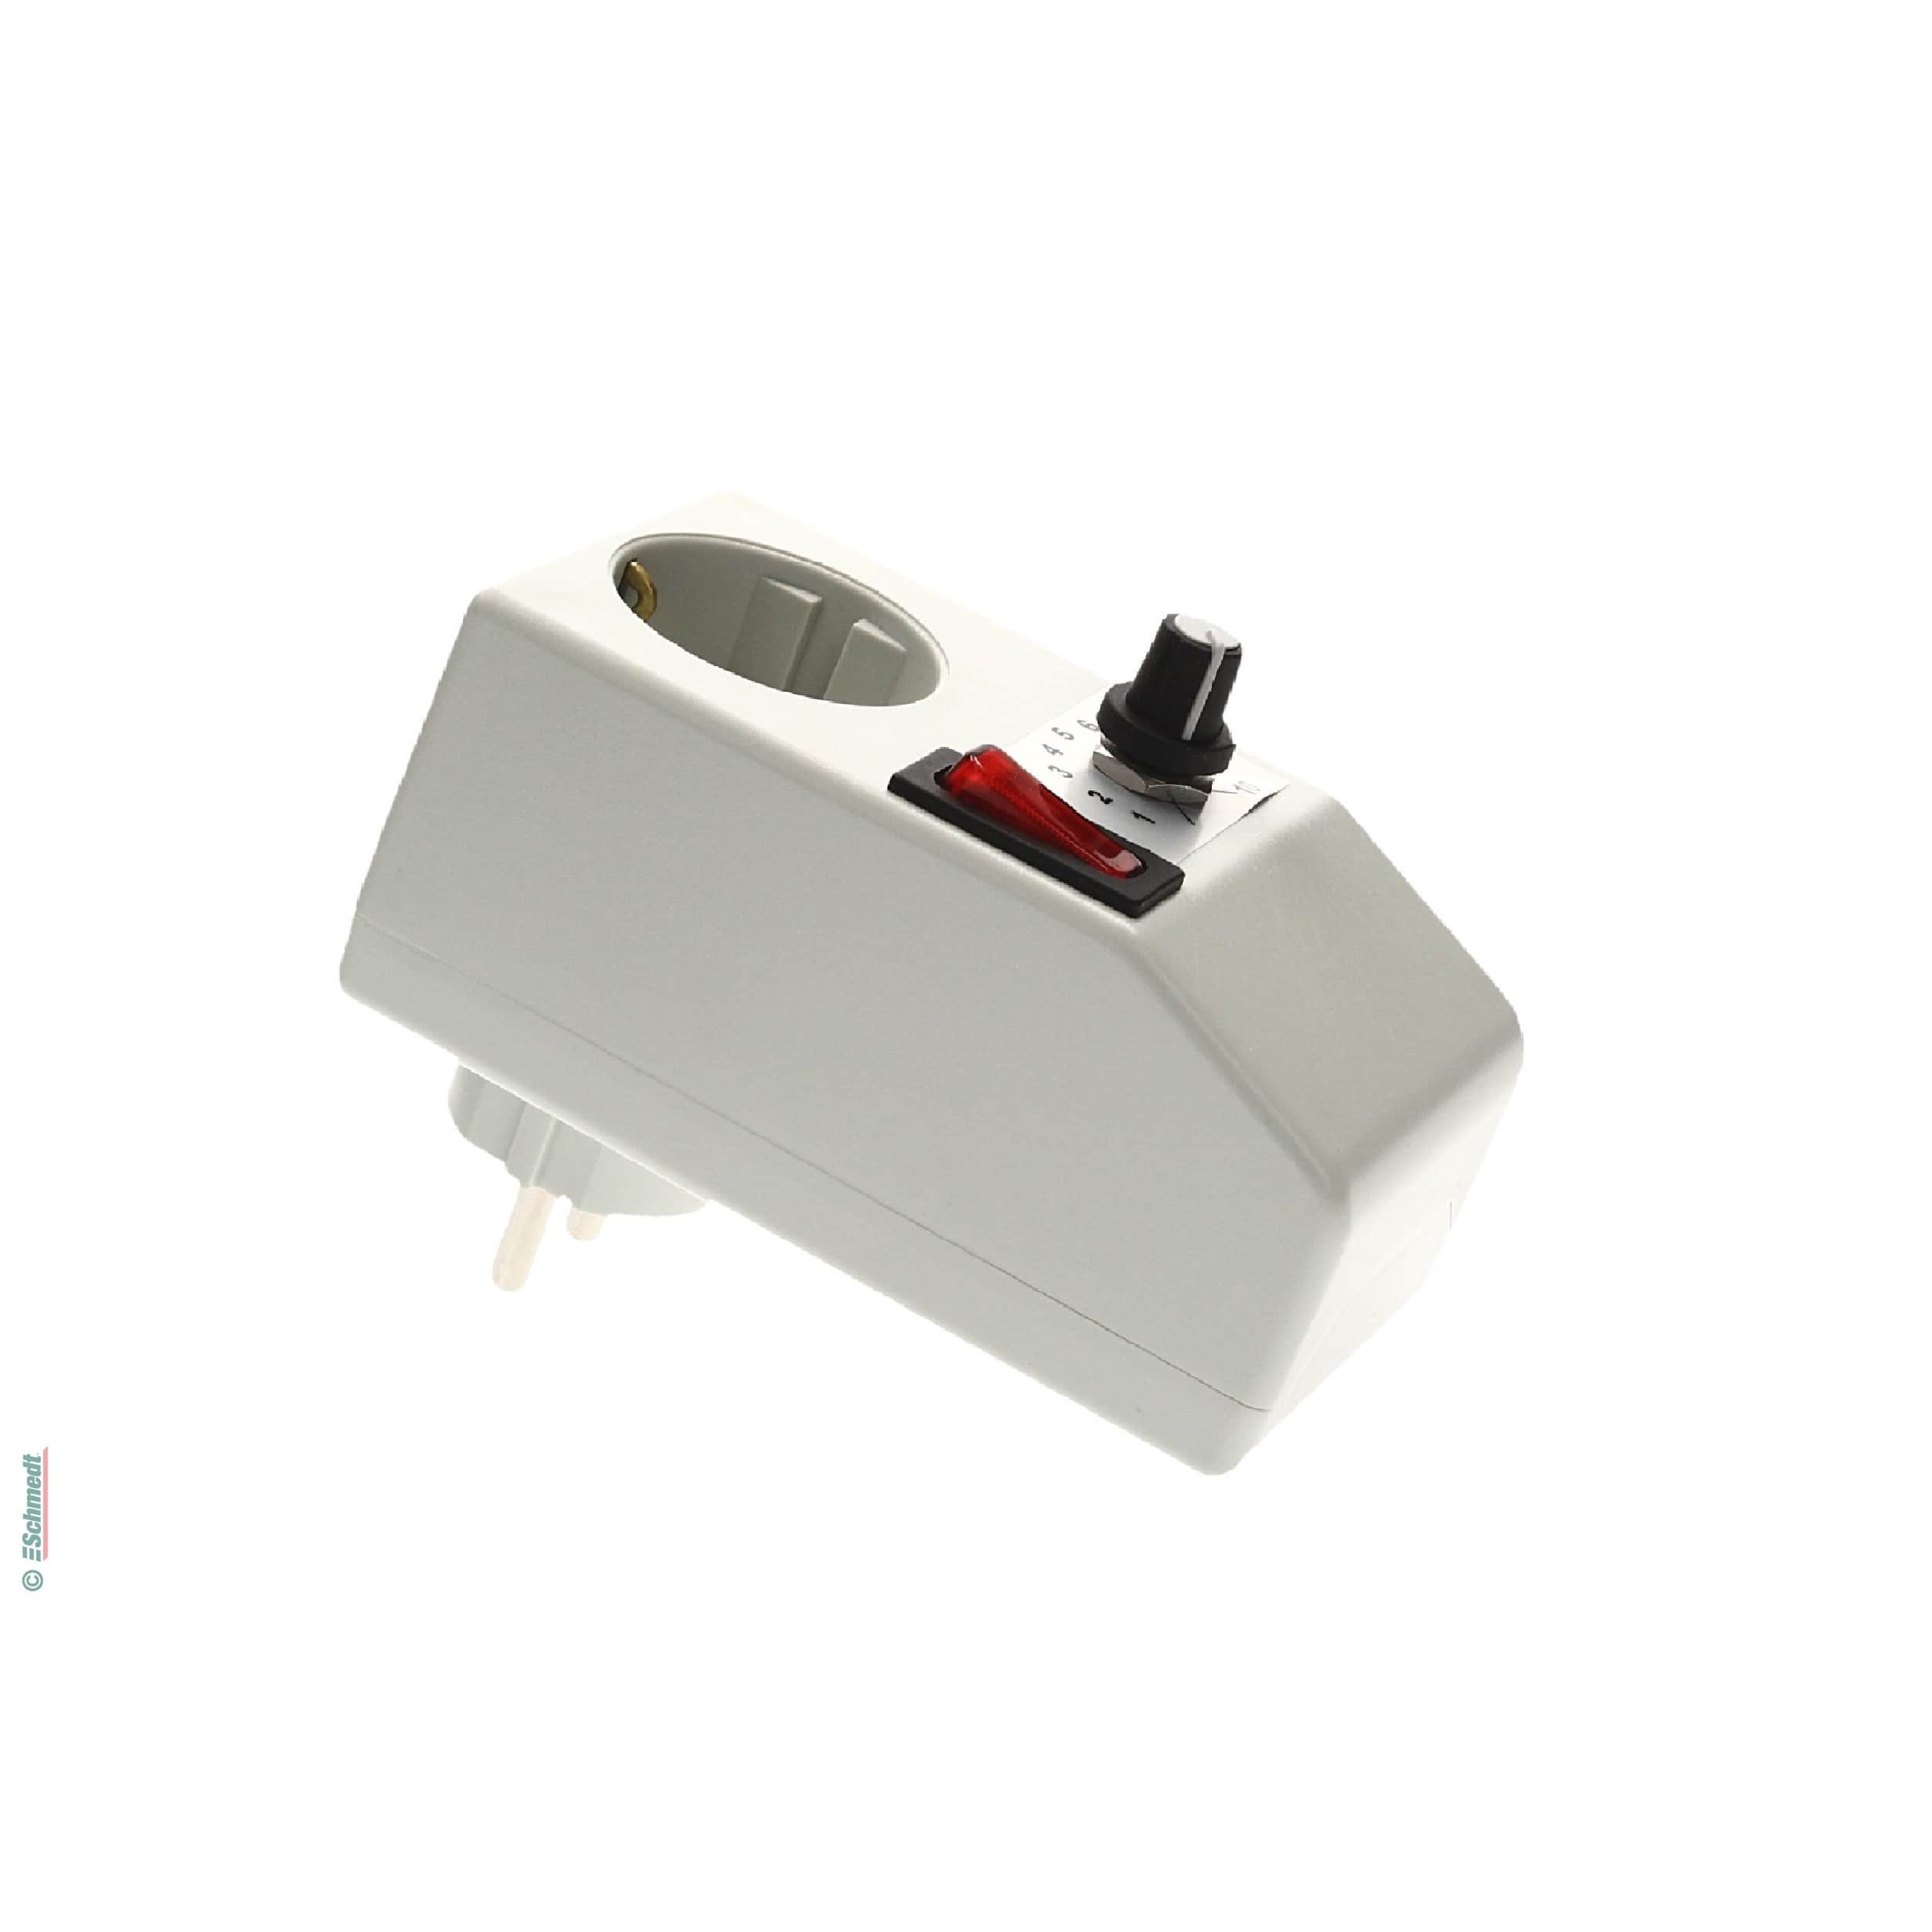
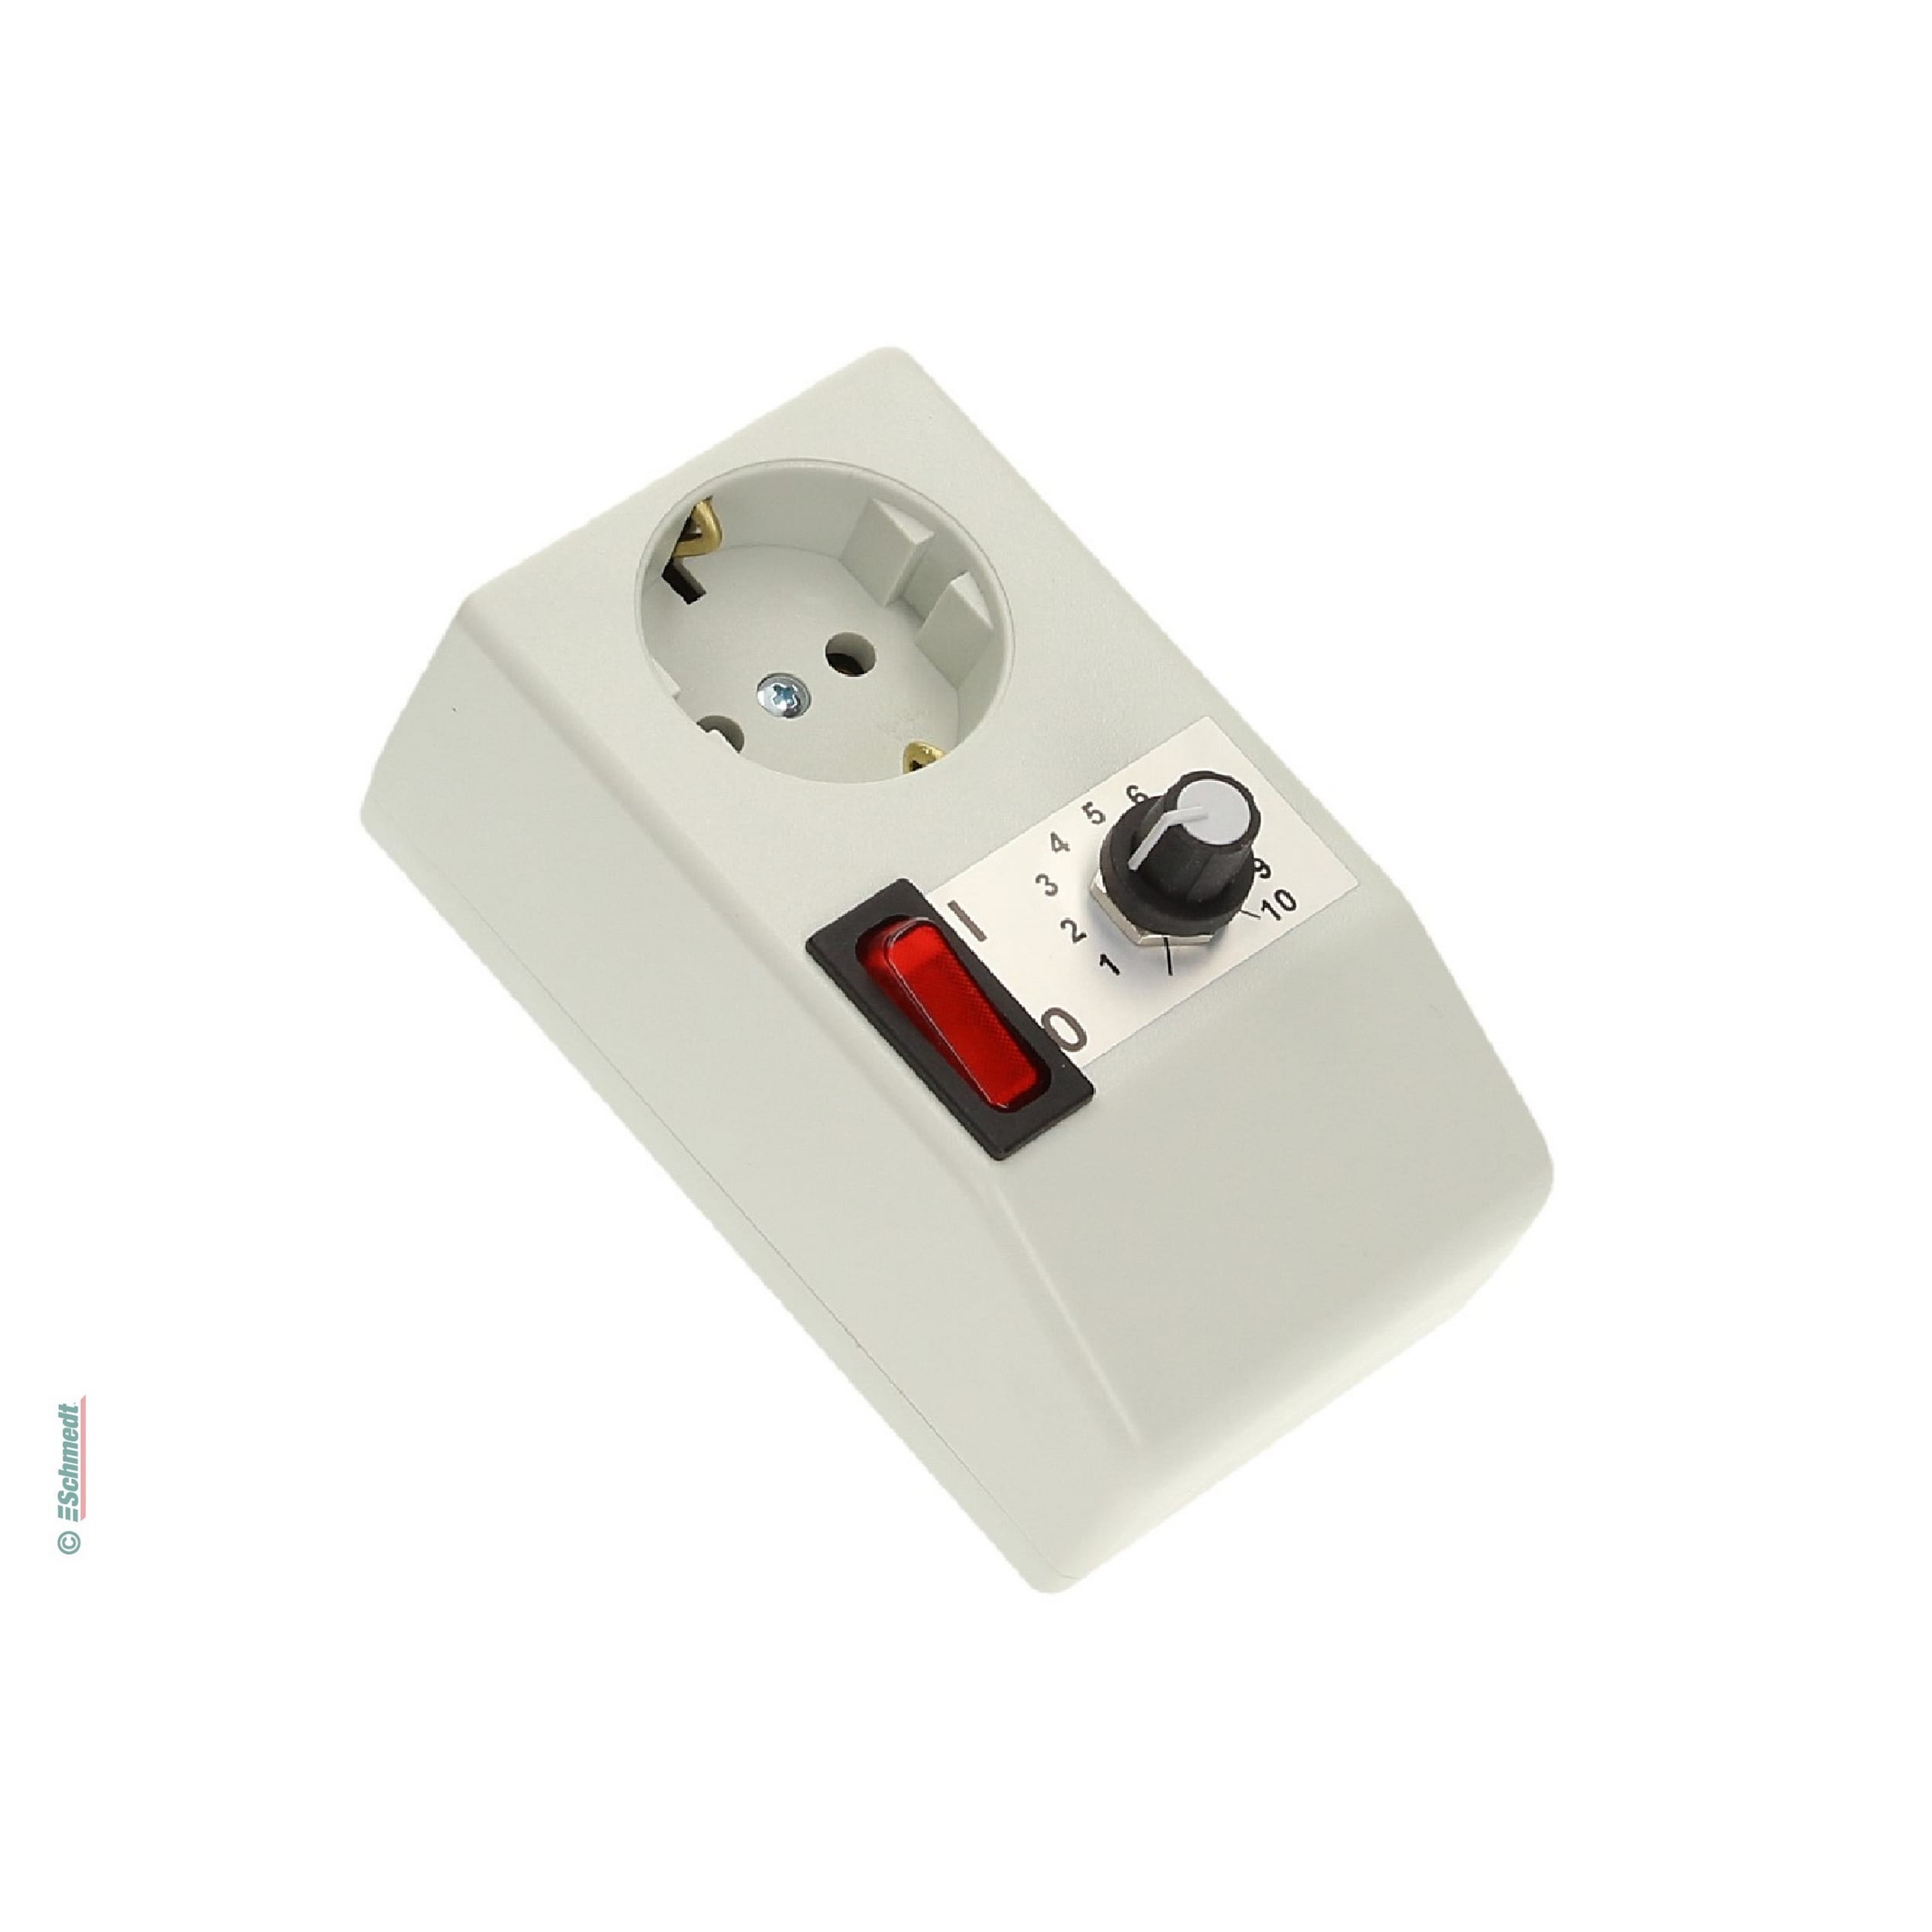
In order to start gilding the edge, the edge gilding roller must first be preheated. To do this, connect the edge gilding roller to an external thermostat and heat it up according to the instructions (important: the roller must not overheat).
Step 2: Grind the book edge smooth
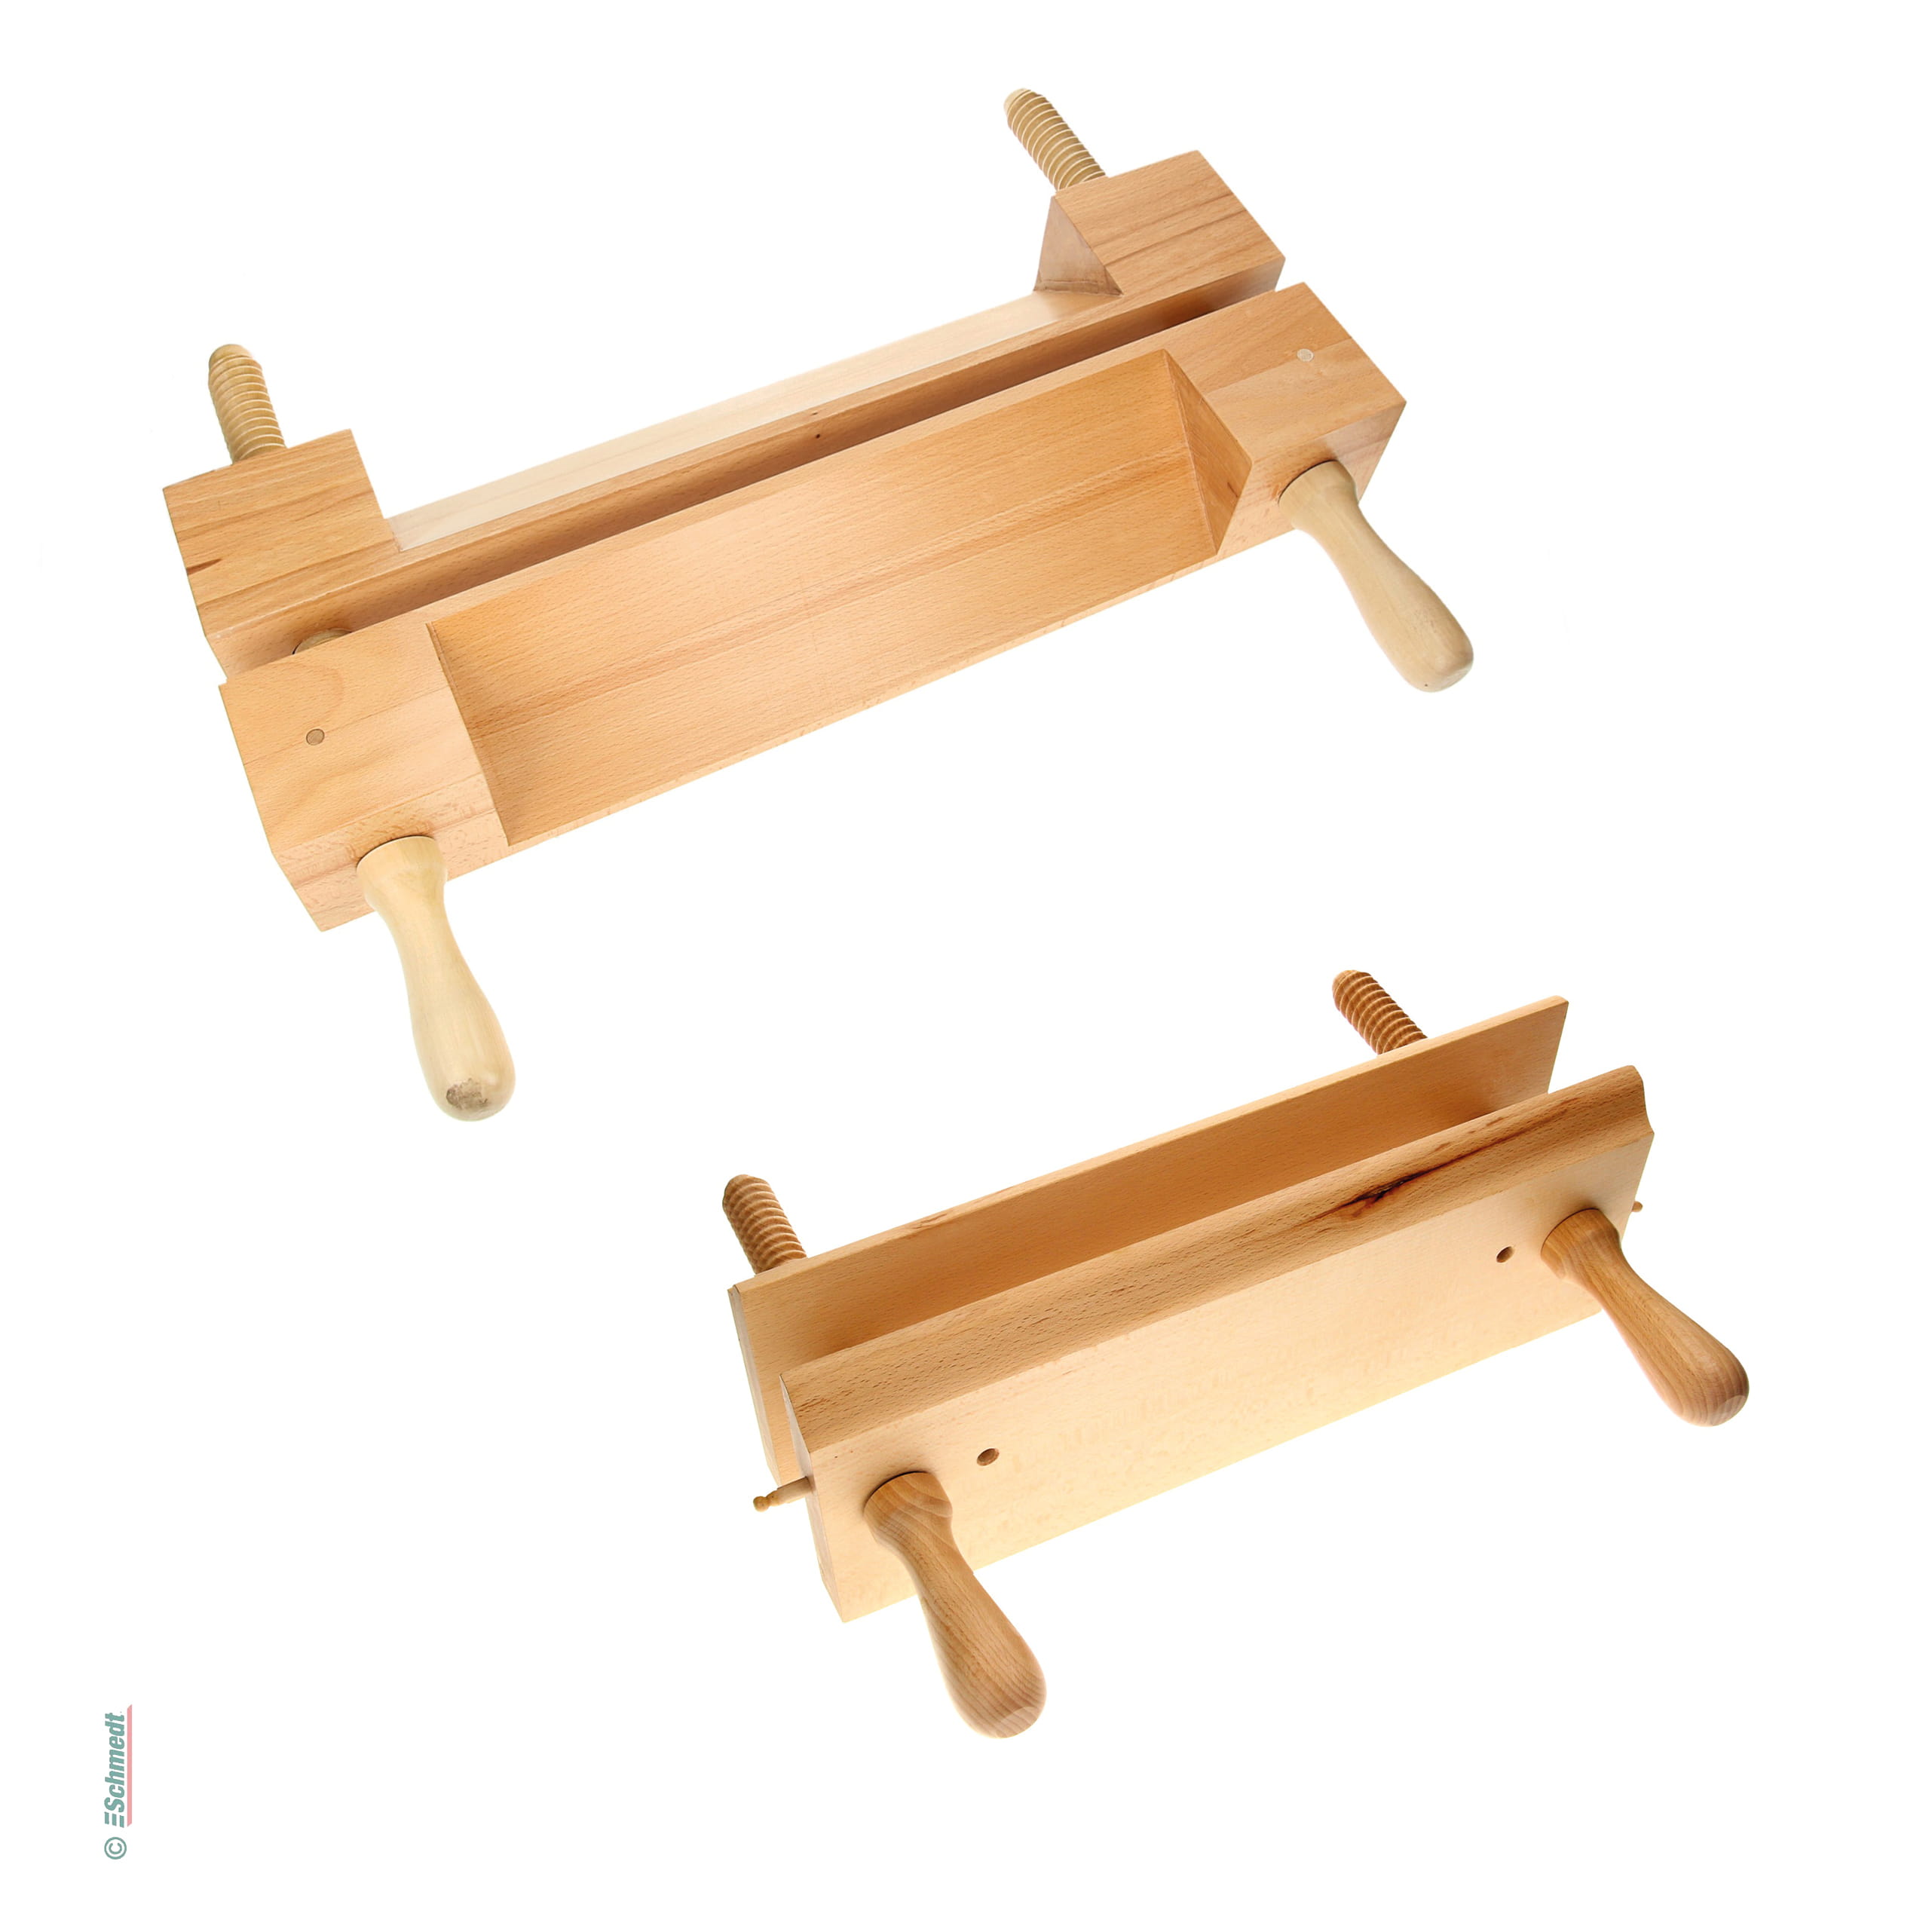
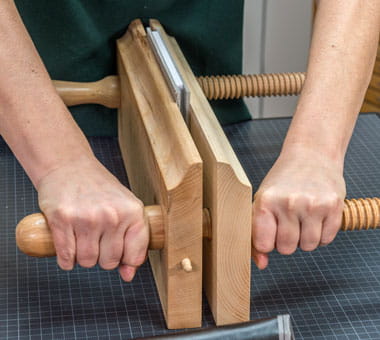
A piece of cardboard about 3 mm thick is placed in front of the book block on both sides and the whole thing is then clamped in a gilding block press or in a gilding block in such a way that the cut protrudes about 6 mm. Important: The book block must be firmly clamped.
The book cut is now sanded clean and smoothed. A belt sander, for example, which is available in tool shops, is very suitable for this. Use a rough belt (100 grit) to remove the rough unevenness and then use a very fine belt (400 or 600 grit) to achieve the smoothest, most reflective surface possible. Sanding can of course also be done manually with emery paper.
The abrasion must be removed again and again to keep the edge clean. Care is needed here, any unevenness or dirt will be visible later. It is advisable to use a hoover to remove the abrasion. For extremely difficult materials (if a satisfactory result cannot be achieved), edge gilding primer can be applied in advance using a cloth. After sanding, the edge must mirror.


Step 3: Applying foil with edge gilding roller
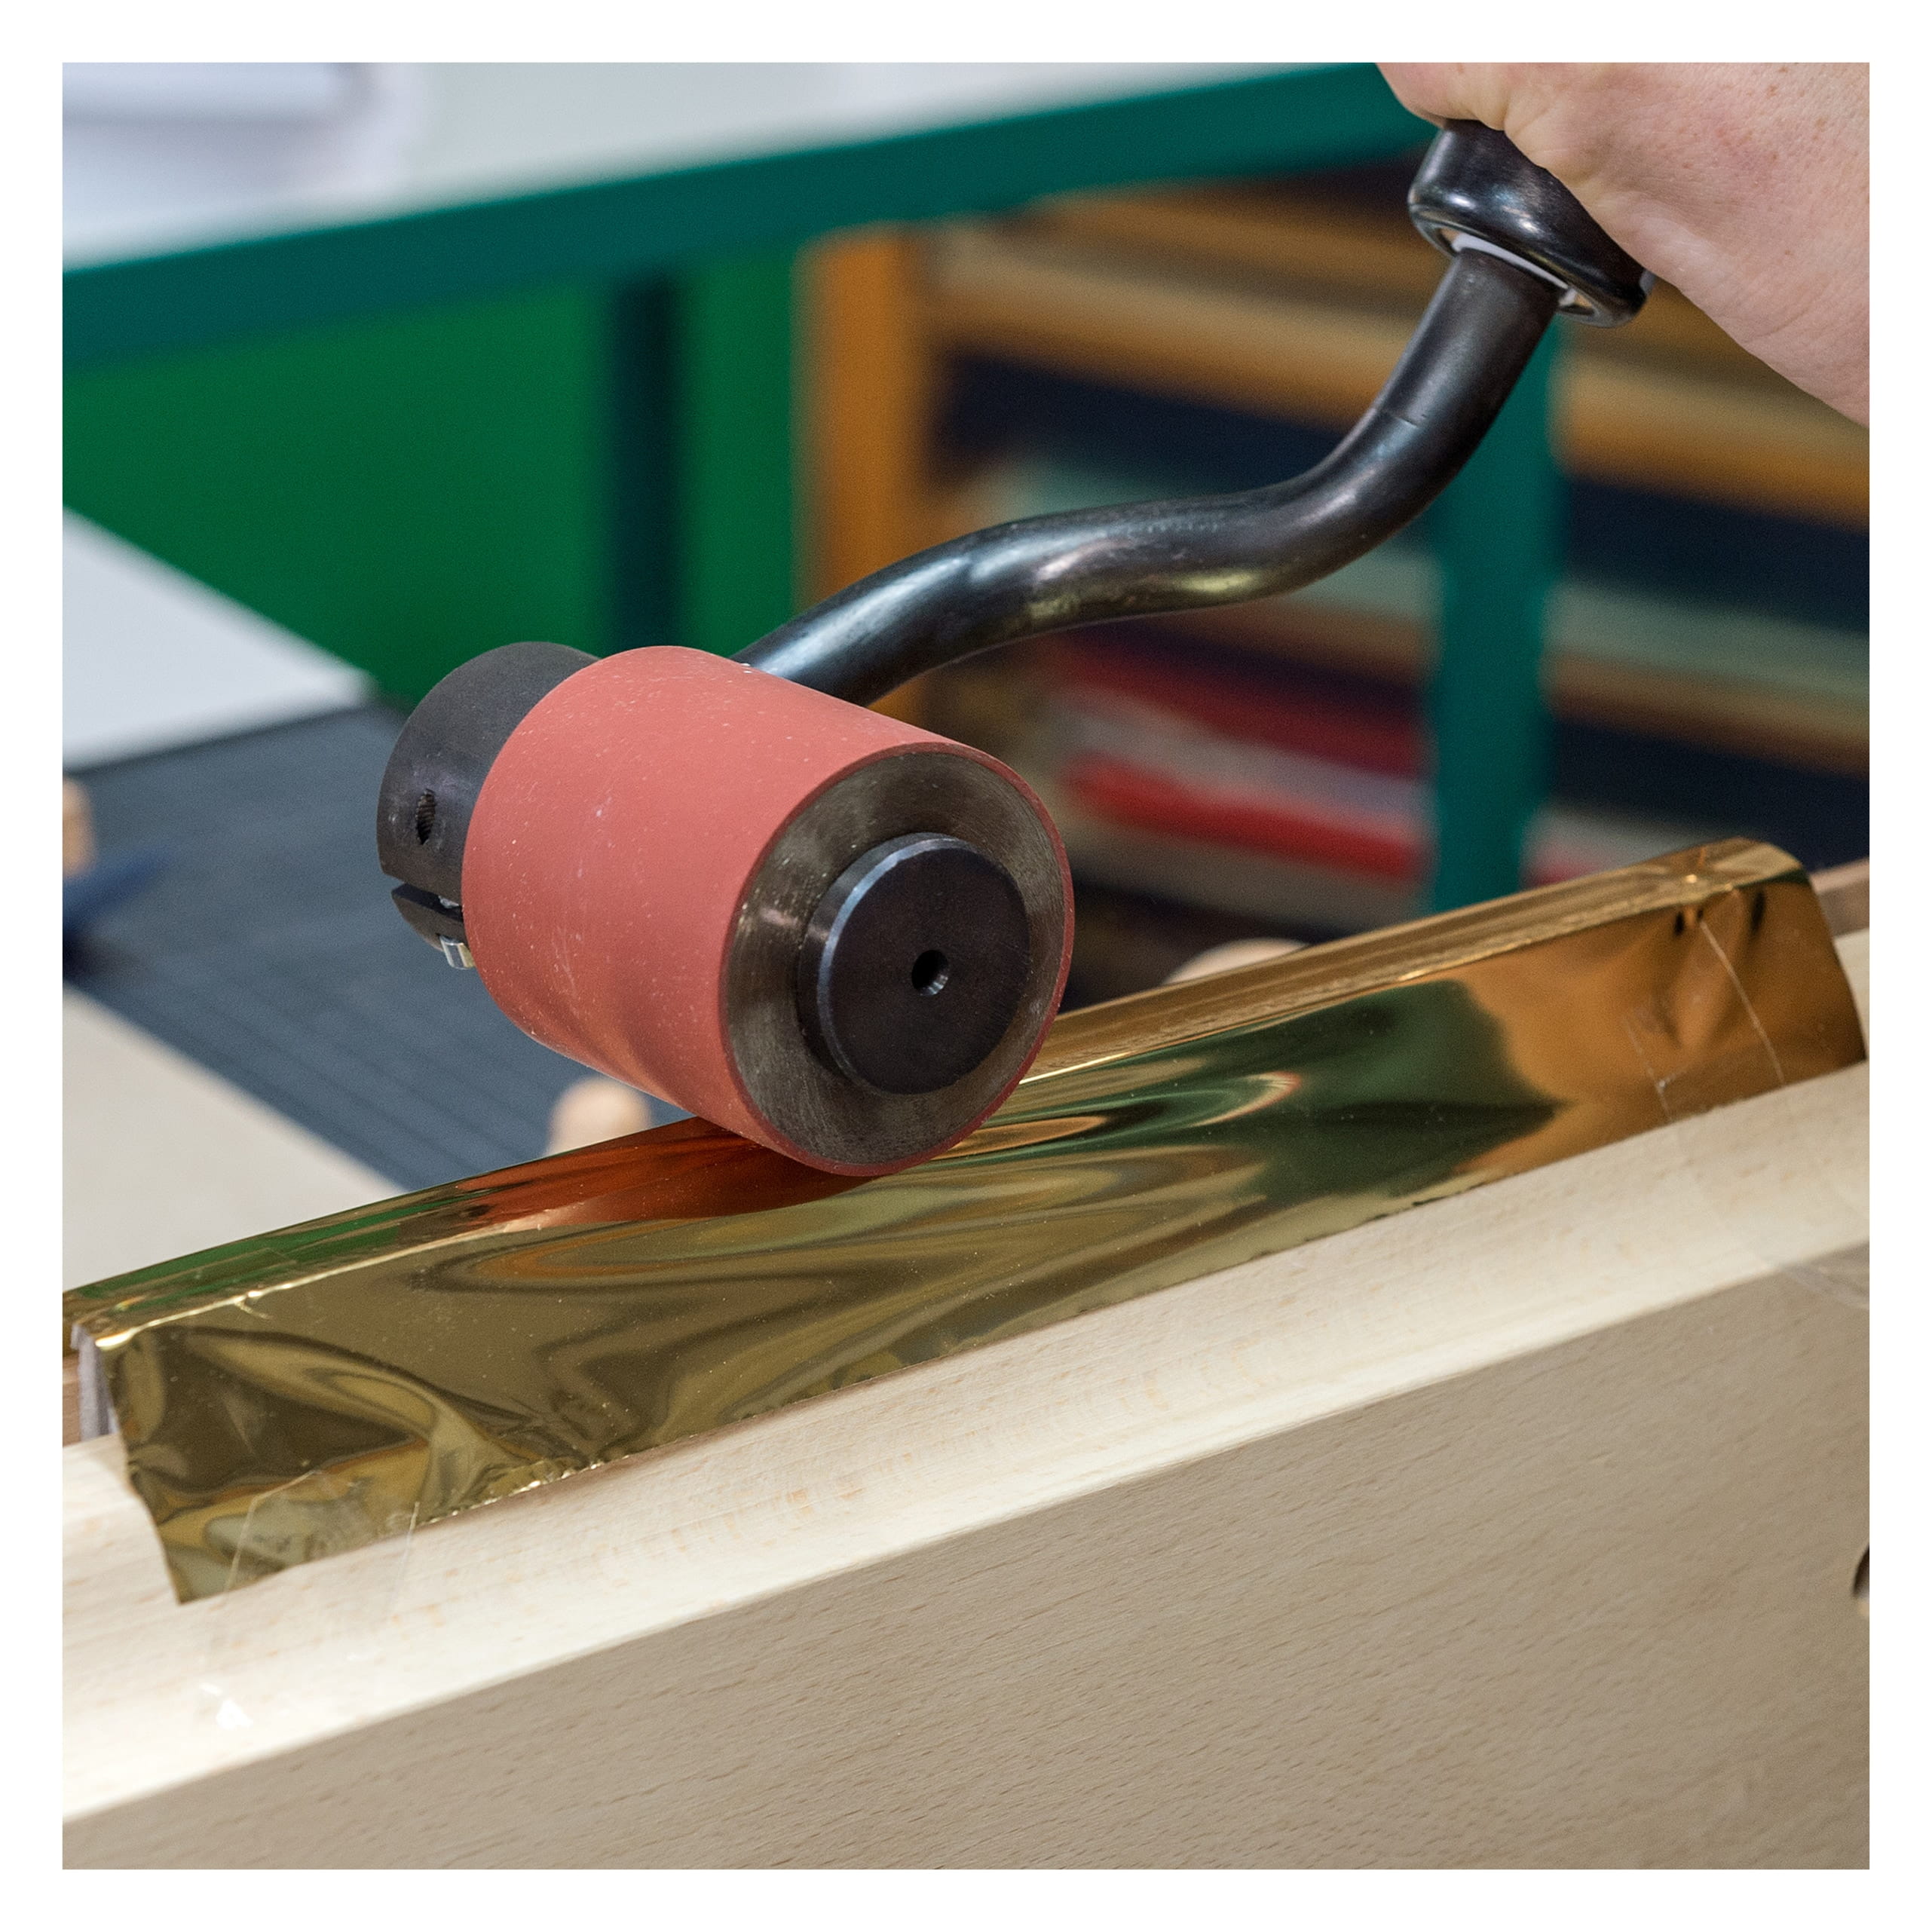
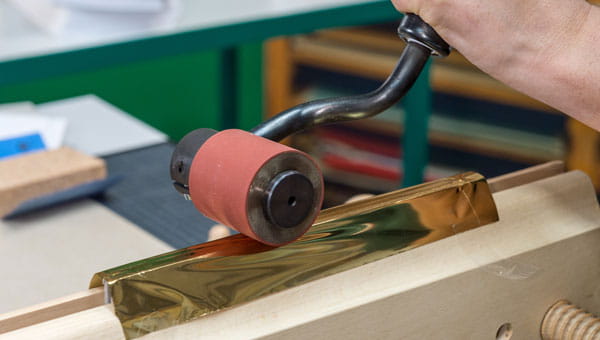
Before the gold cut foil can be placed on the sanded cut, the gold cut base (if used) must dry first. When this is done, the foil is placed on the cut and fixed with a small strip of adhesive tape. When the desired temperature is reached (heating process should take about 10-15 minutes), the foil is rubbed onto the cut with the gold cut roller using pressure and heat. For this purpose, the preheated gold cut roller is carefully placed on the foil and the cut underneath and moved with light pressure. After this fixation of the gold colour on the cut, pressure should be slowly increased to ensure that the gold colour adheres firmly.
When the foil is rolled on with the edge gilding roller the combination of heat and high pressure detach the foil from the backing material and transfers it onto the book edge. The edge gilding roller makes it possible to apply mirror-finish gold or silver cuts to book blocks with the help of a special edge gilding foil that is equipped with a thermally reactive gloss layer.

Step 4: Remove remaining foil
Then carefully remove the protruding foil and gently remove the boards from the block.

Step 5: Loosen pages with wave-like motion
Of course, you also want to be able to open the book block. To ensure that the foil does not simply tear off the edges of the book again when it is opened, the book block must be moved carefully in a wave-like manner. This allows the block to be opened without damaging the foil.

3 Which material and tools do you need?
You can easily make your own gilt edges with the following materials and tools.
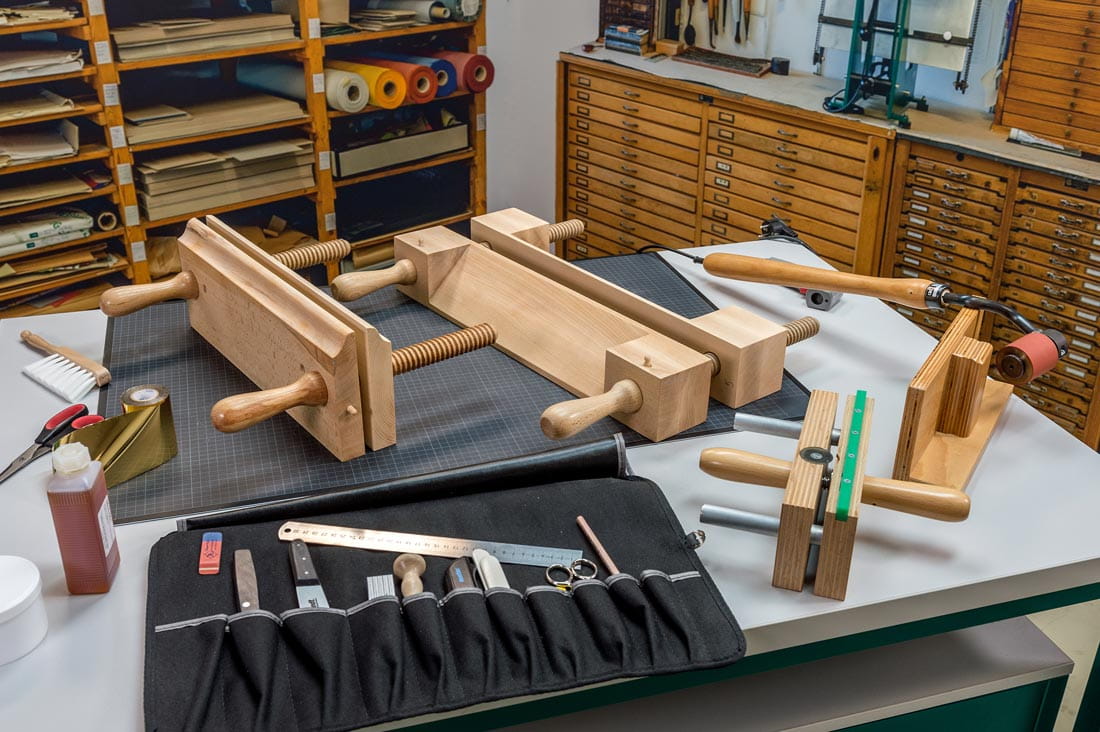
Not shown: Thermostat, sandpaper, cardboards
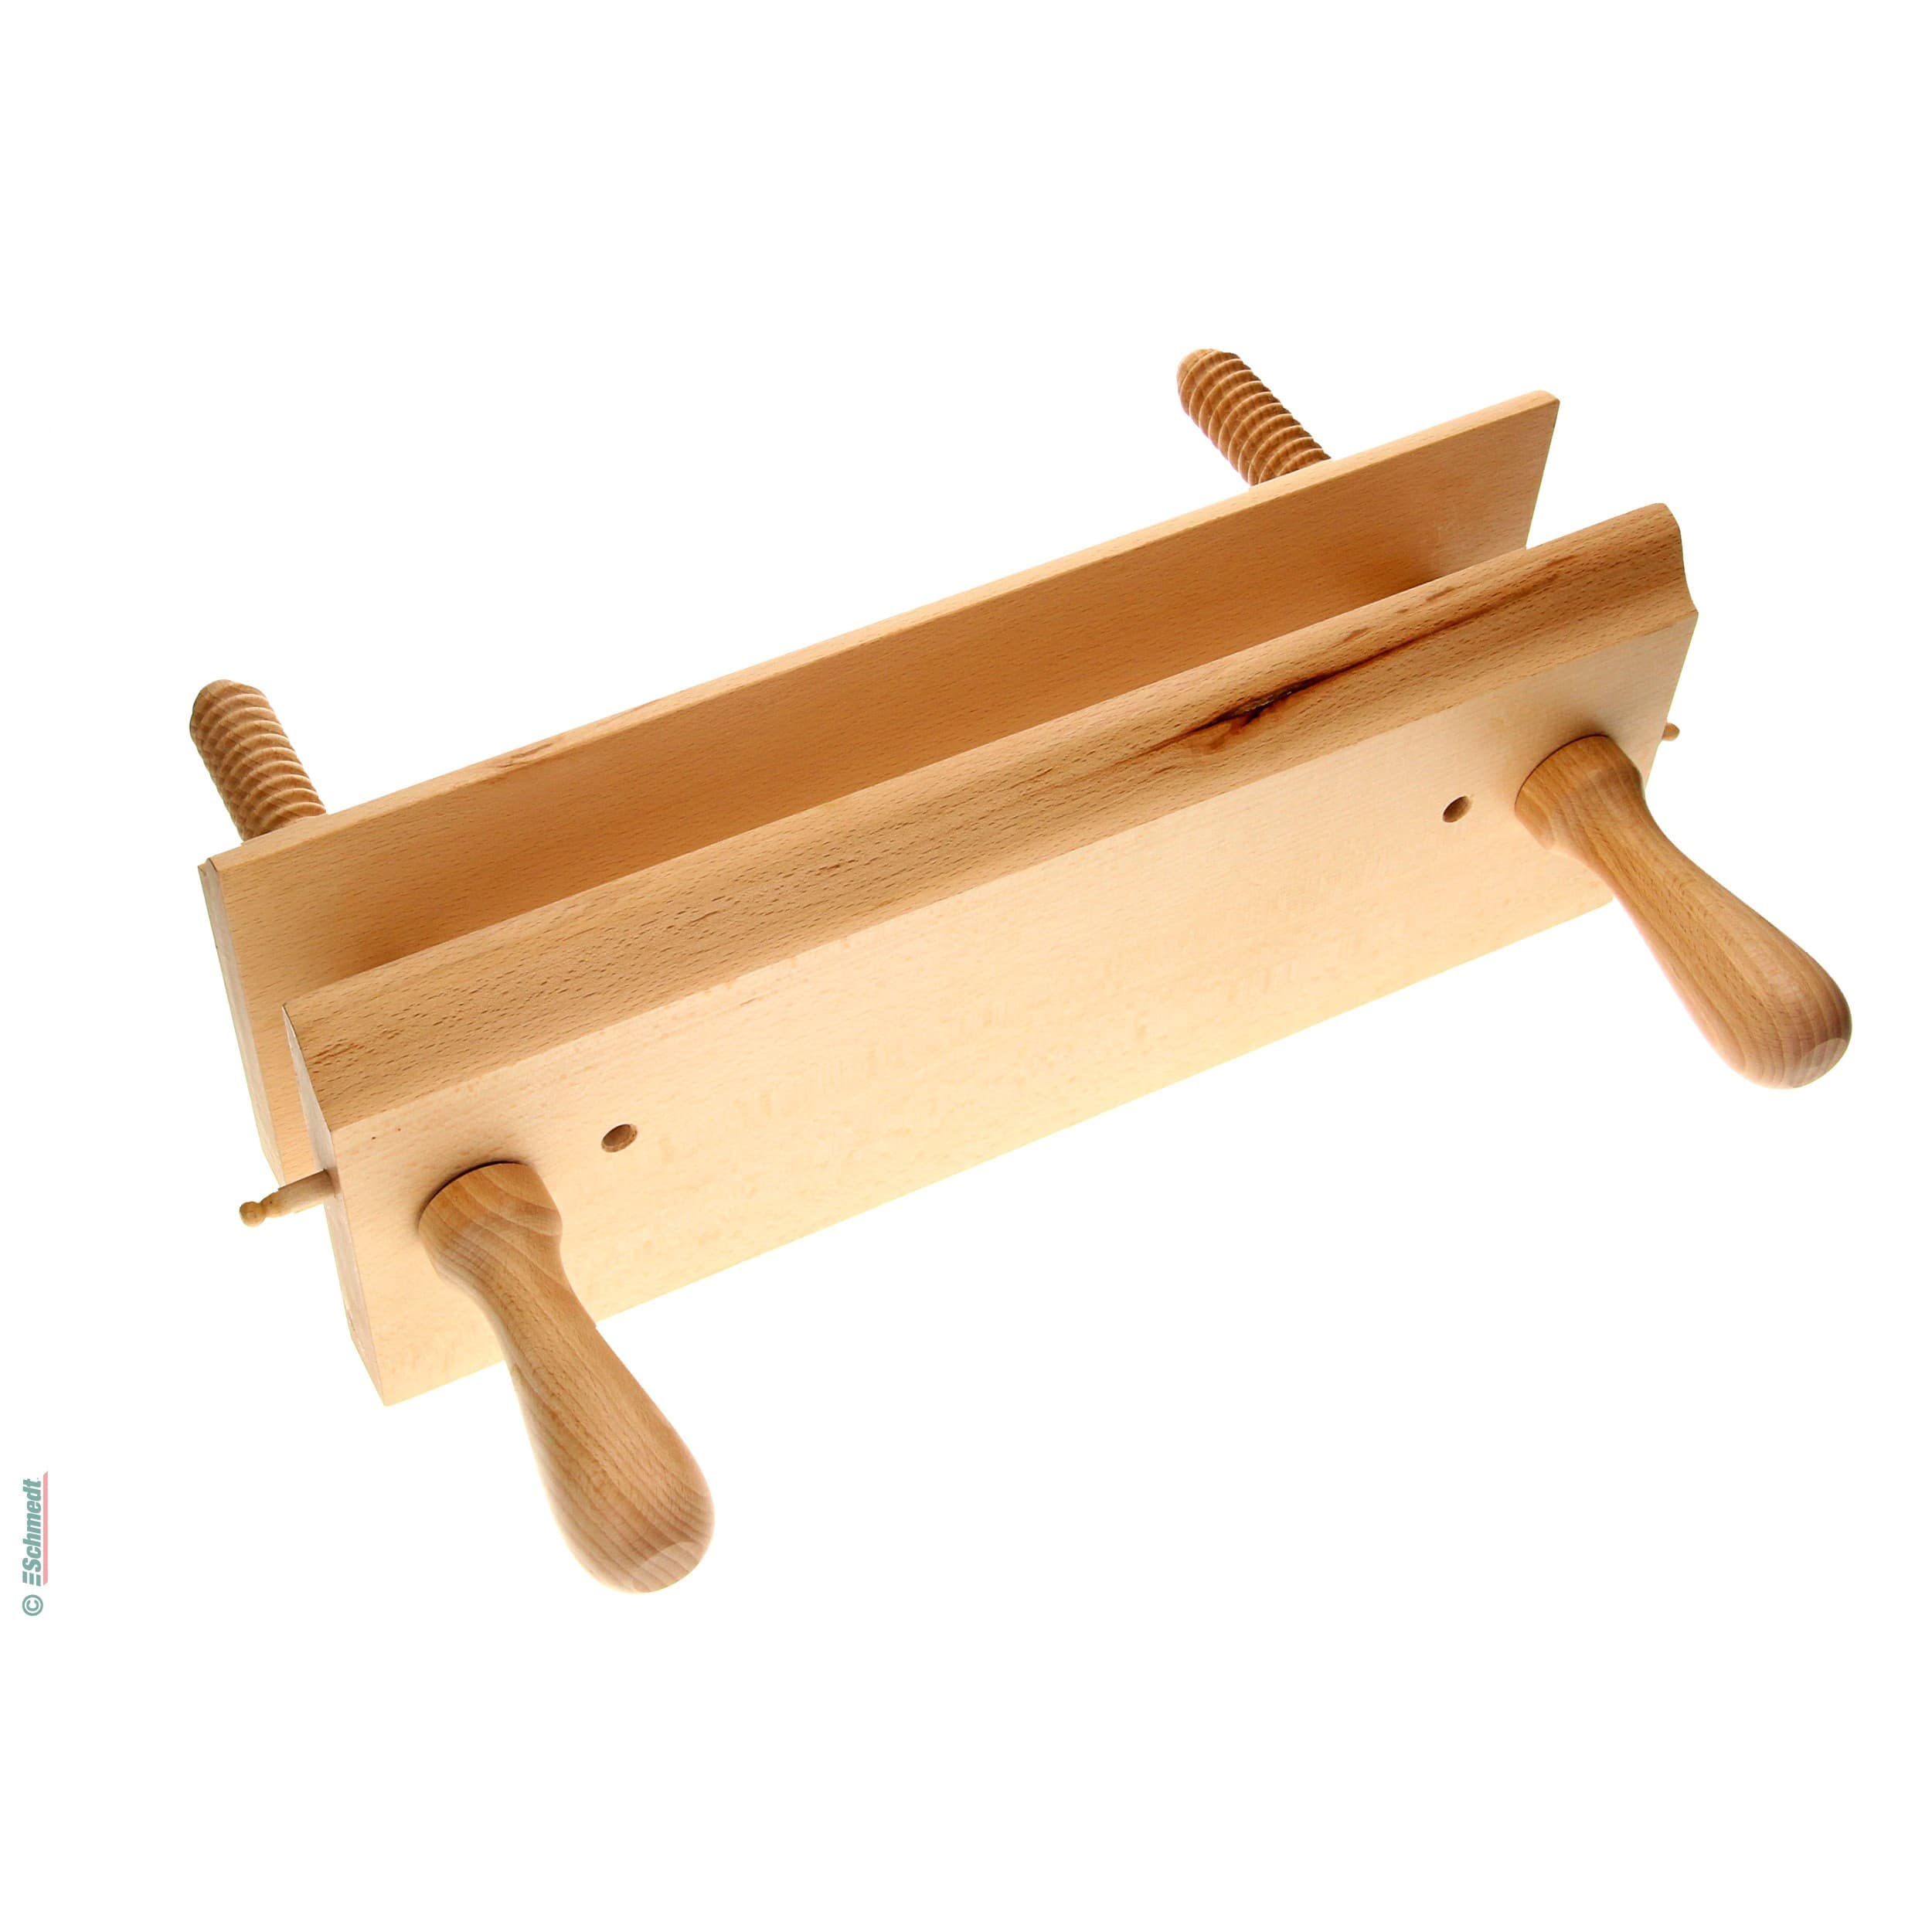
- Edge gilding press: The gilding block press is needed for clamping book blocks or for the edge to be gilded. Alternatively, a regular press can also be used for this purpose. It is important that the book block can be fixed well and that the edge to be gilded is easily accessible.
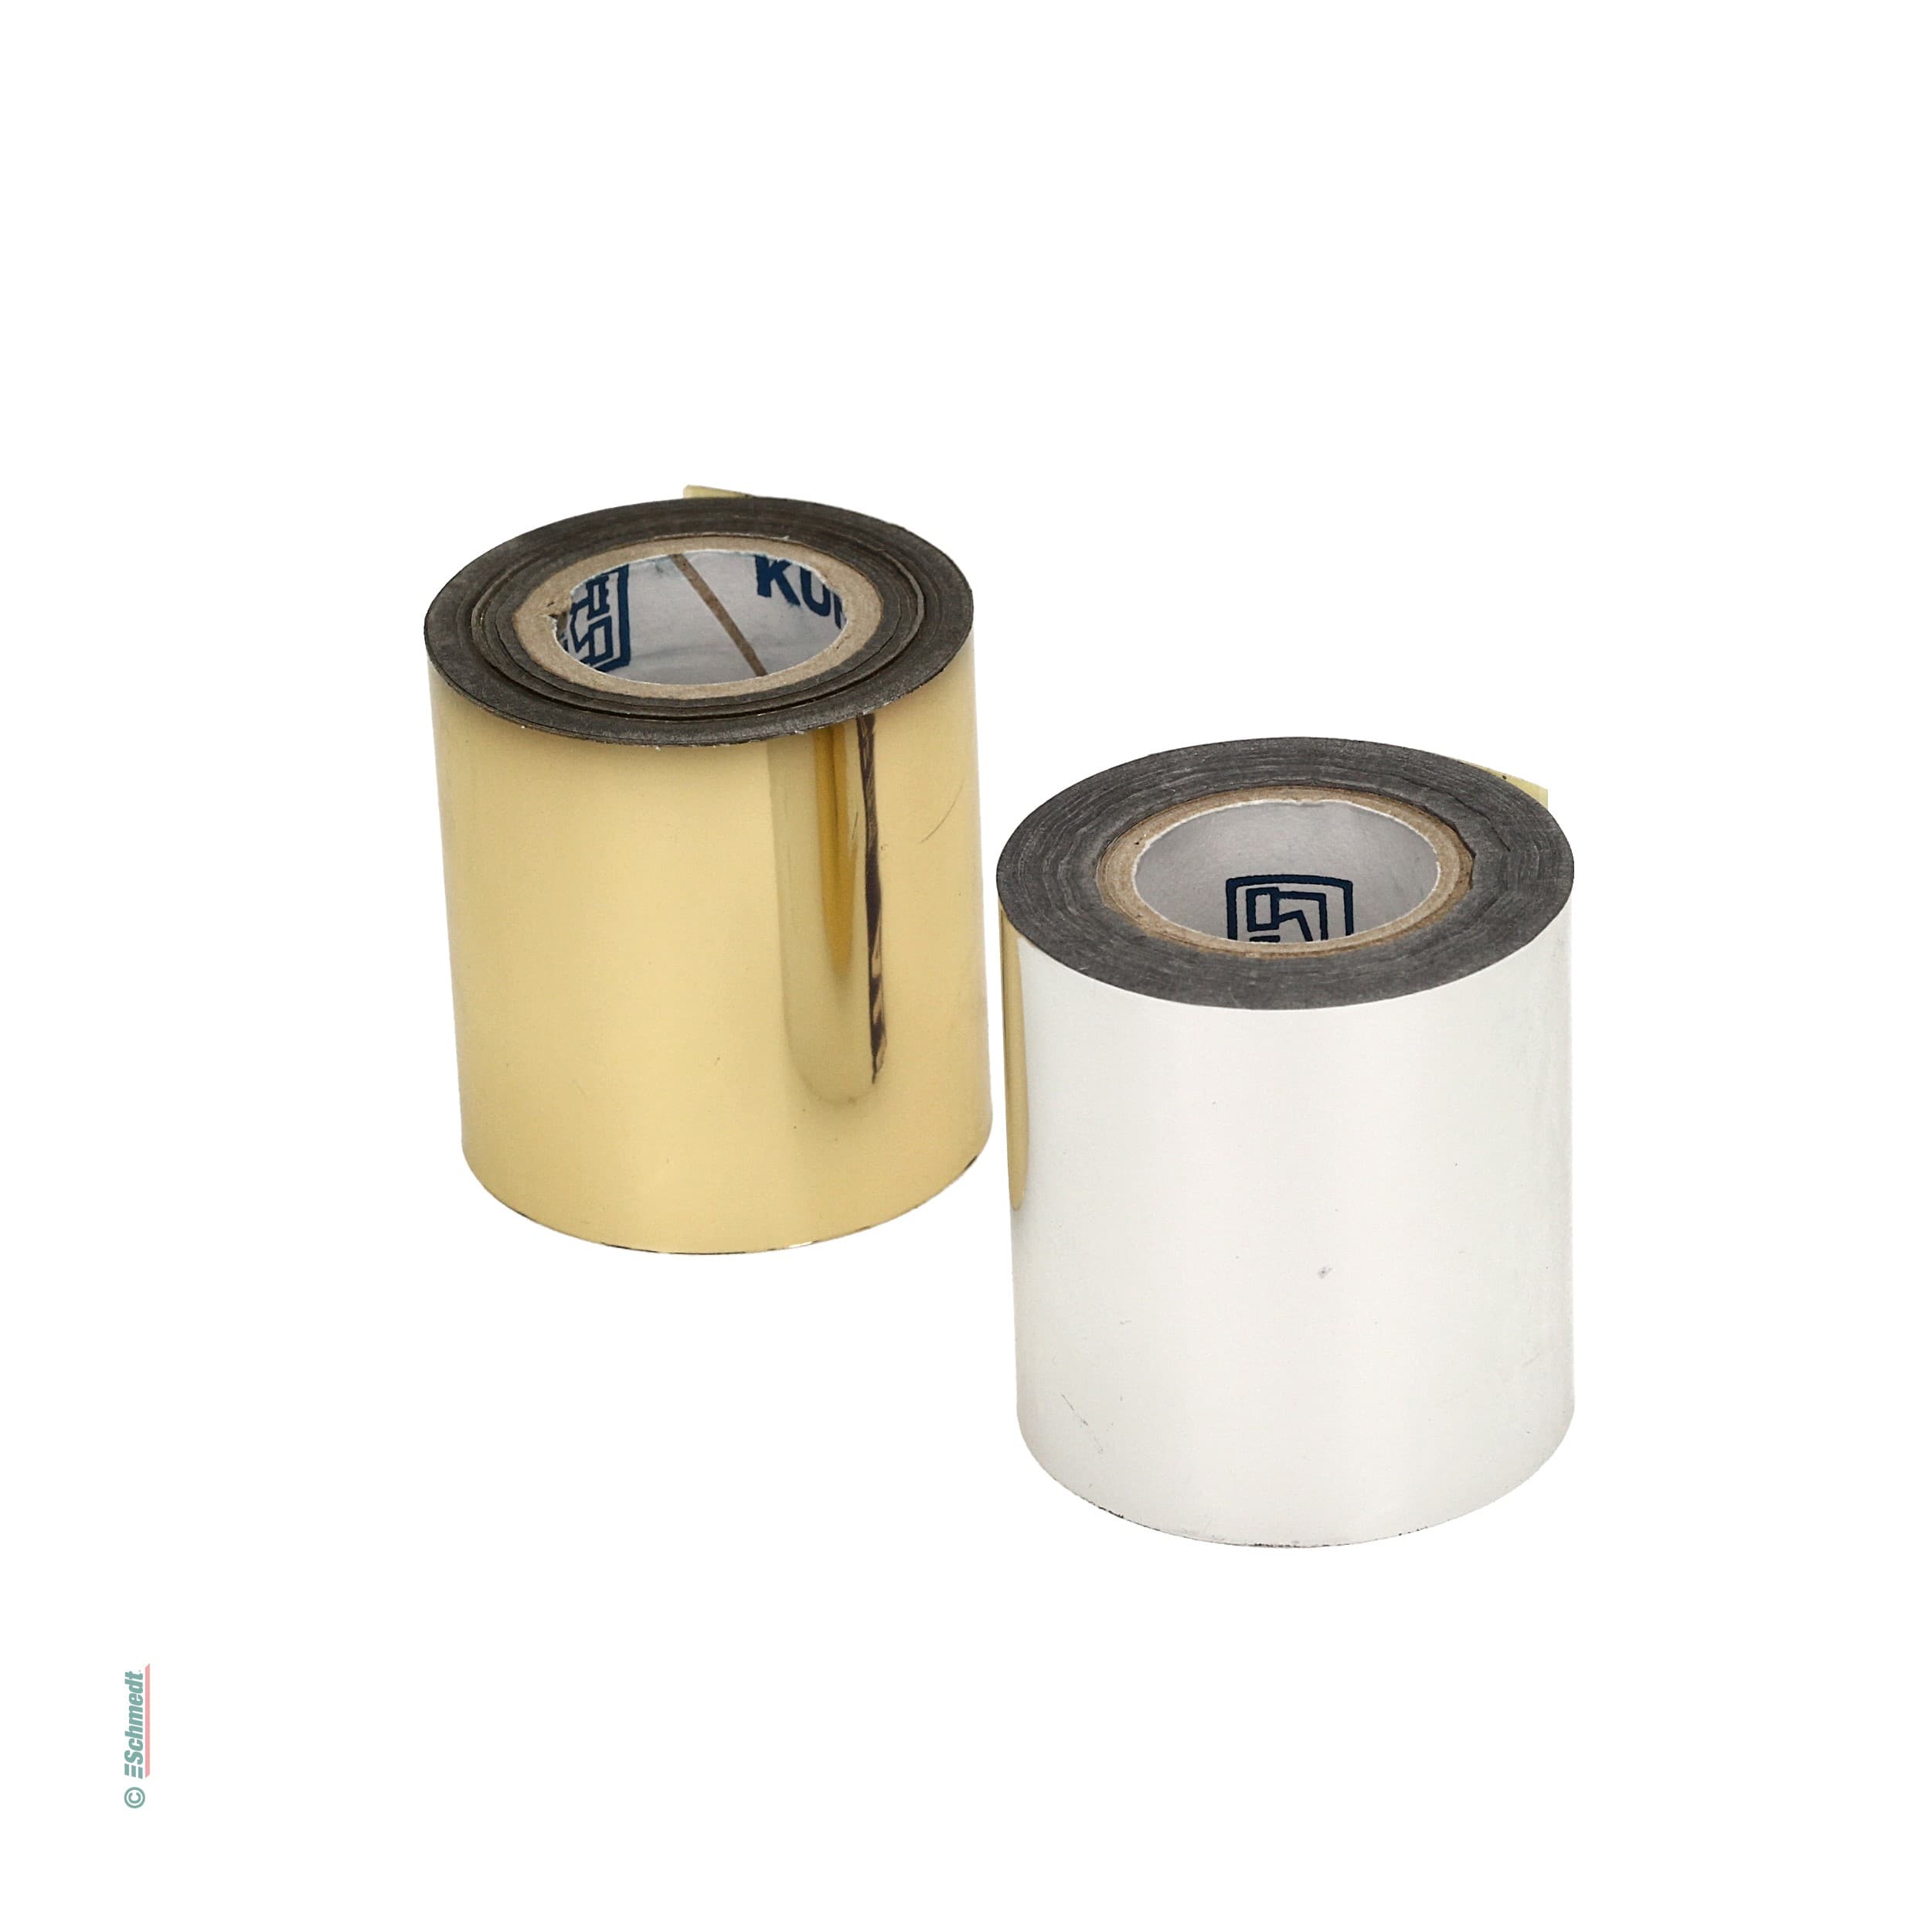
- Edge gilding foil: The edge gilding foil is usually supplied on a roll and is used for finishing as well as protecting the edge. The edge gilding foil is equipped with a thermally reactive gloss layer. When the gloss layer is heated by using the edge gilding roller and pressed onto the paper, it detaches from the backing film and remains on the book edge.
- Edge gilding roller: The edge gilding roller makes it possible to apply mirror-finish gold or silver cuts to book blocks with the help of a special book cutting foil. When the foil is rolled on with the edge gilding roller, it is released from the backing material by heat and pressure and is thus applied to the book cut. The edge gilding roller is equipped with an electric heater and must be operated with an external thermostat regulator.
- Thermostat: The thermostat is used to control the temperature on the edge gilding roller. It is usually possible to choose between different temperature settings.
- Sandpaper: Sandpaper, also called emery paper, is a tool for working on rough surfaces that need to be smoothed. In this case, it is used to process the edge so that an ideally smooth edge can be created. Sandpaper comes in different grits - from very coarse to very fine. For edge gilding, a fine one is used to get the smoothest possible surface. We recommend using a grit larger than 200.
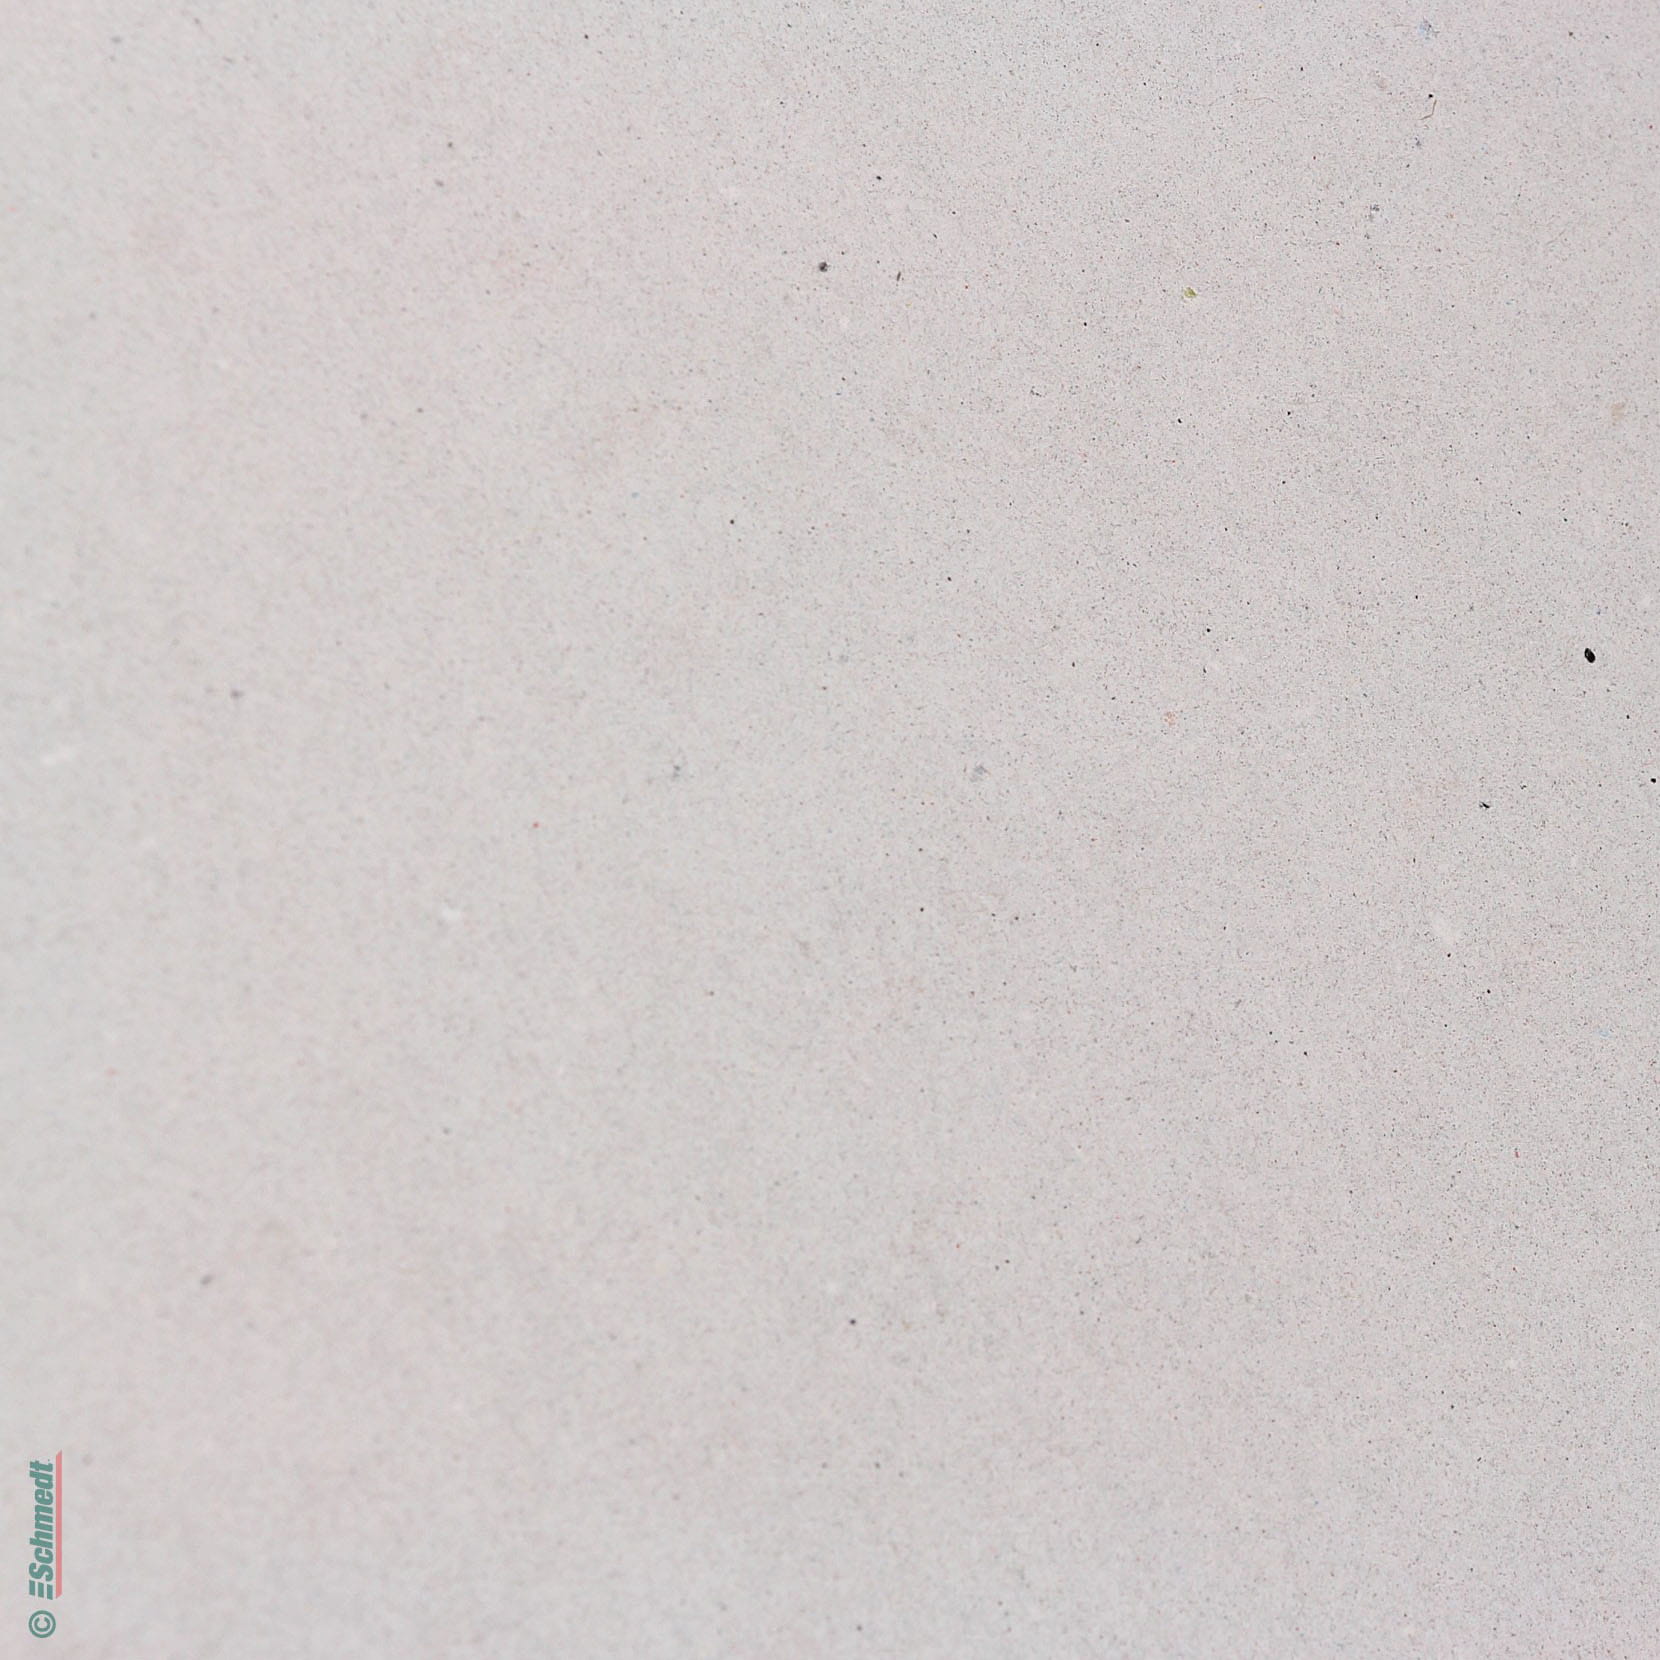
- Cardboard: Two slightly thicker pieces of cardboard are needed for the process.
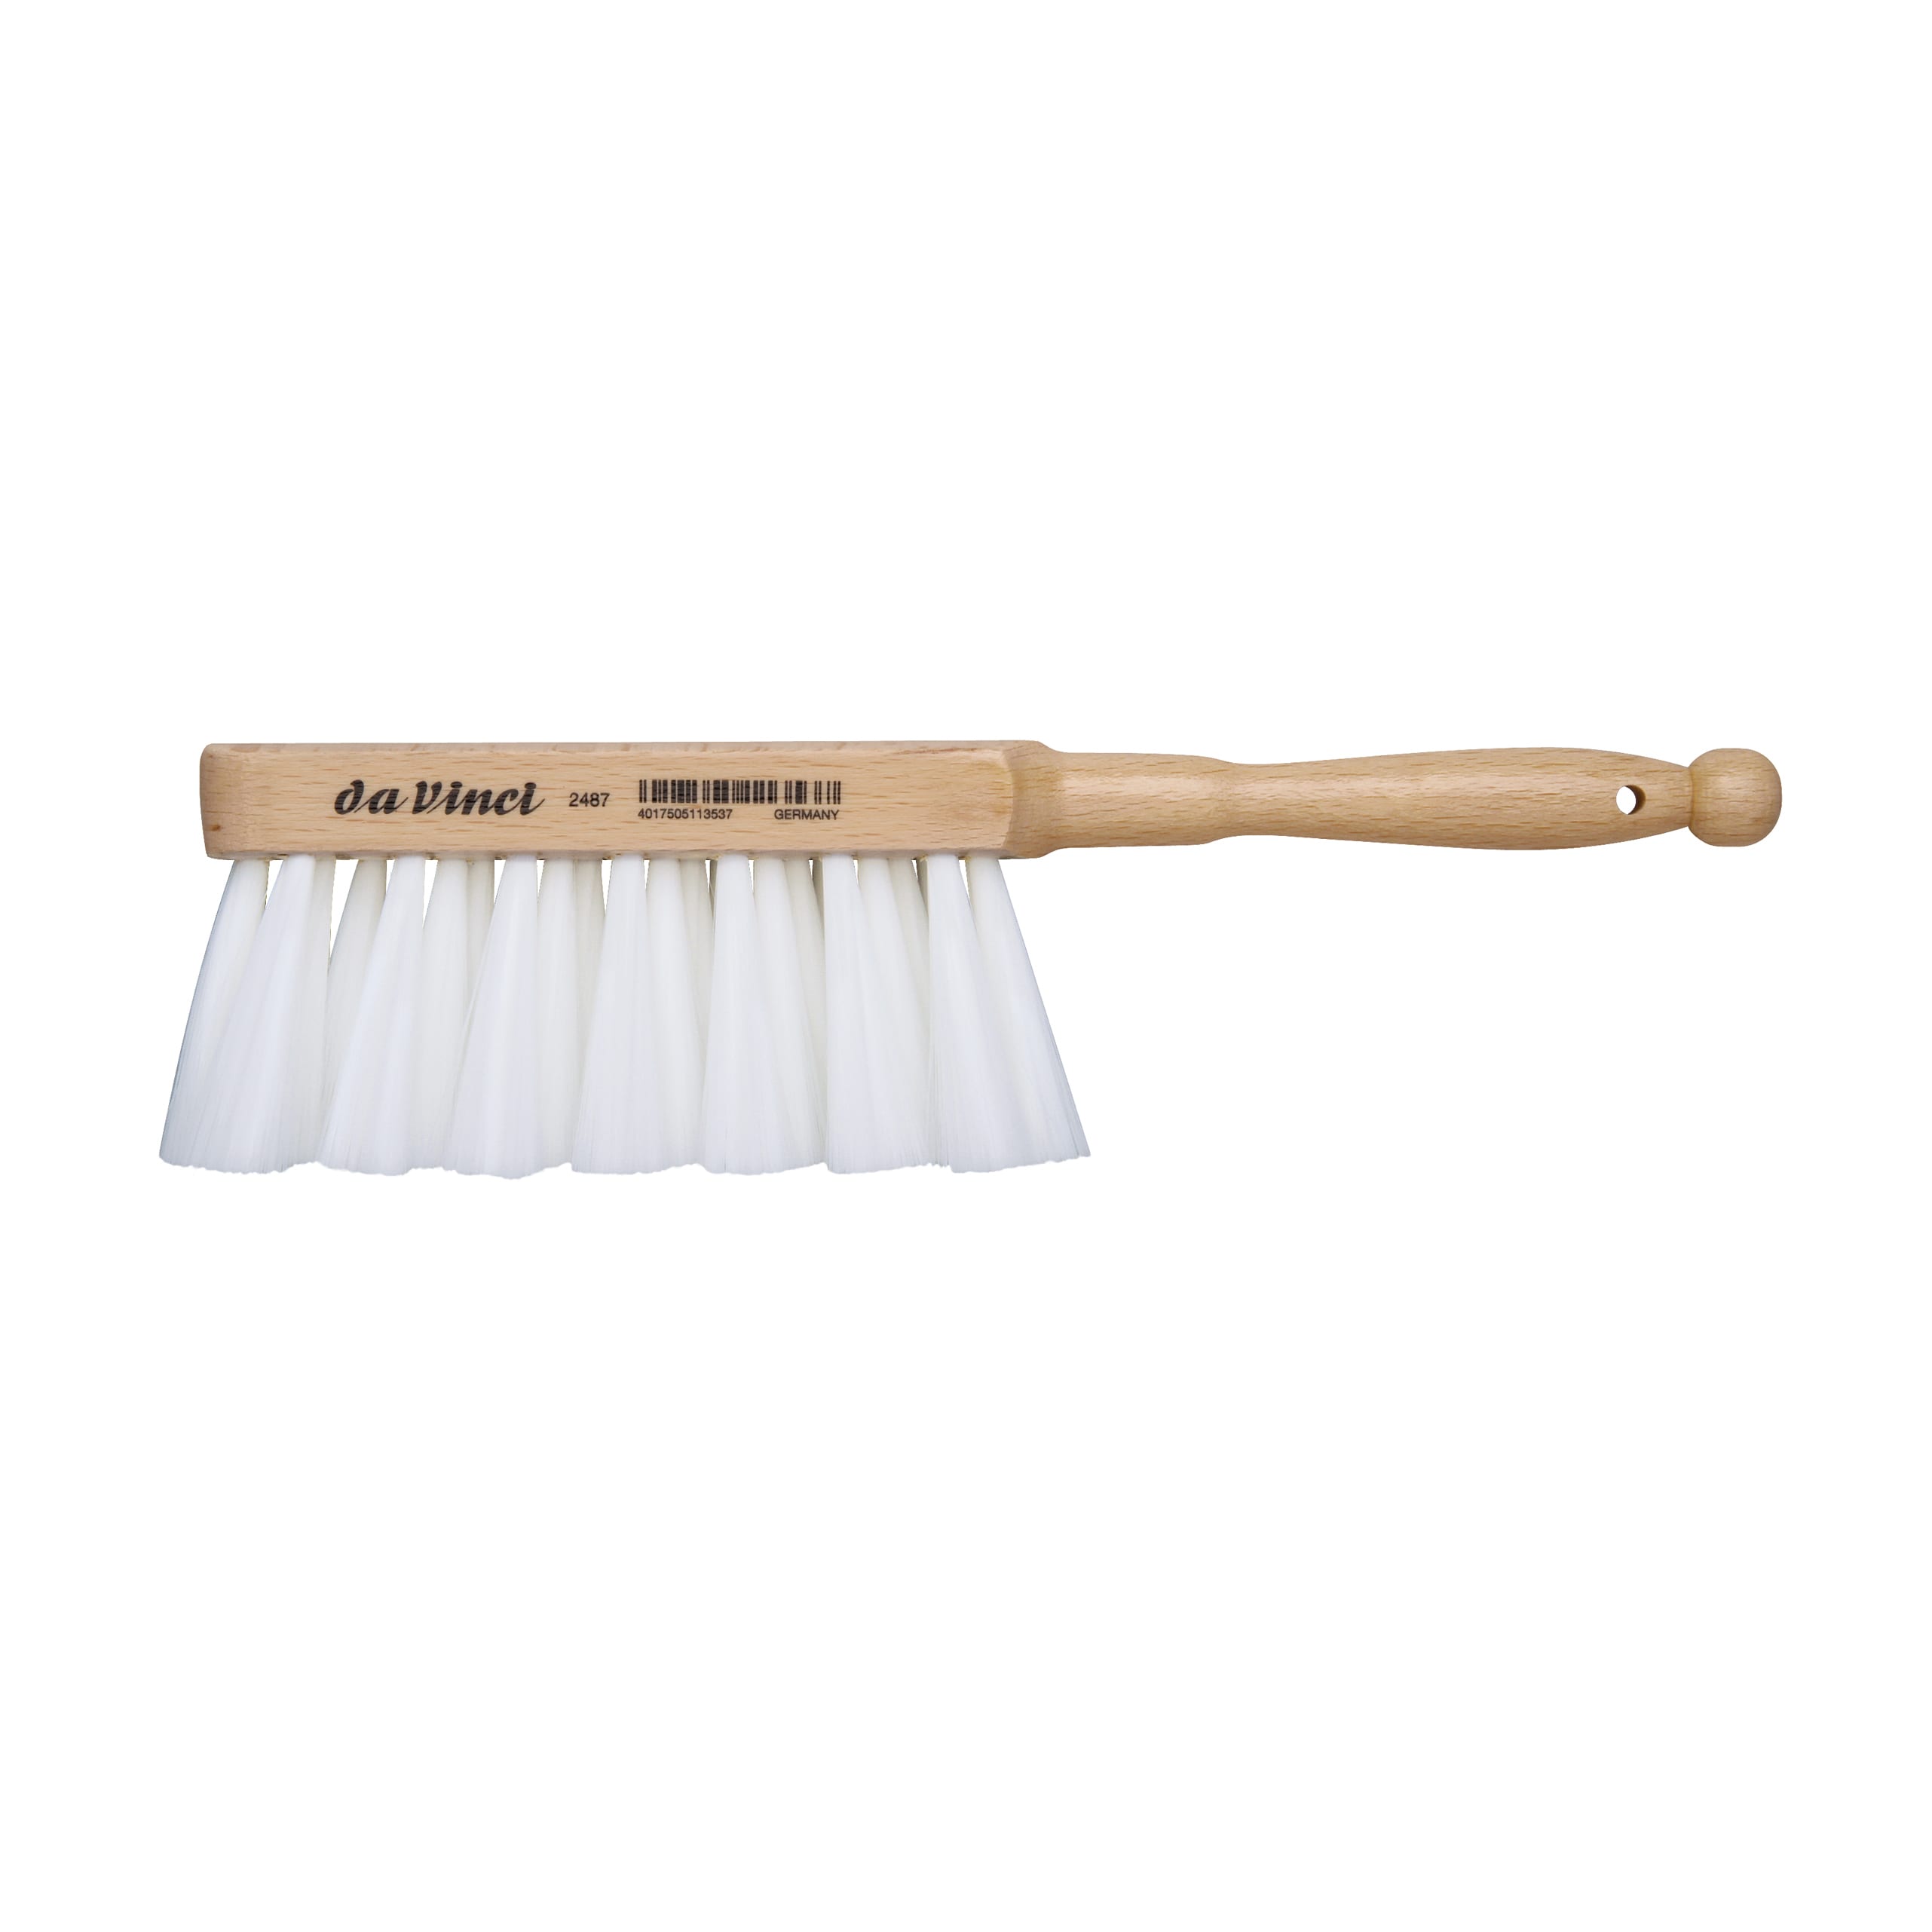
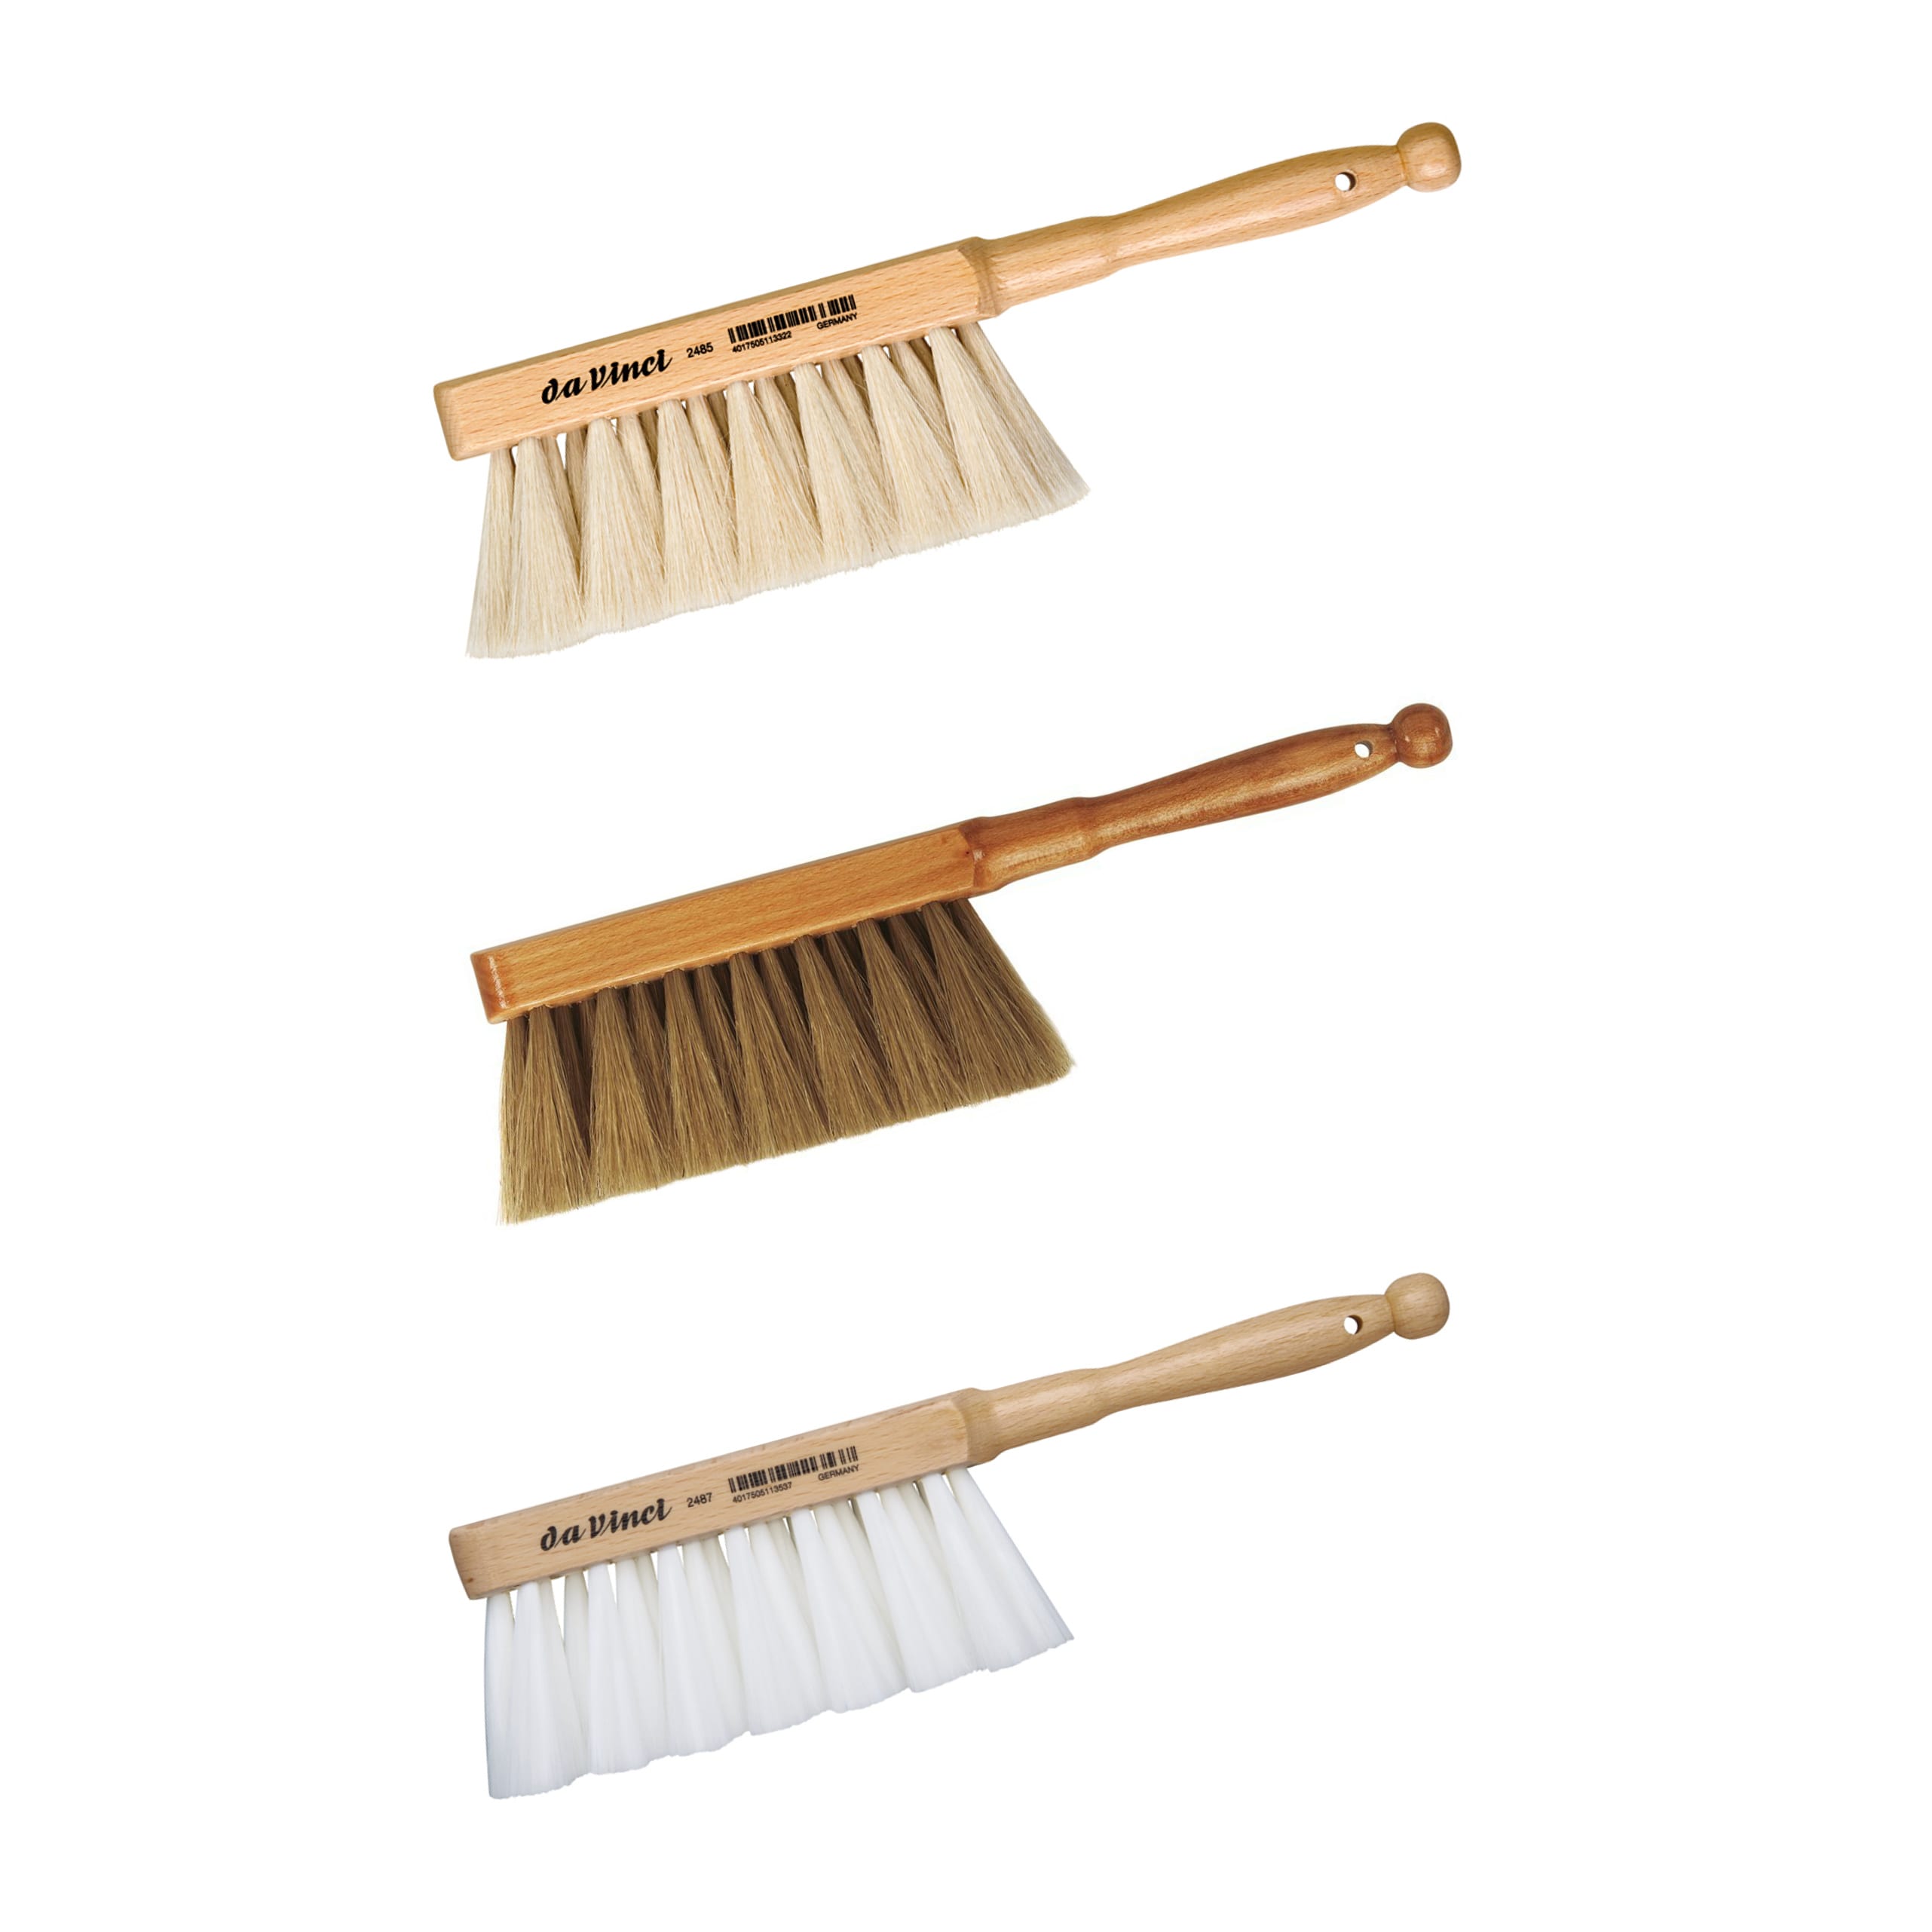
- Dust broom: A dust broom should be used to remove the remaining abrasion after the sanding process. If you do not have a dust broom at hand, you can also use a clean brush or a hoover.
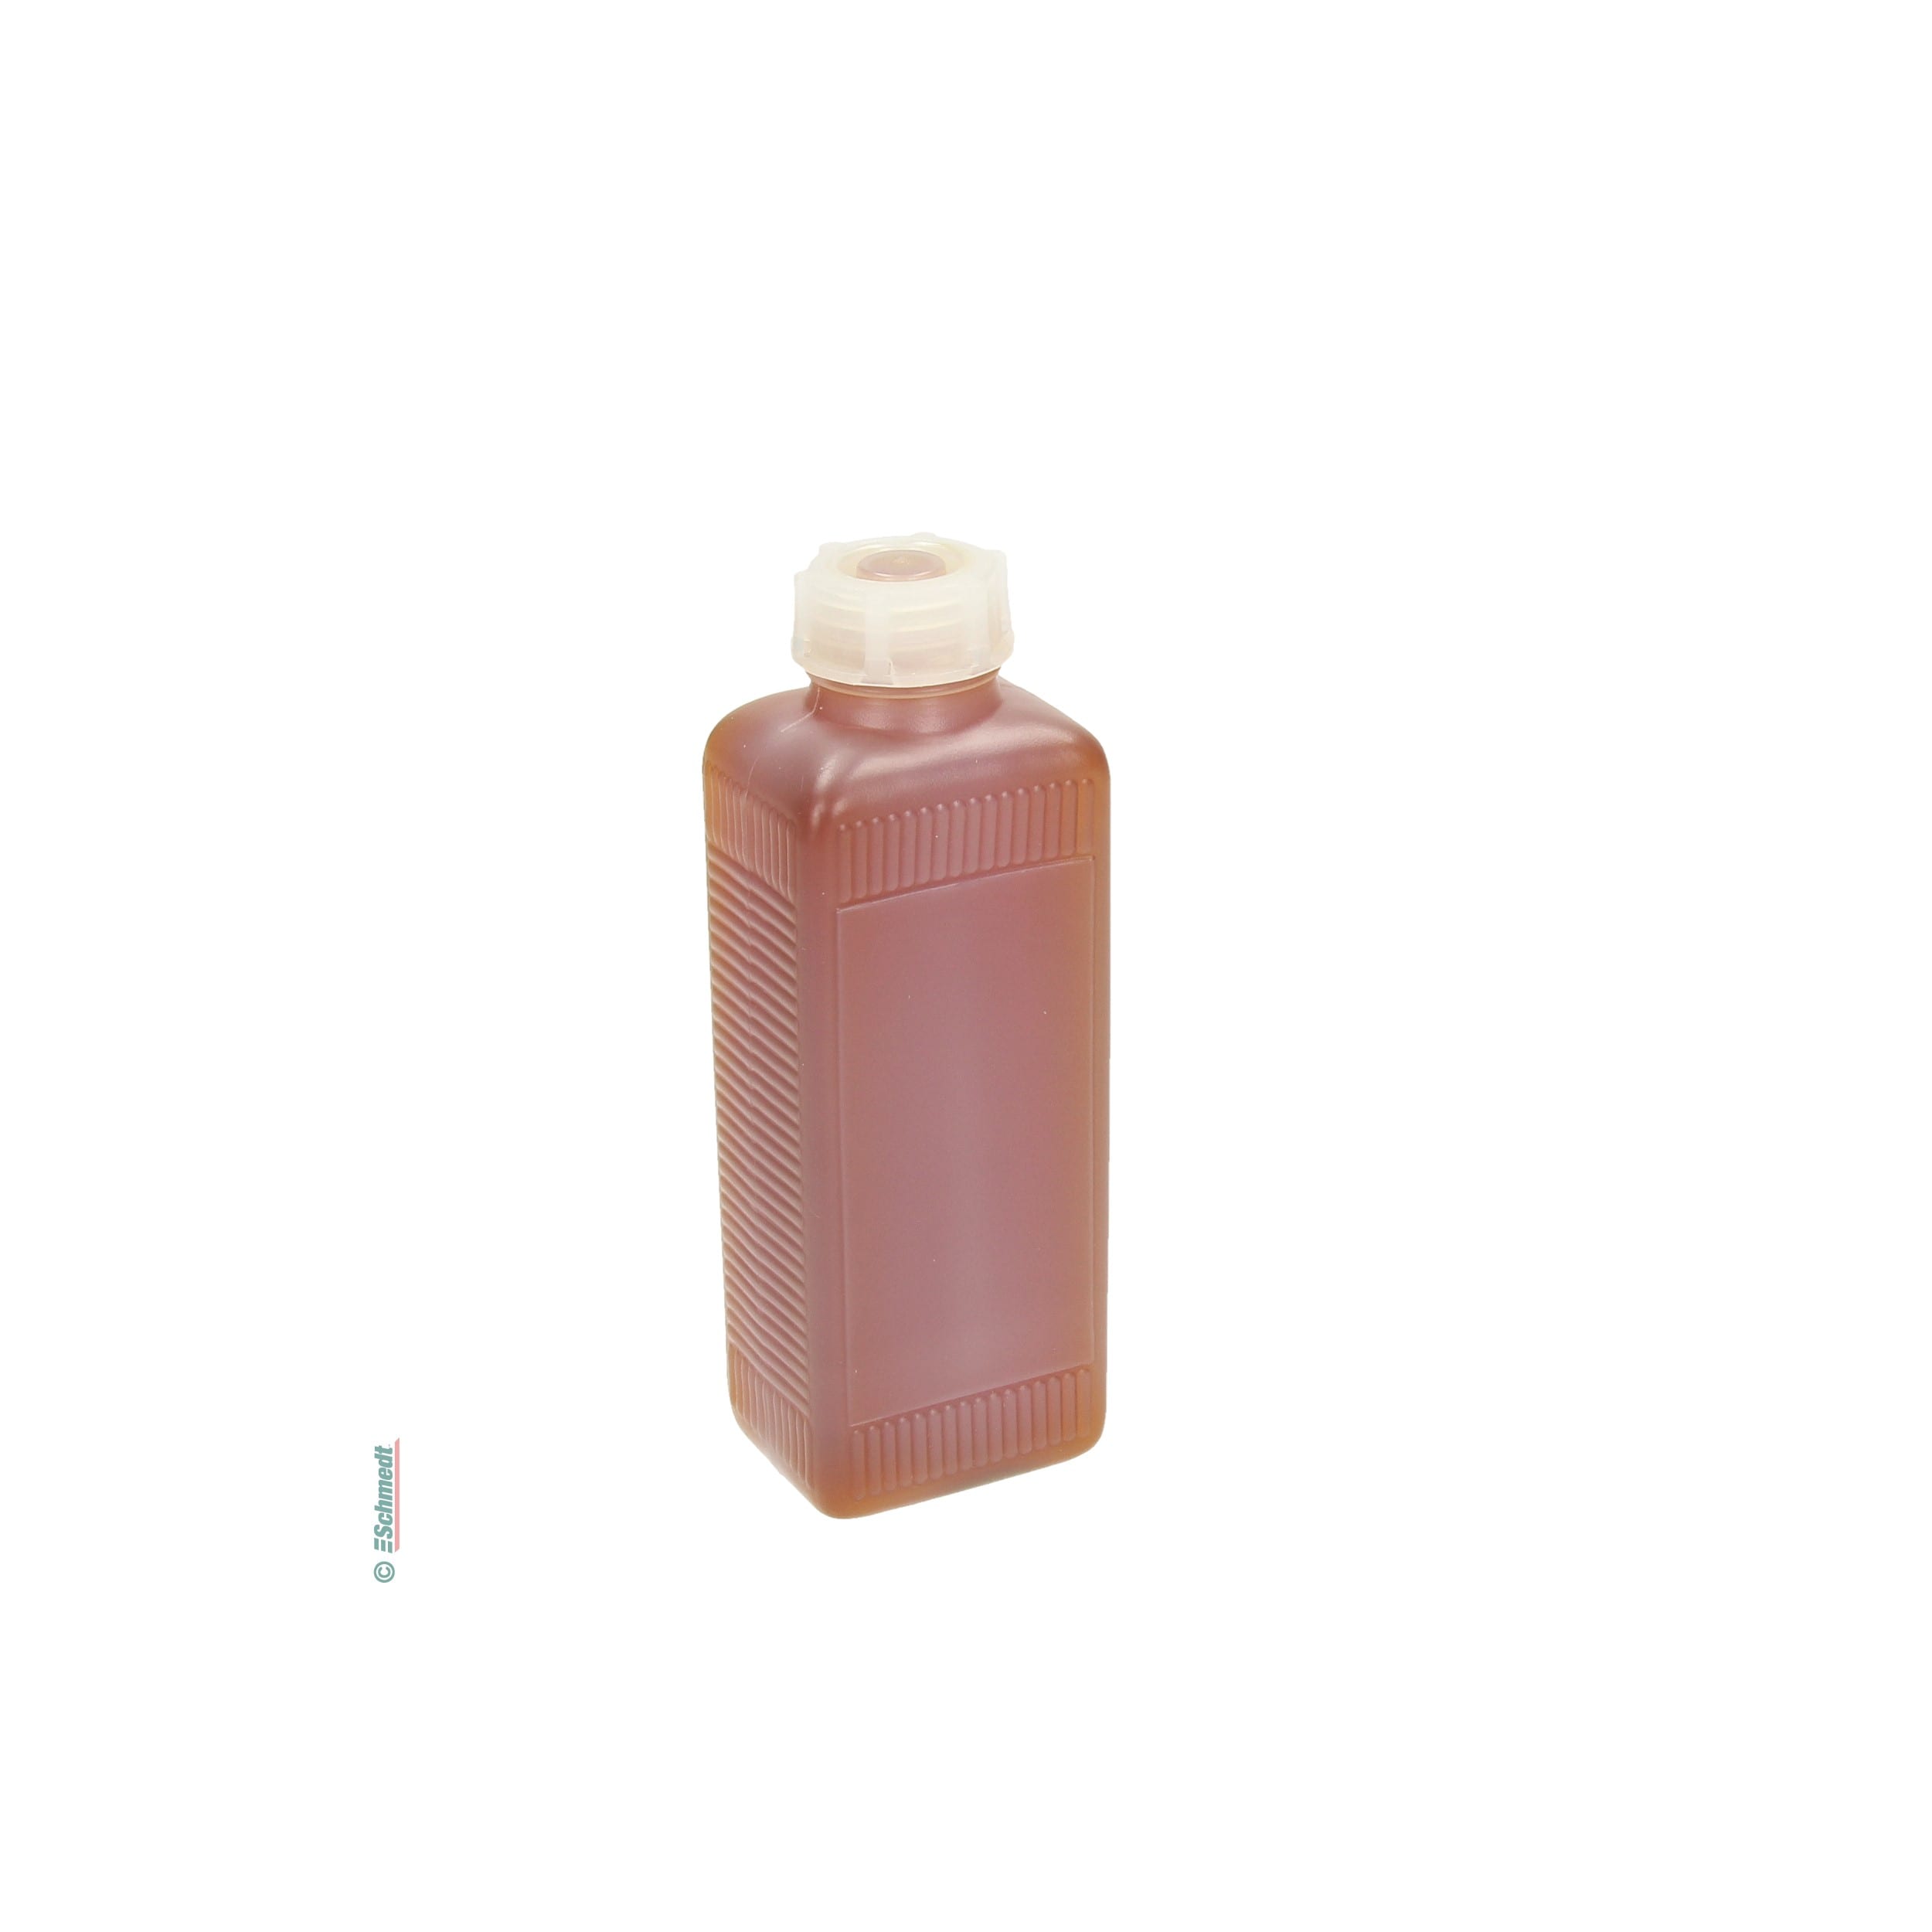
- Optional - edge gilding primer: Edge gilding primer is a primer that is used to prepare the material (usually paper). The primer is applied before applying the edge gilding foil and increases the adhesion of the edge gilding foil, especially on coated papers.
4 Example products for edge gilding
Edge finishing is possible for many products. Here are some examples for which edge gilding can be used:
- Notebooks
- Business cards
- Diaries
- Post cards
- Calendars
- Brochures
5 Closing thoughts
Briefly summarised once again: First, the edge gilding roller is preheated. Then the book edge is sanded smooth and the edge gilding foil is fixed. Then the edge gilding roller is rolled onto the edge with pressure and heat and the remaining foil is carefully removed. Finally, the edge is moved in a wave-like motion. The result is an impressive gilt edge.
Gilding the edge with the edge gilding roller makes it possible to create a distinctive look on a variety of different items. Perhaps you want to put the finishing touches on your business cards to make a special impression on your customers or give your own collection of books a high-quality finish. It doesn't matter for what occasion, because with edge gilding your product becomes something very special.

