DIY guide: How to marbleize paper
Paper marbling is a fascinating and relaxing creative technique that is incredibly enjoyable. With our AscoColor eco Marbling dyes, which are water-based and low-odor, you can create breathtaking patterns and be surprised by the results over and over again. The rule is: every work is unique, and that is exactly what makes marbling so magical.
Our instructions were created in collaboration with Barbara Kelnhofer, an absolute expert in this field. She has shared her extensive knowledge to give you the best tips and tricks. Of course, there are a few important basics to keep in mind to achieve really beautiful results. Especially at the beginning, it may happen that the marbling ground is not perfectly mixed, the colors do not adhere as desired, or the wrong paper is chosen.
Our trainee Fenja has worked intensively with this technique, gained a lot of experience – and initially made a few mistakes. With this guide, you can benefit from her and Barbara's knowledge and get started right away.

Table of contents:
1 Required material and tools
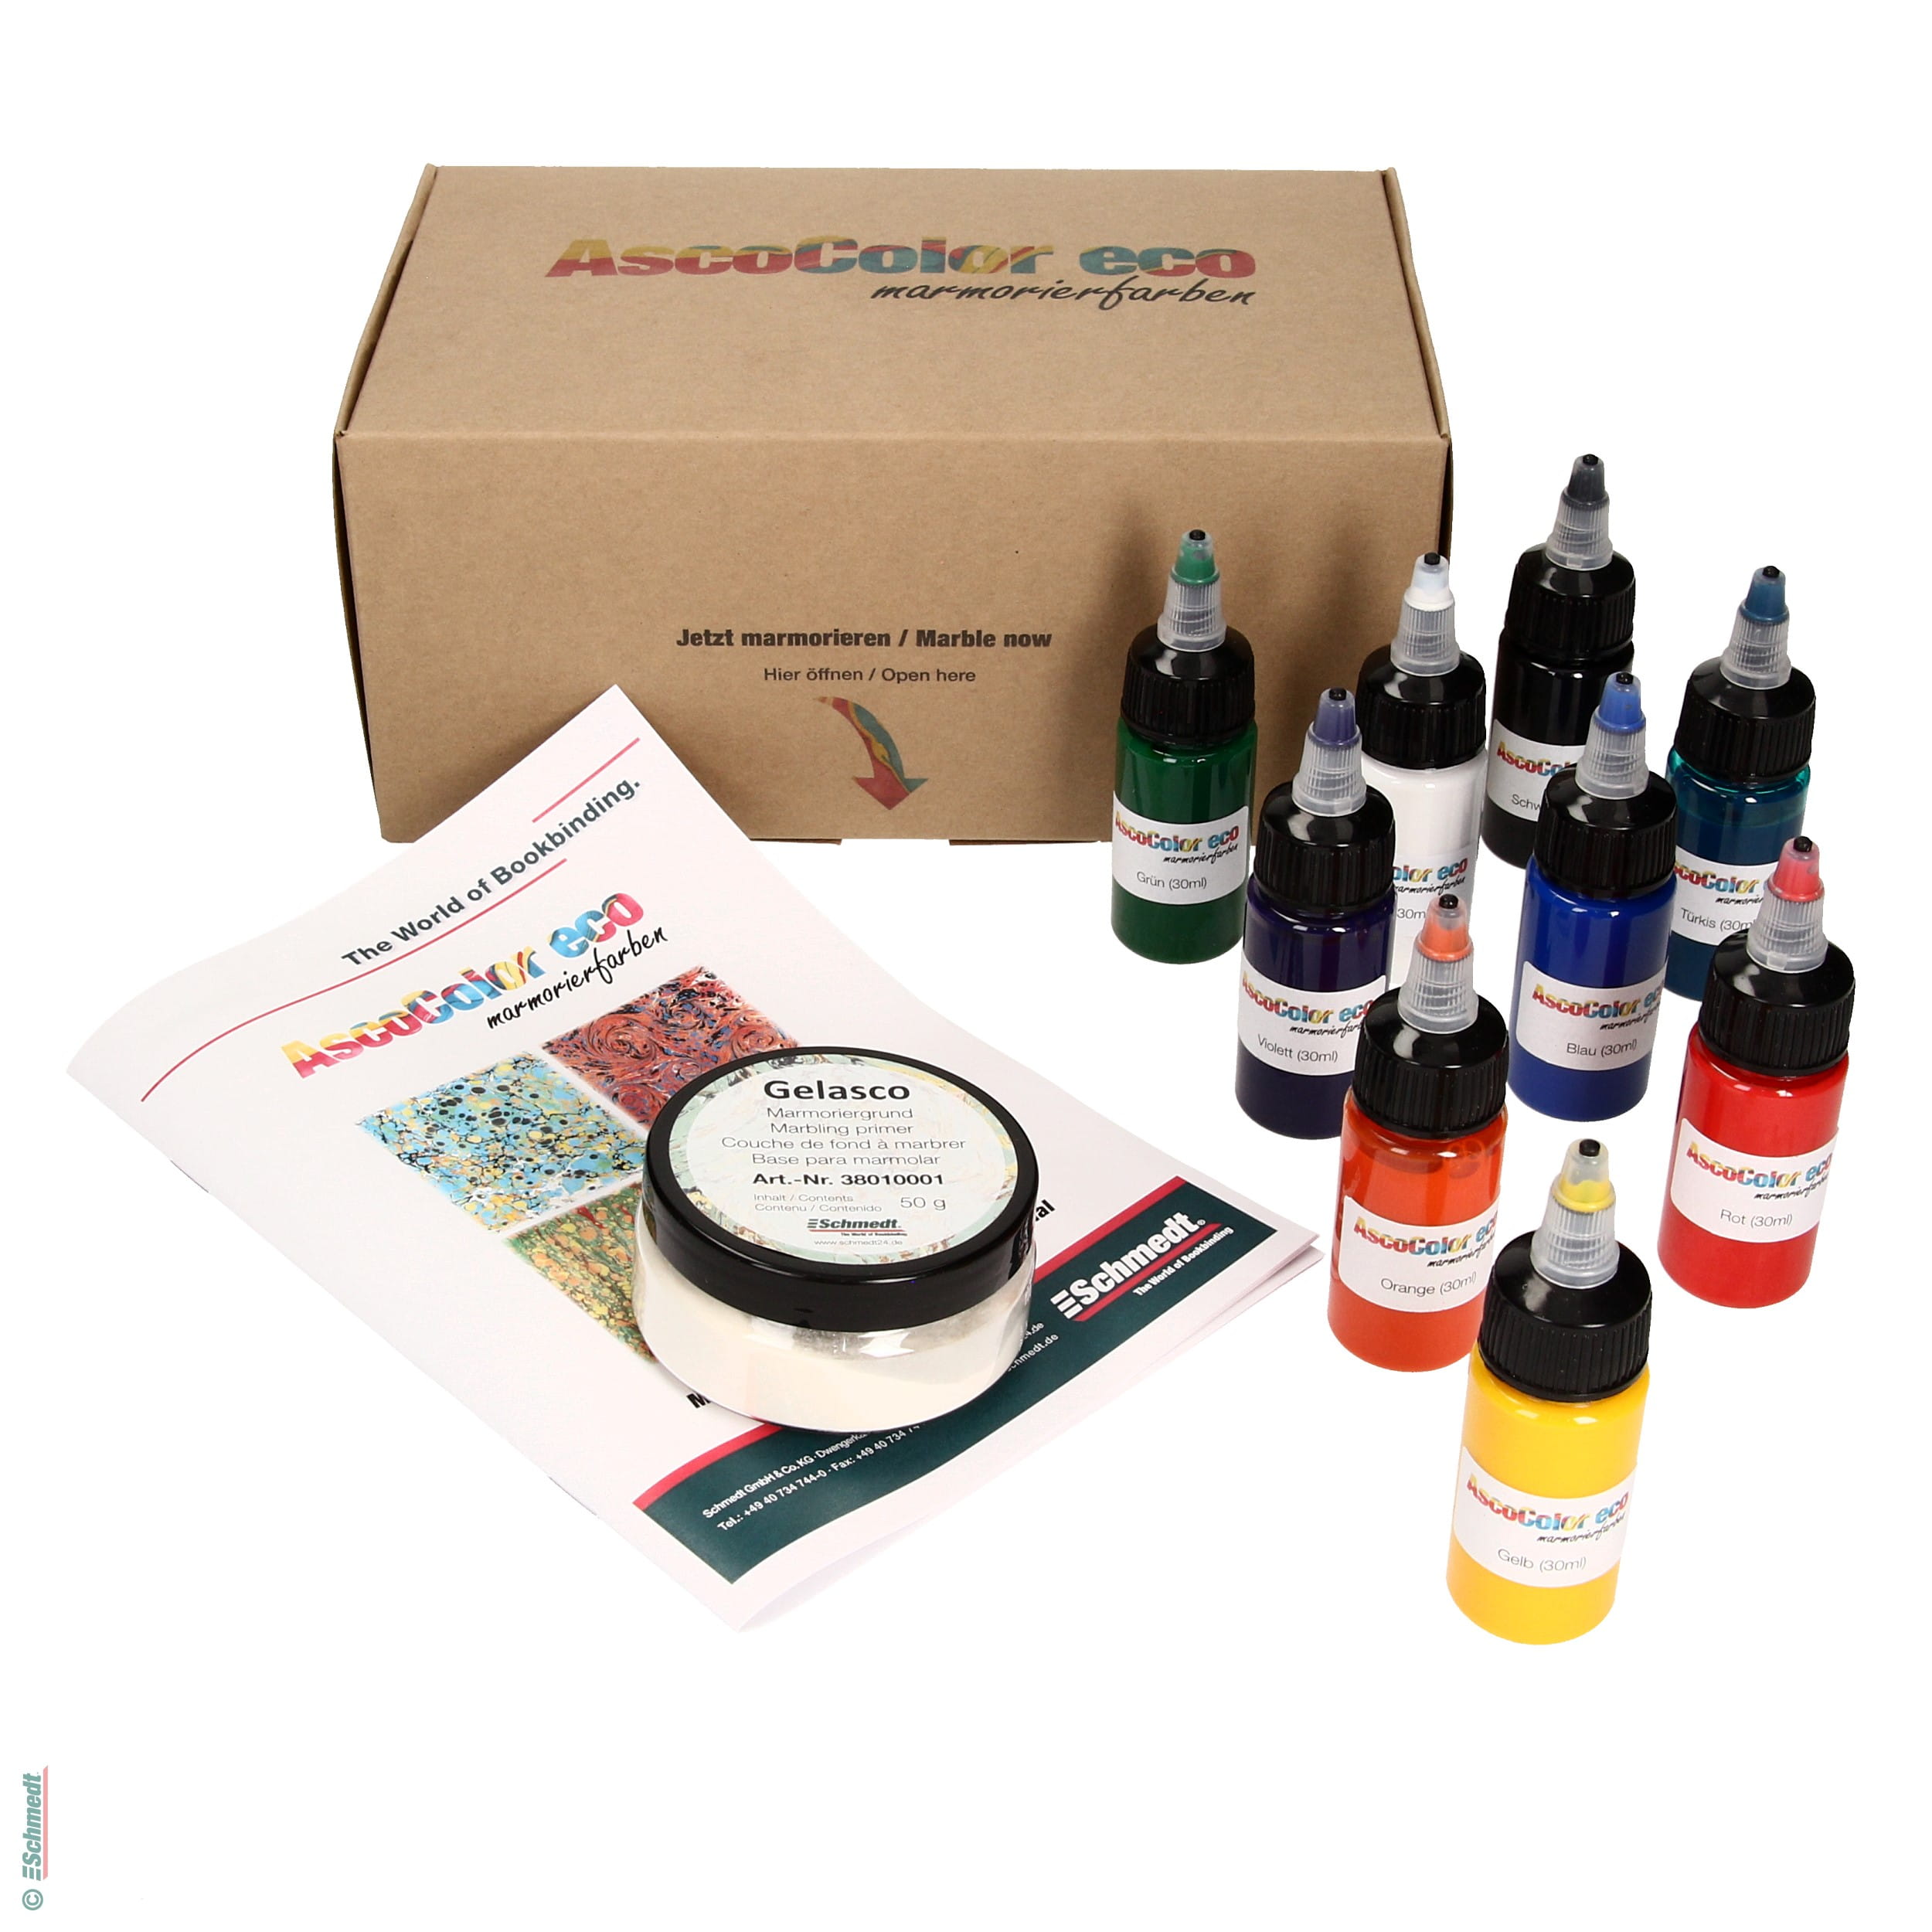
- AscoColor eco Marbling dye these are water-based and free of ingredients requiring labeling)
If you don't have any paints yet, we recommend that you select 6 to 8 colors so that you can try out many color combinations when you first start marbling - Marbling paper – this paper is “open-pored” and therefore very suitable for marbling without any extra treatment for marbling
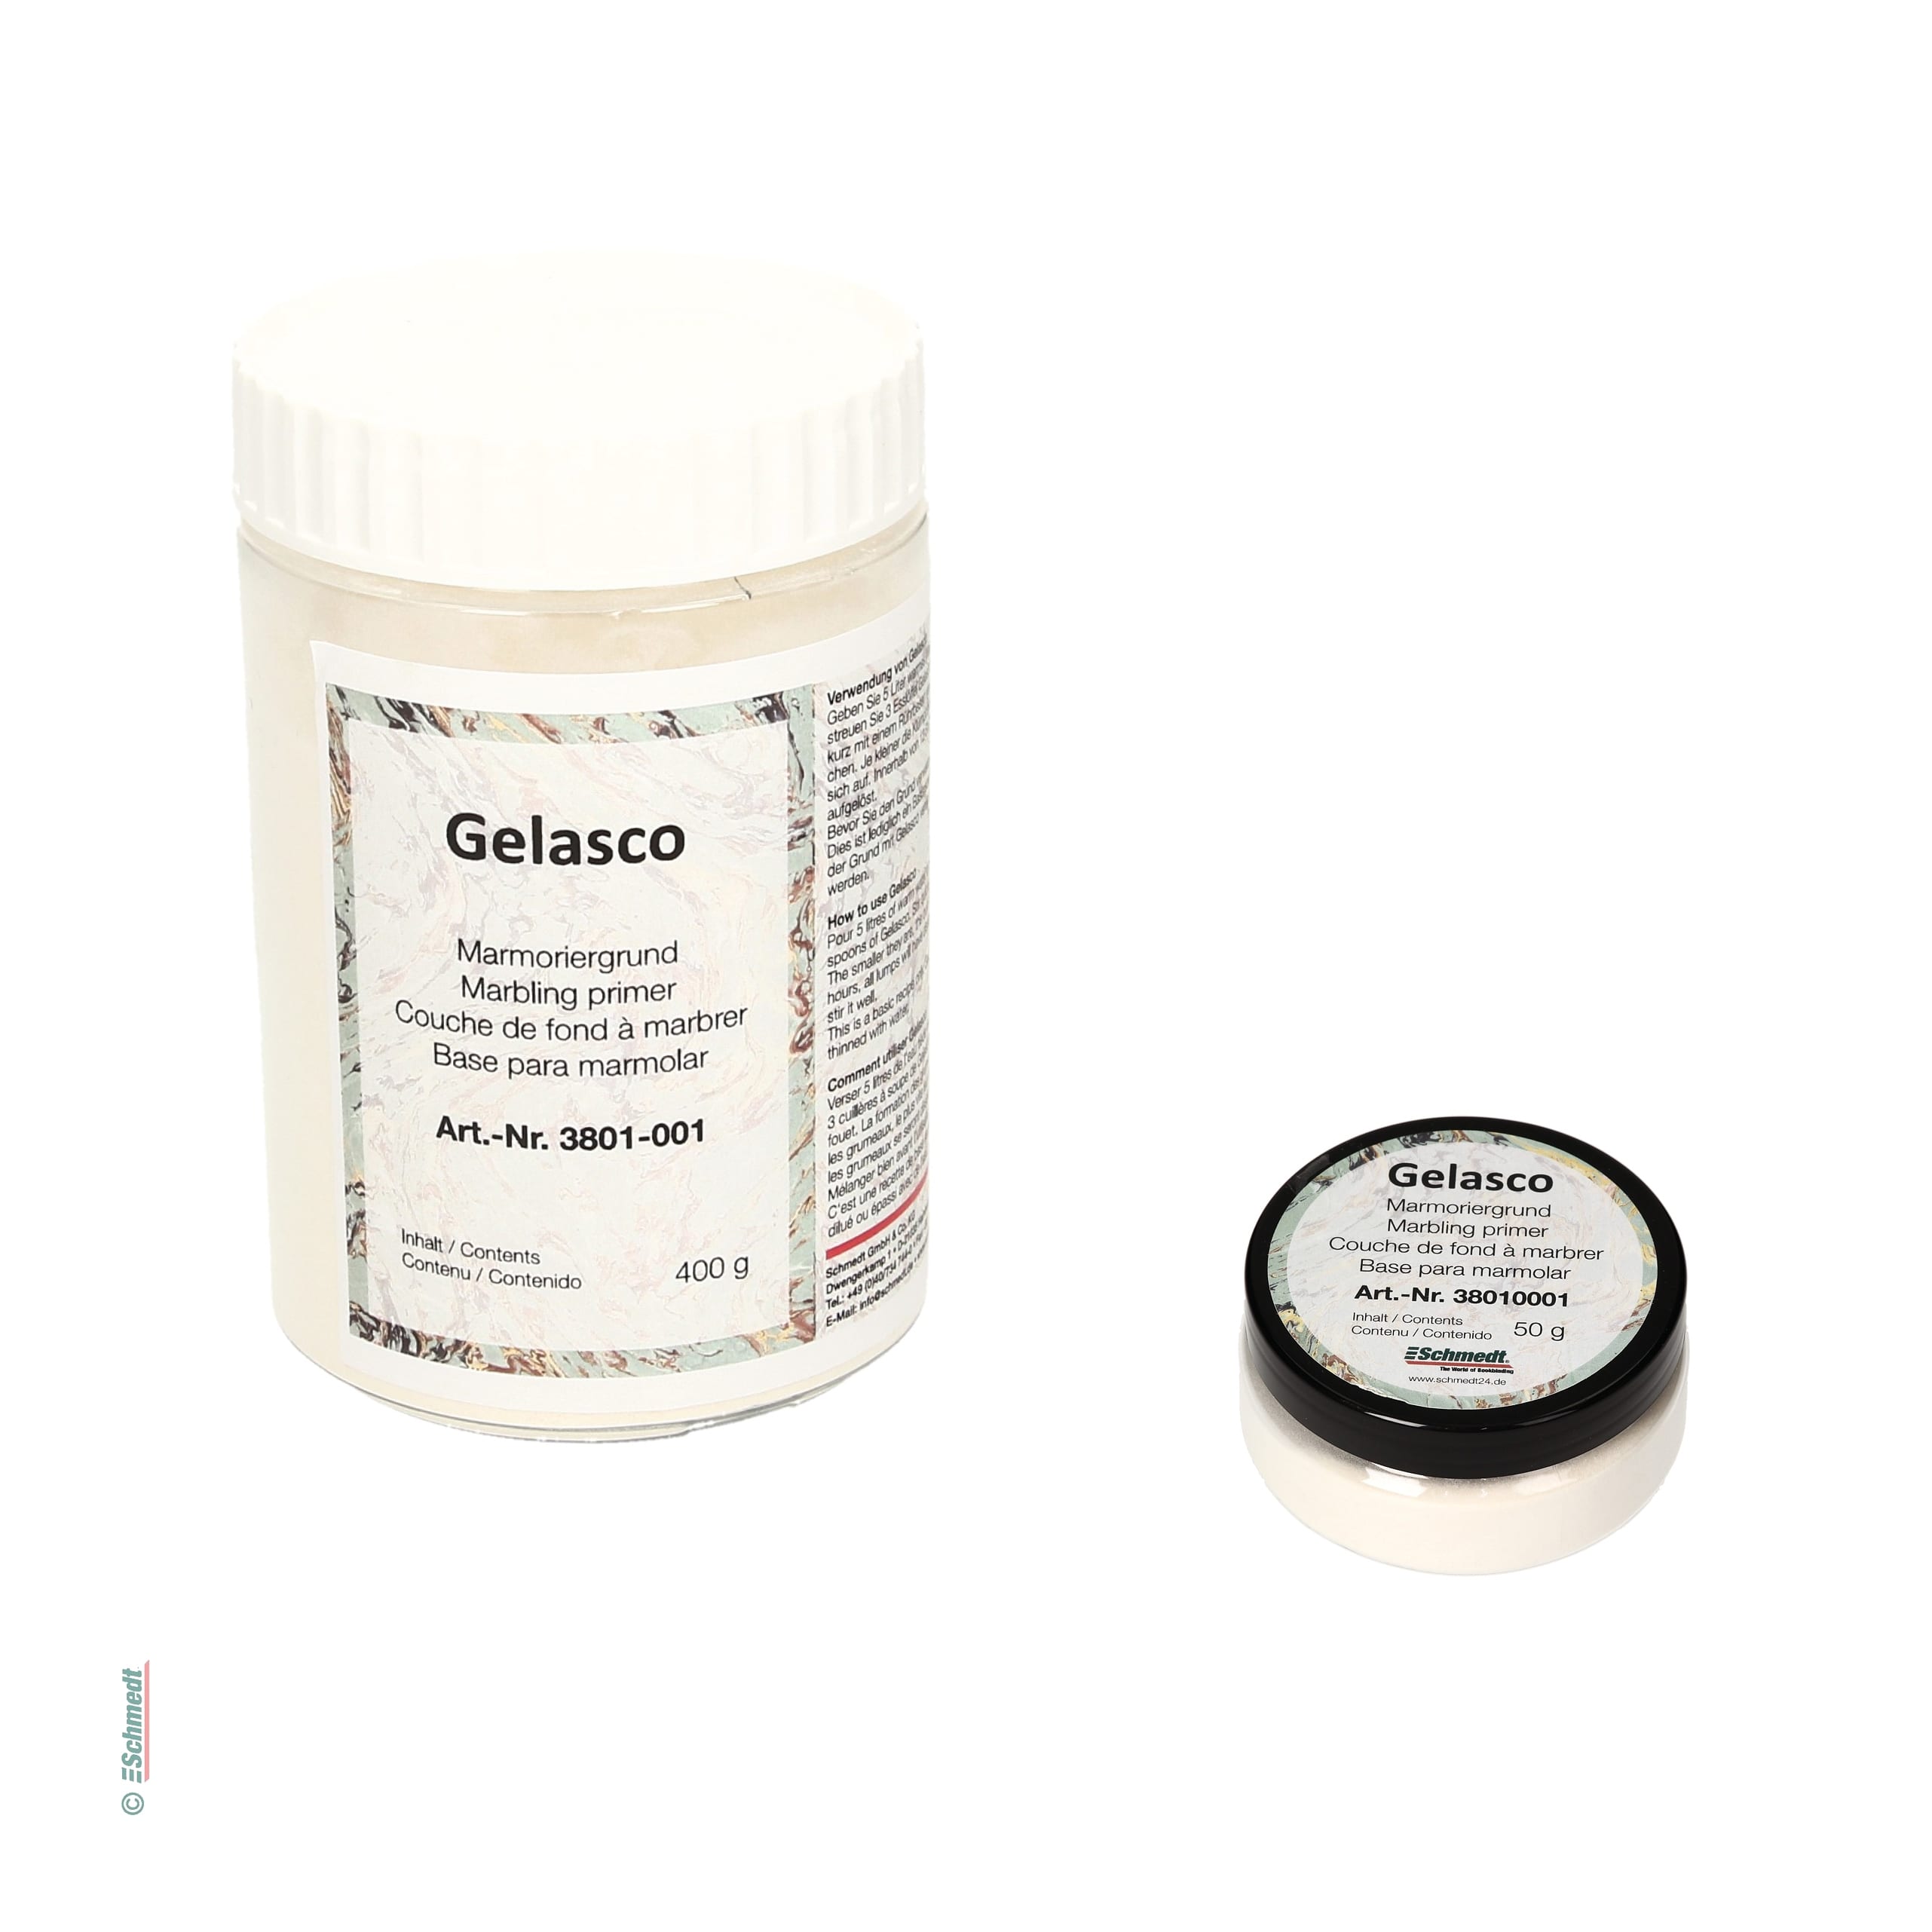
- Gelasco Marbling primer
- Water (should be around 40° Celsius)
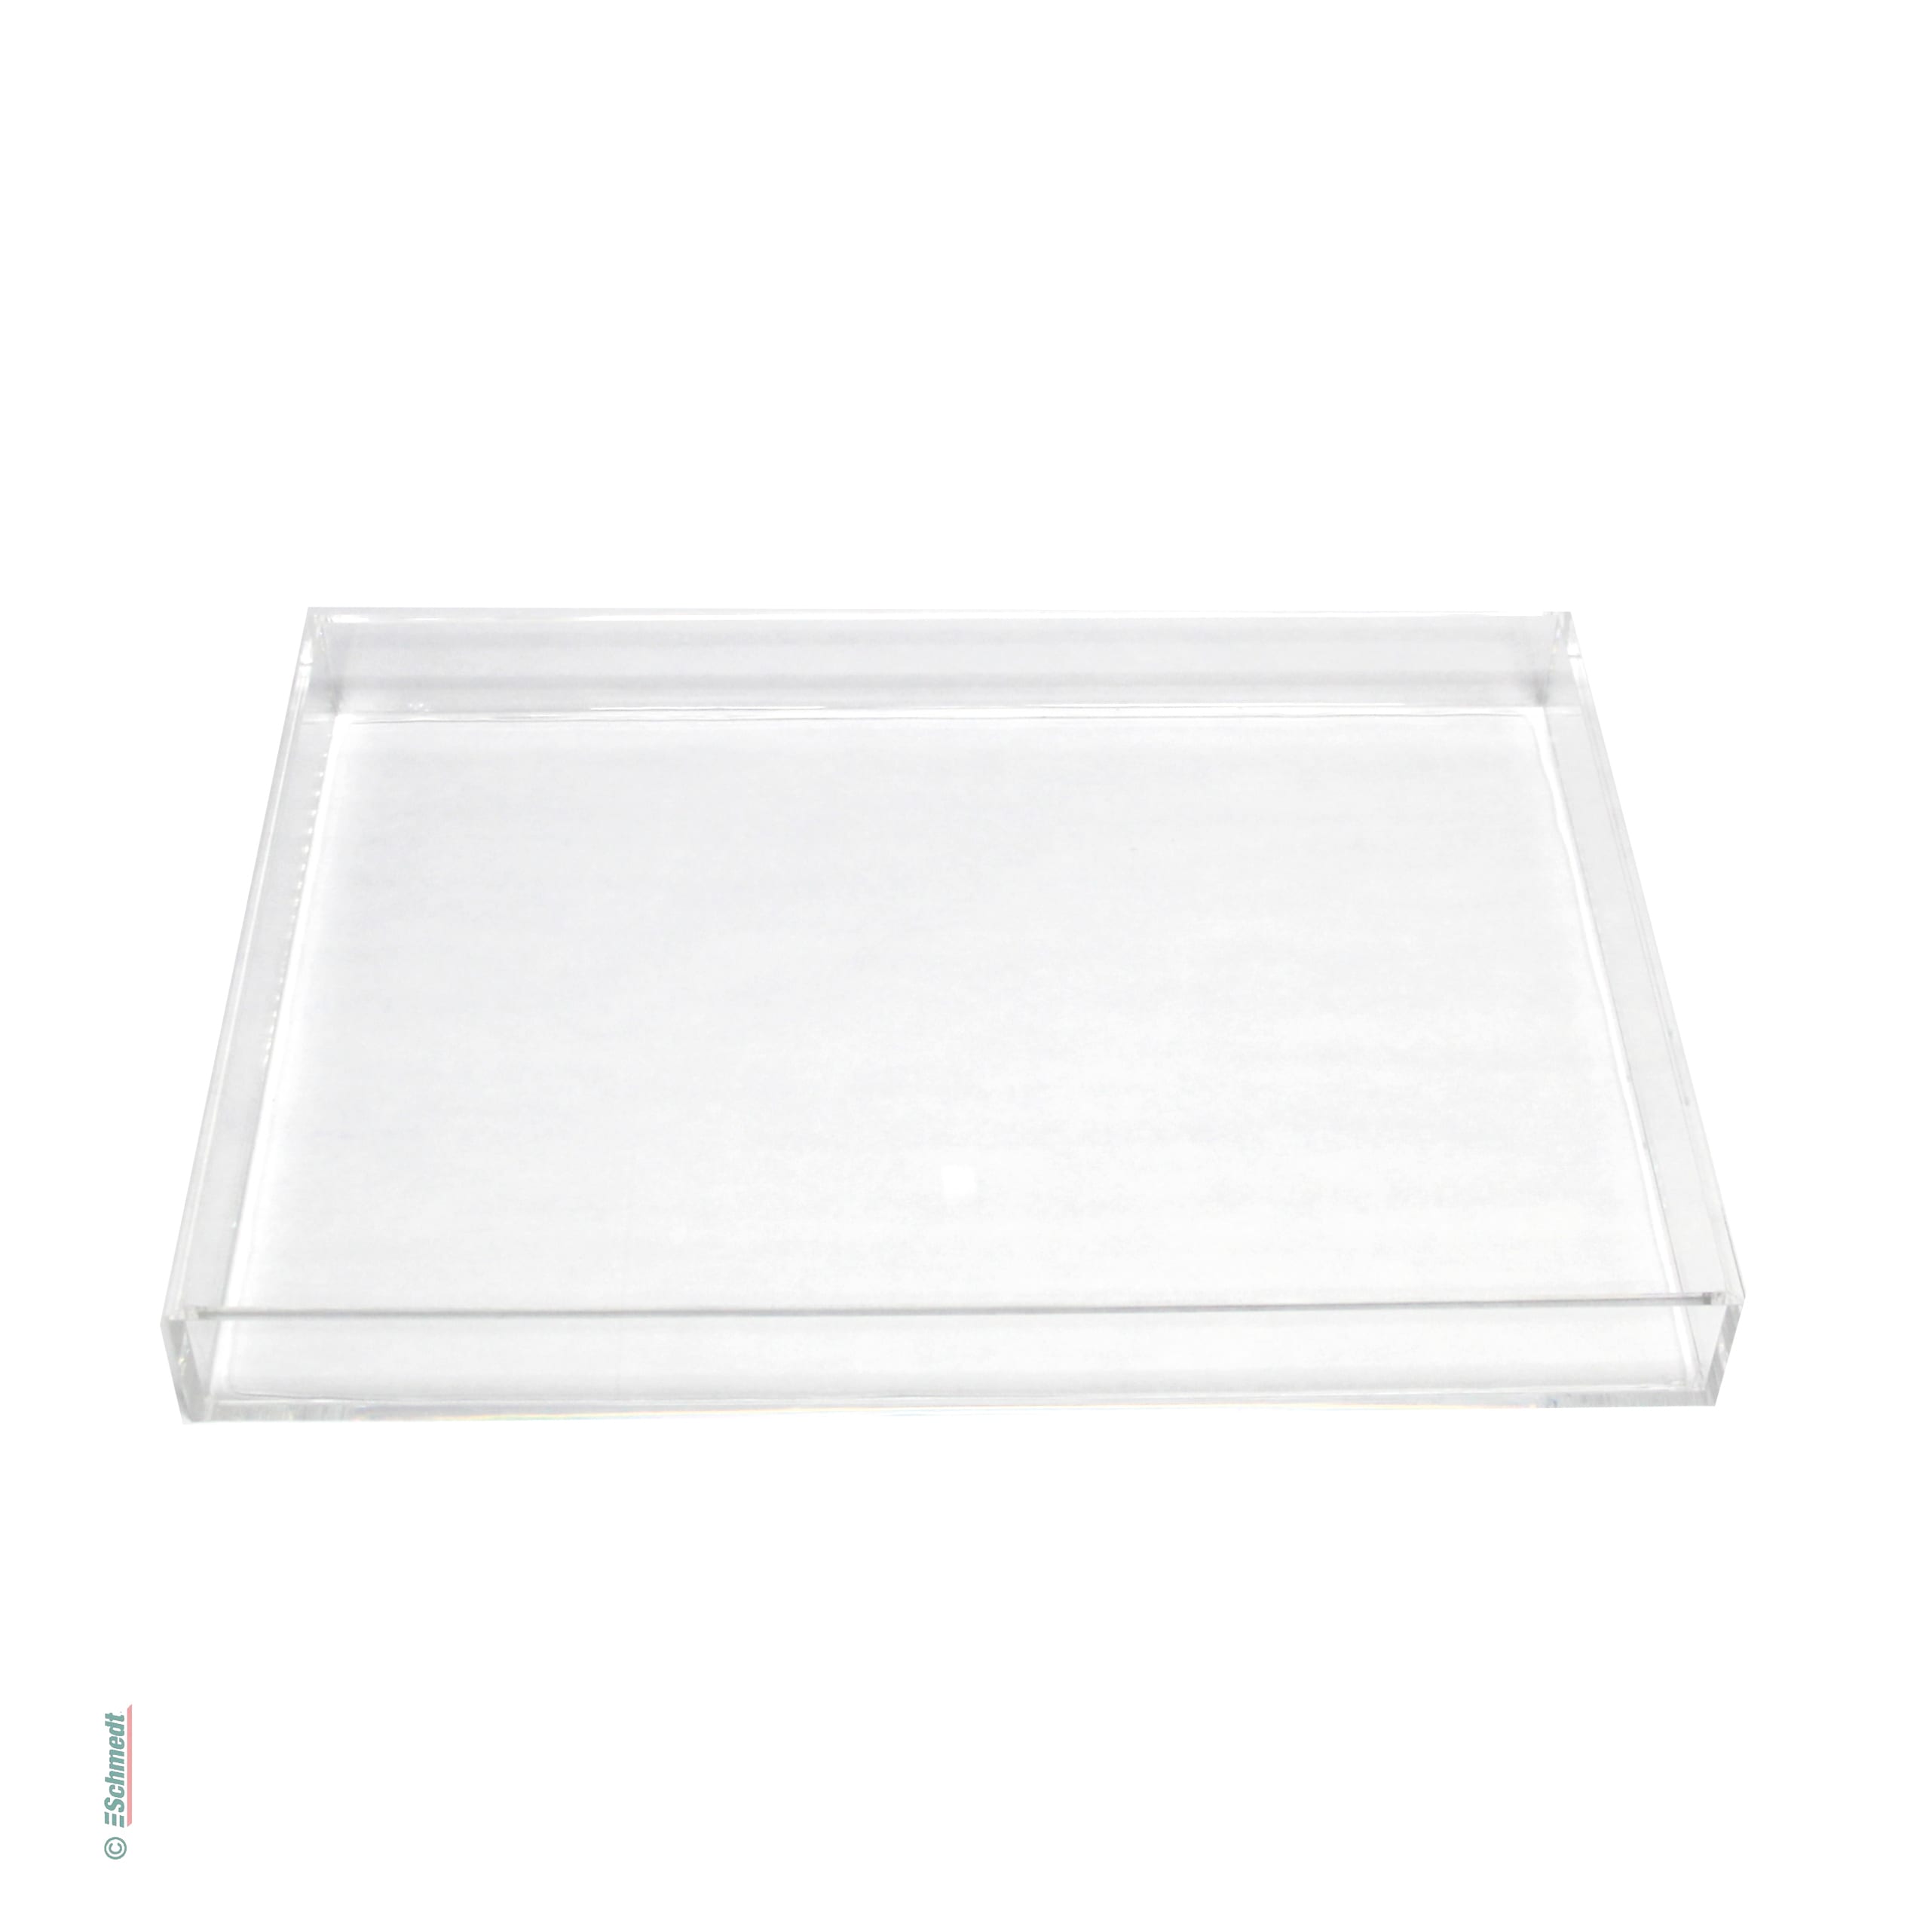
- Marbling tray
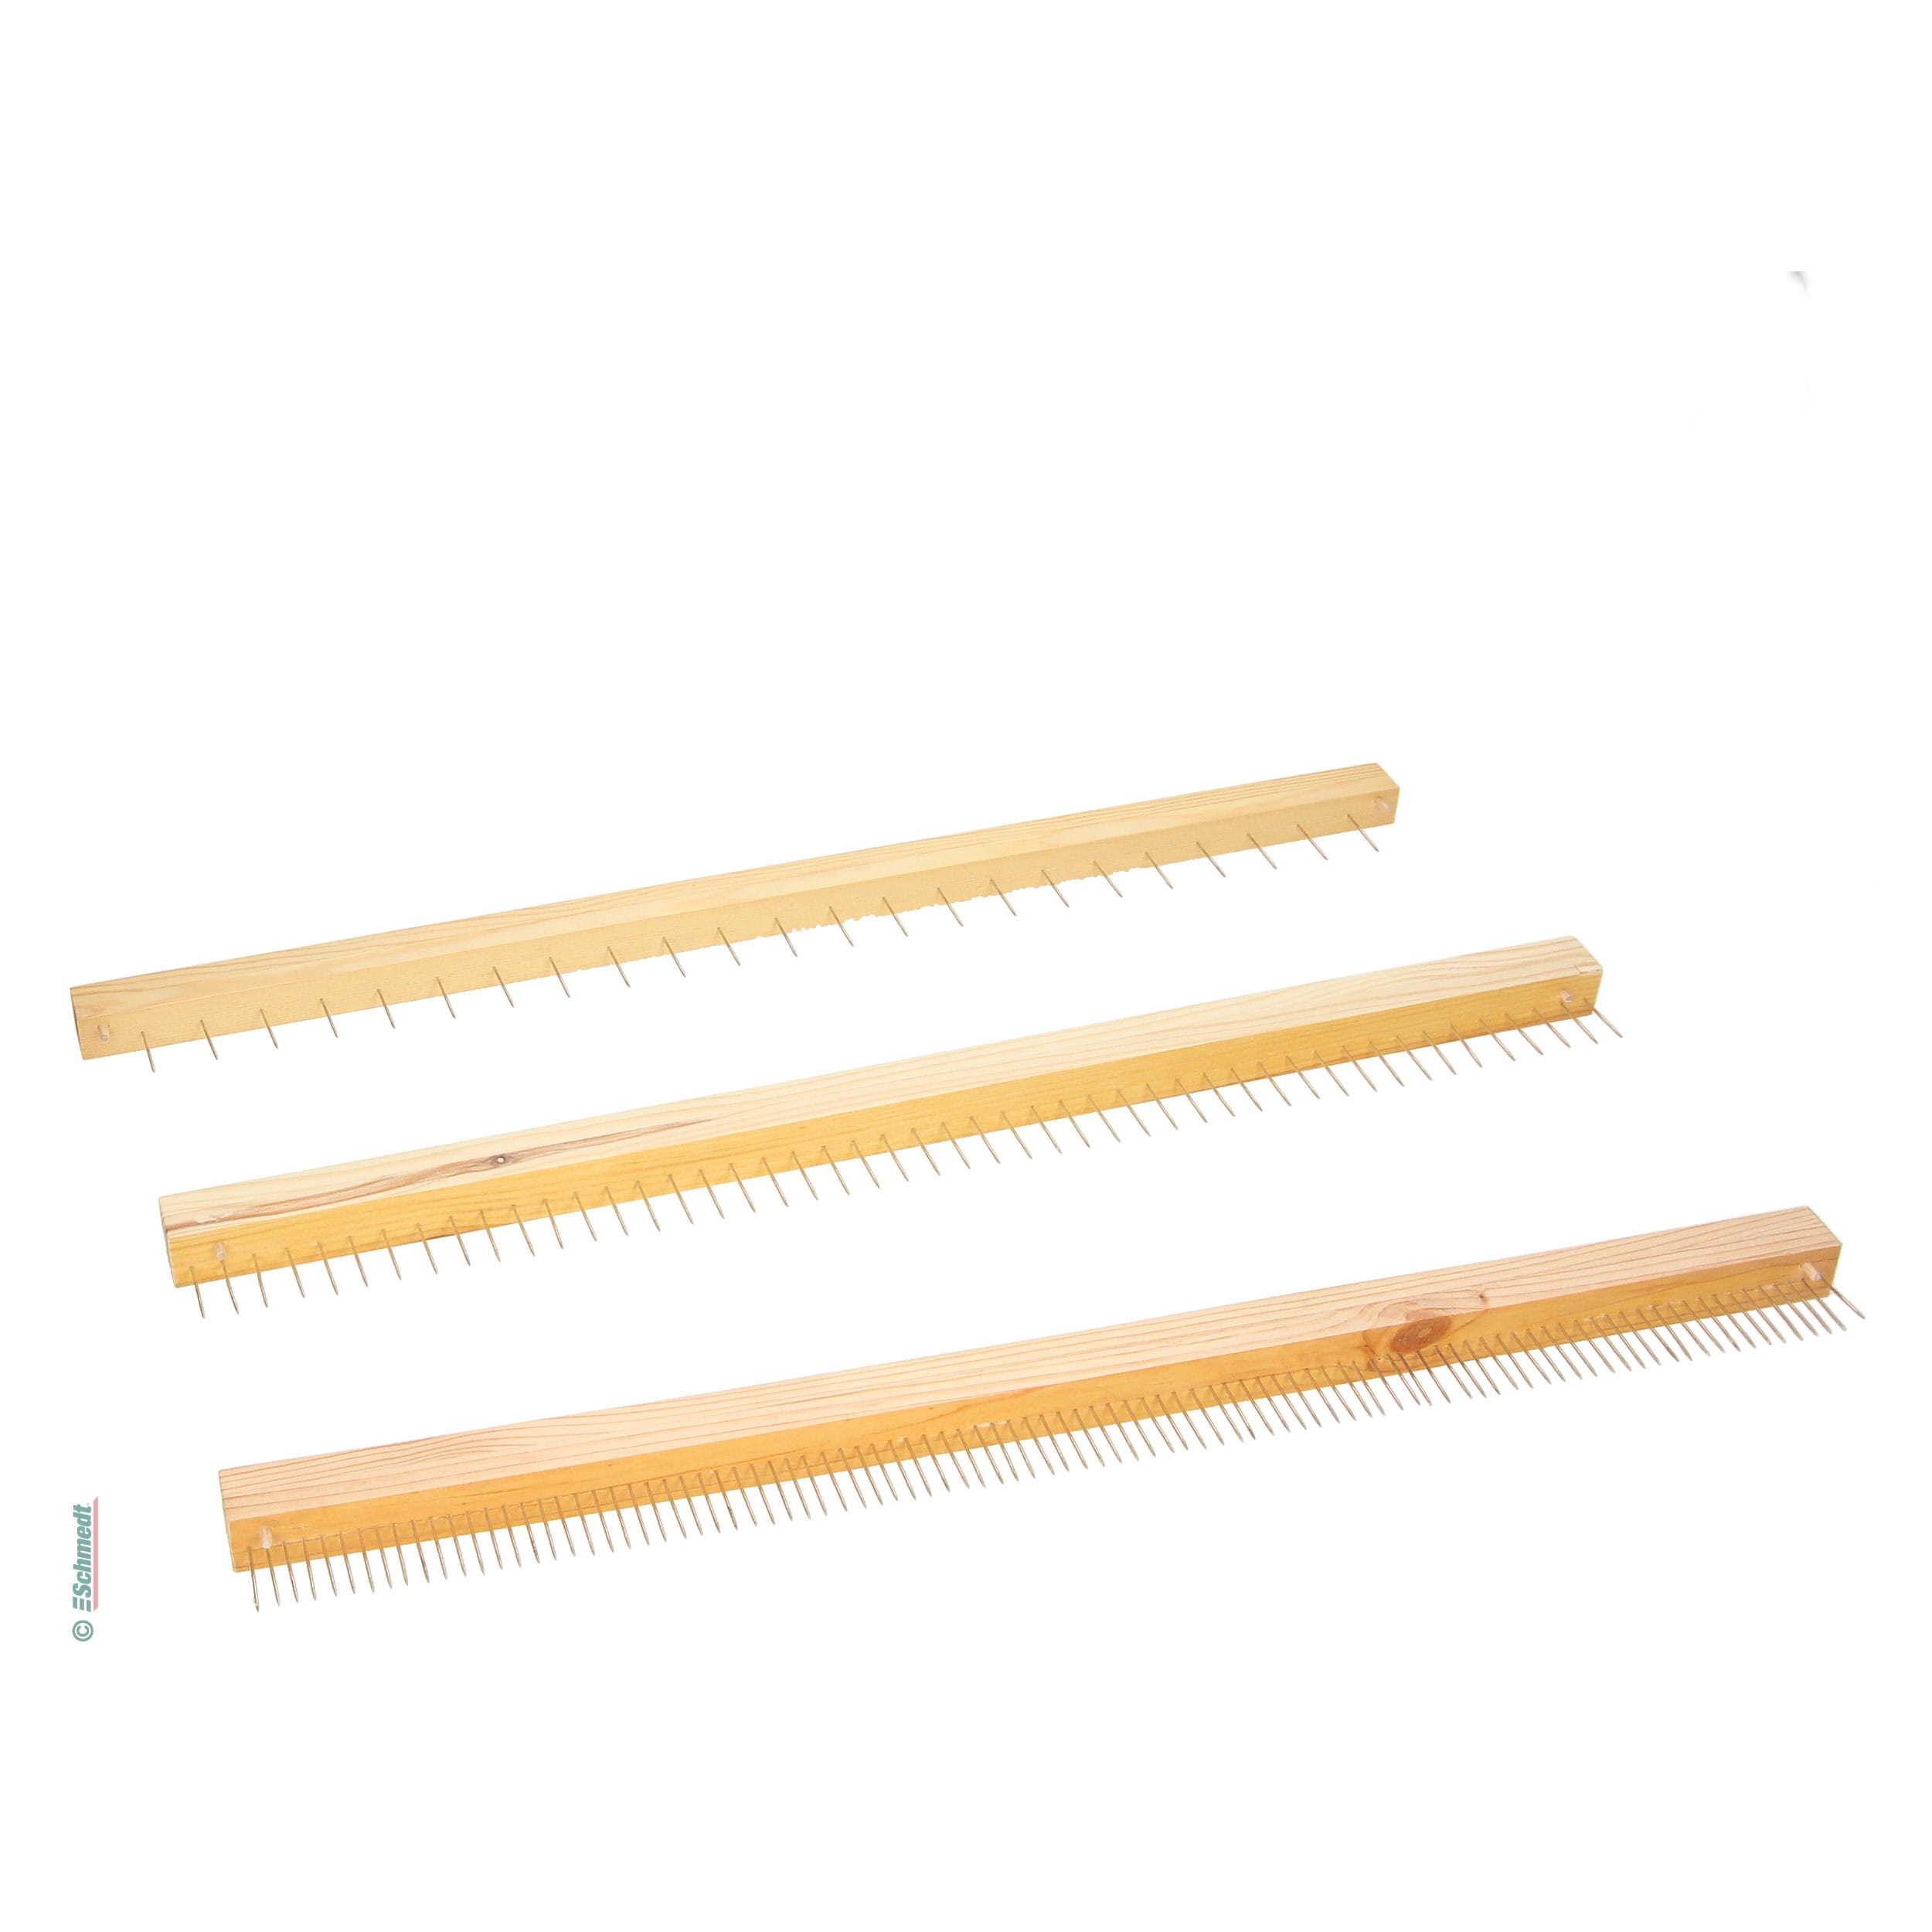
- Marbling awls
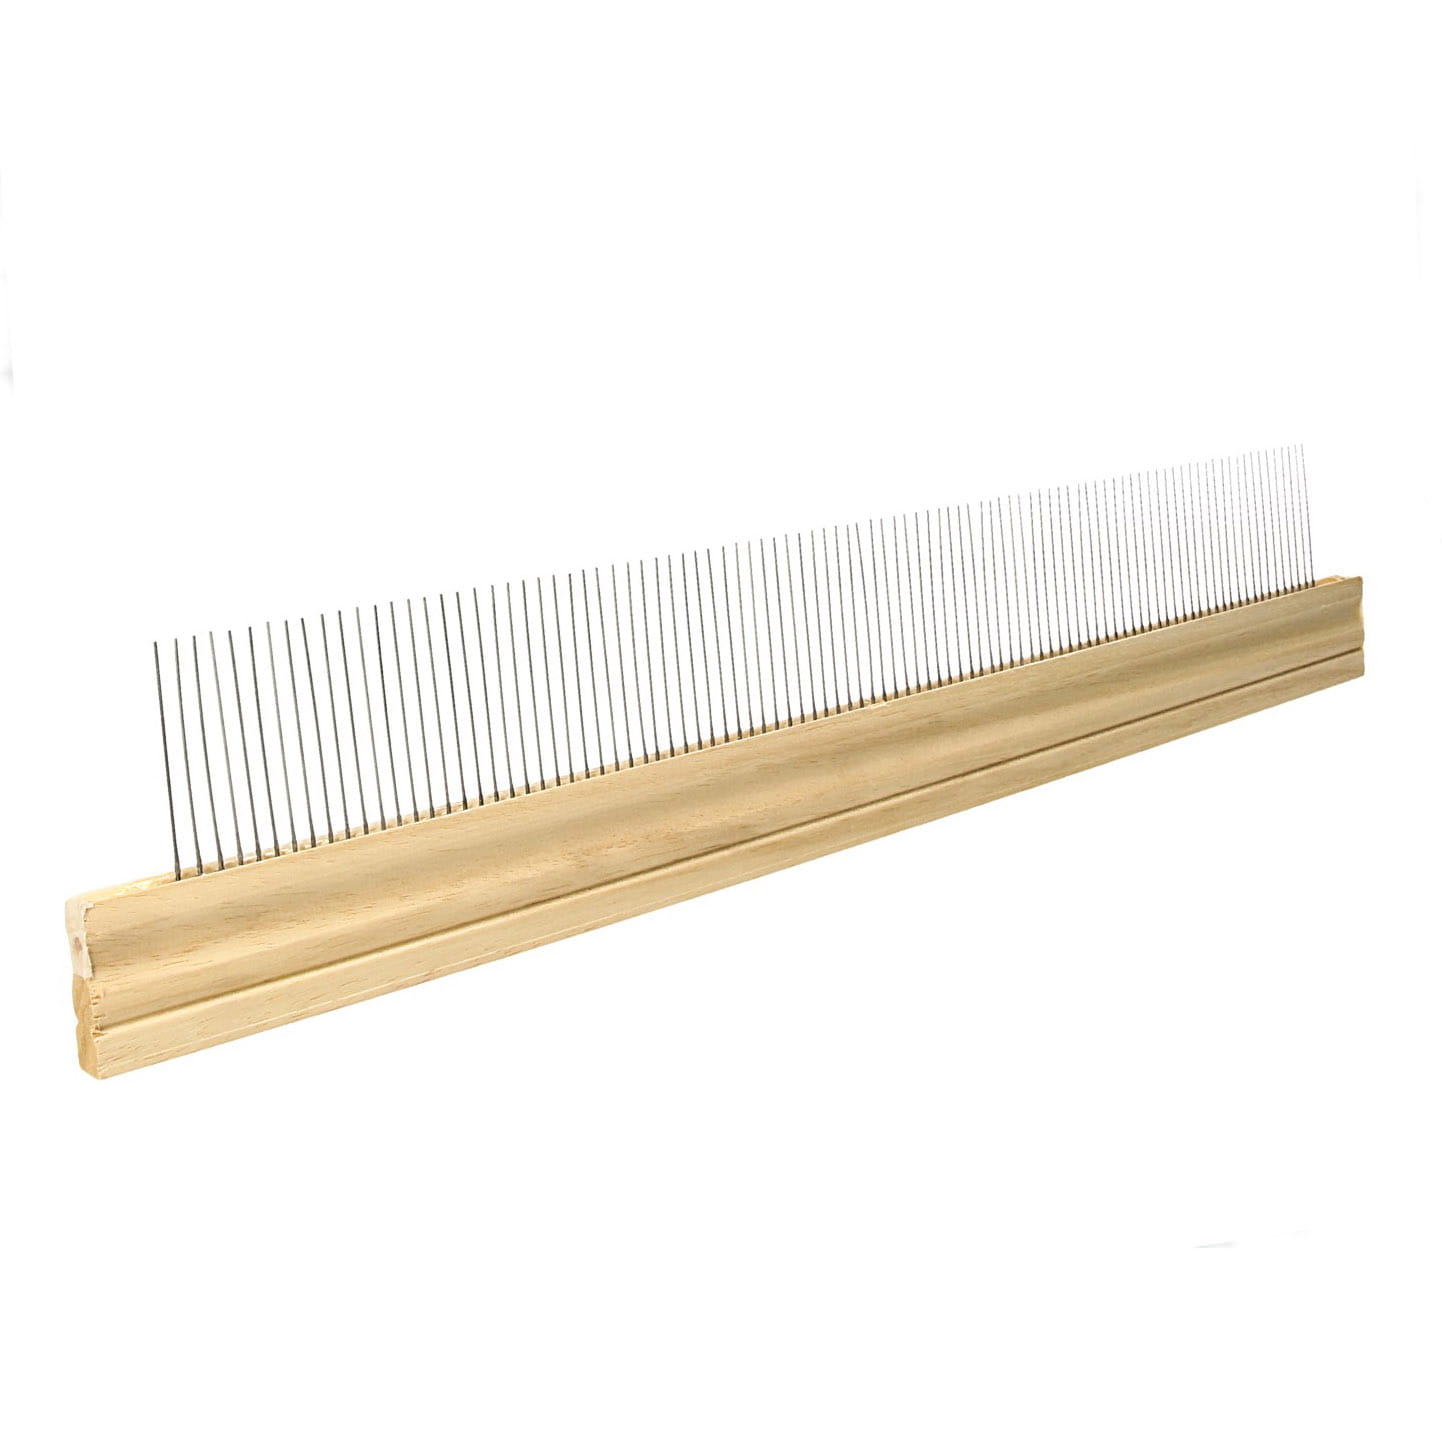
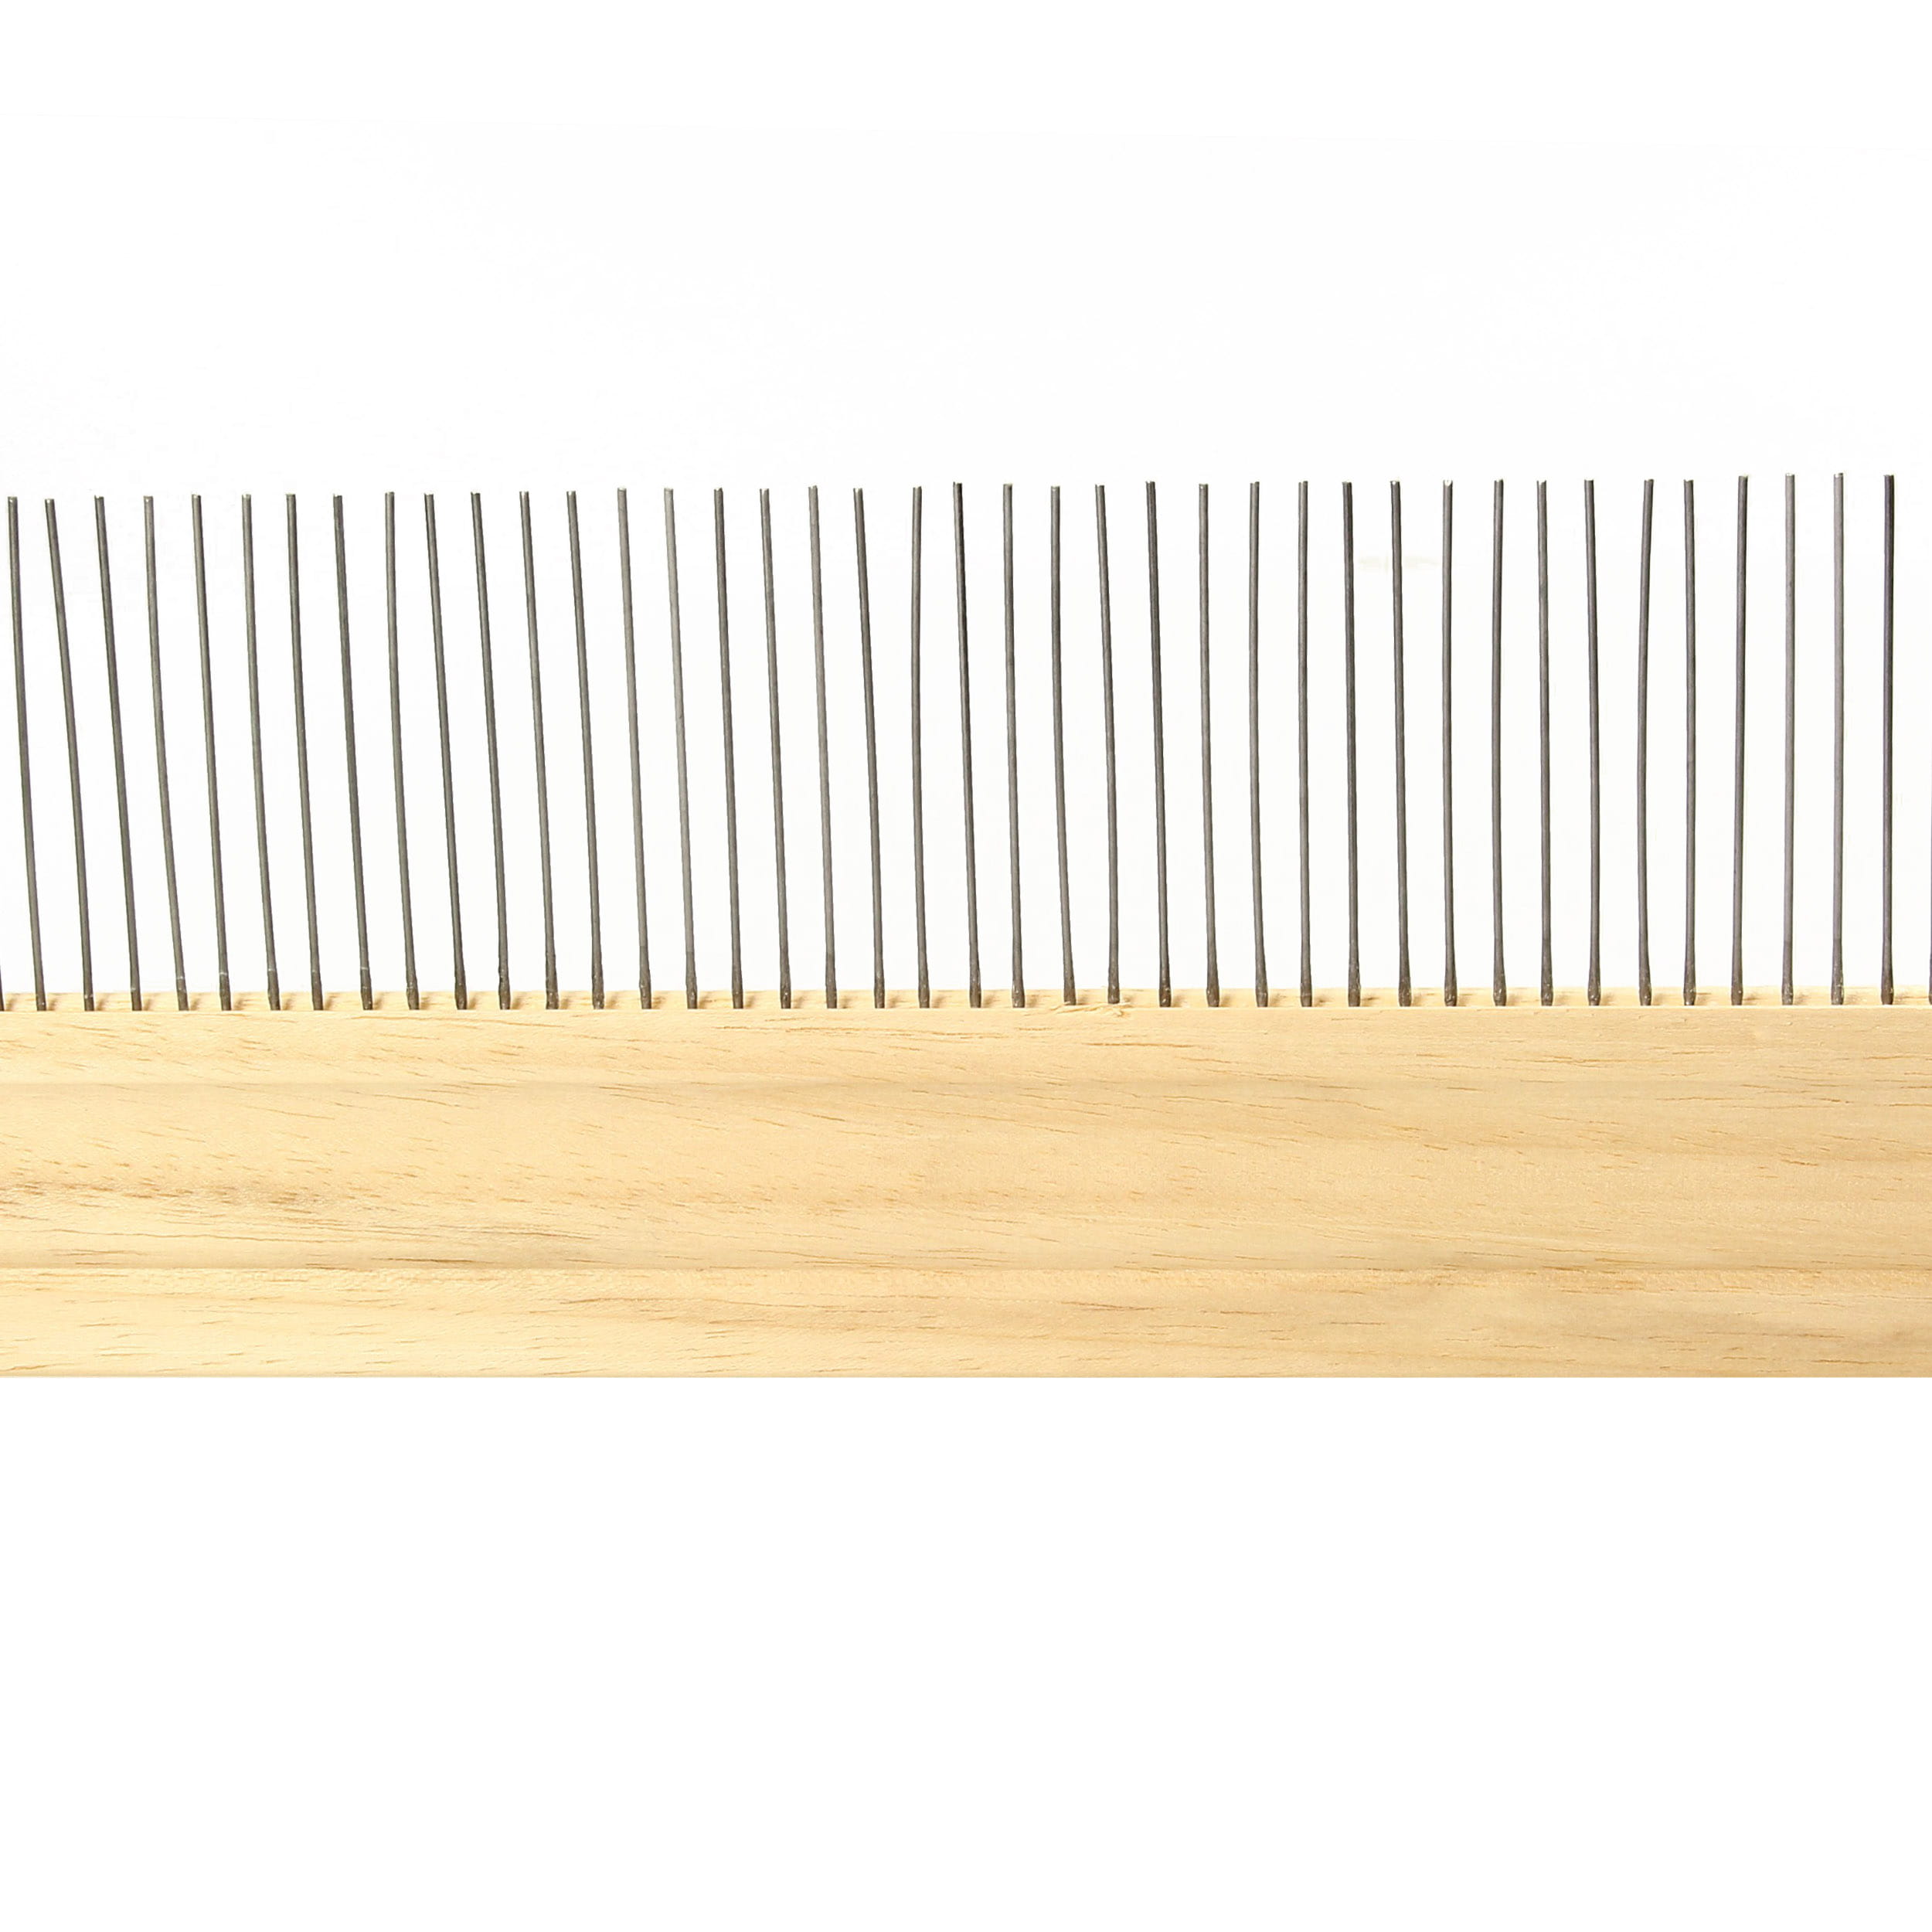
- Marbling comb
- Fan brush, flat
- 4-liter container (bucket)
- whisk
- waste paper to cover the work surface and to clarify the marbling surface

for creating patterns
Cellulose-based marbling primer
available in two different sizes, acrylic glass and plastic
thinning agent for the production of marbled paper
does not need to be treated with alum before marbling
available individually and in sets
for special structures and effects
with tips 1.5 mm, 2.0 mm and 3.0 mm wide
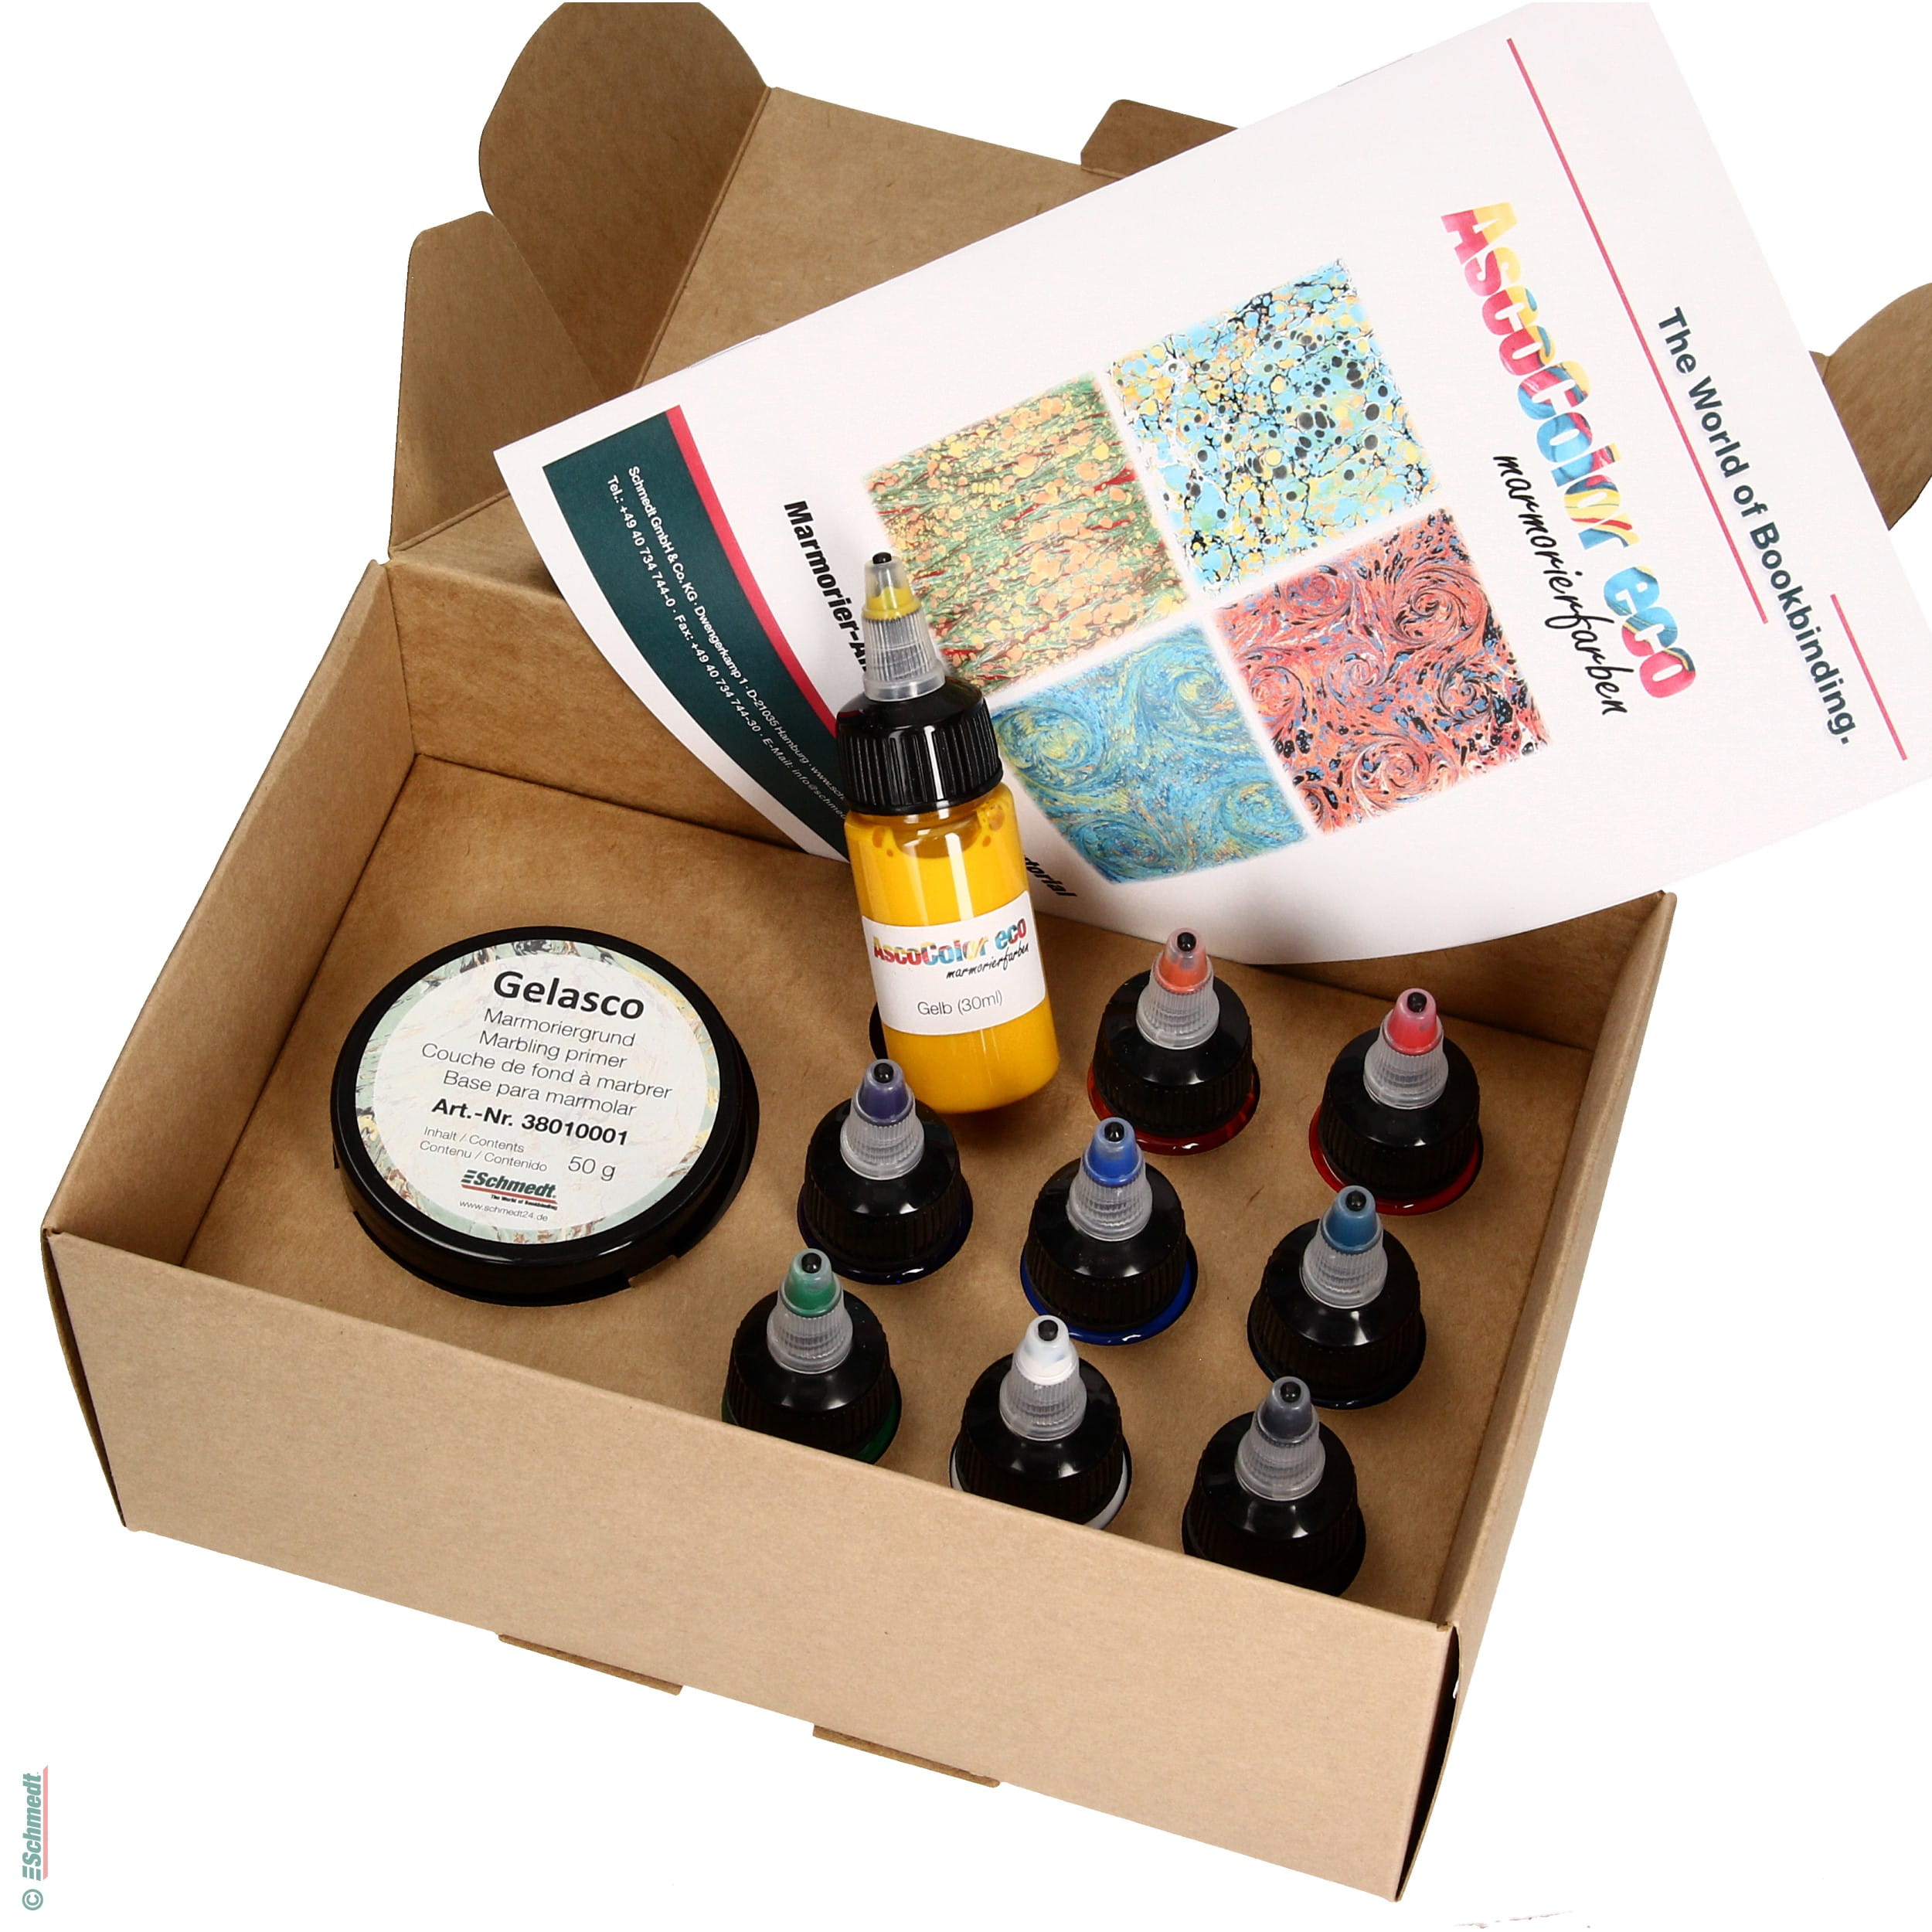
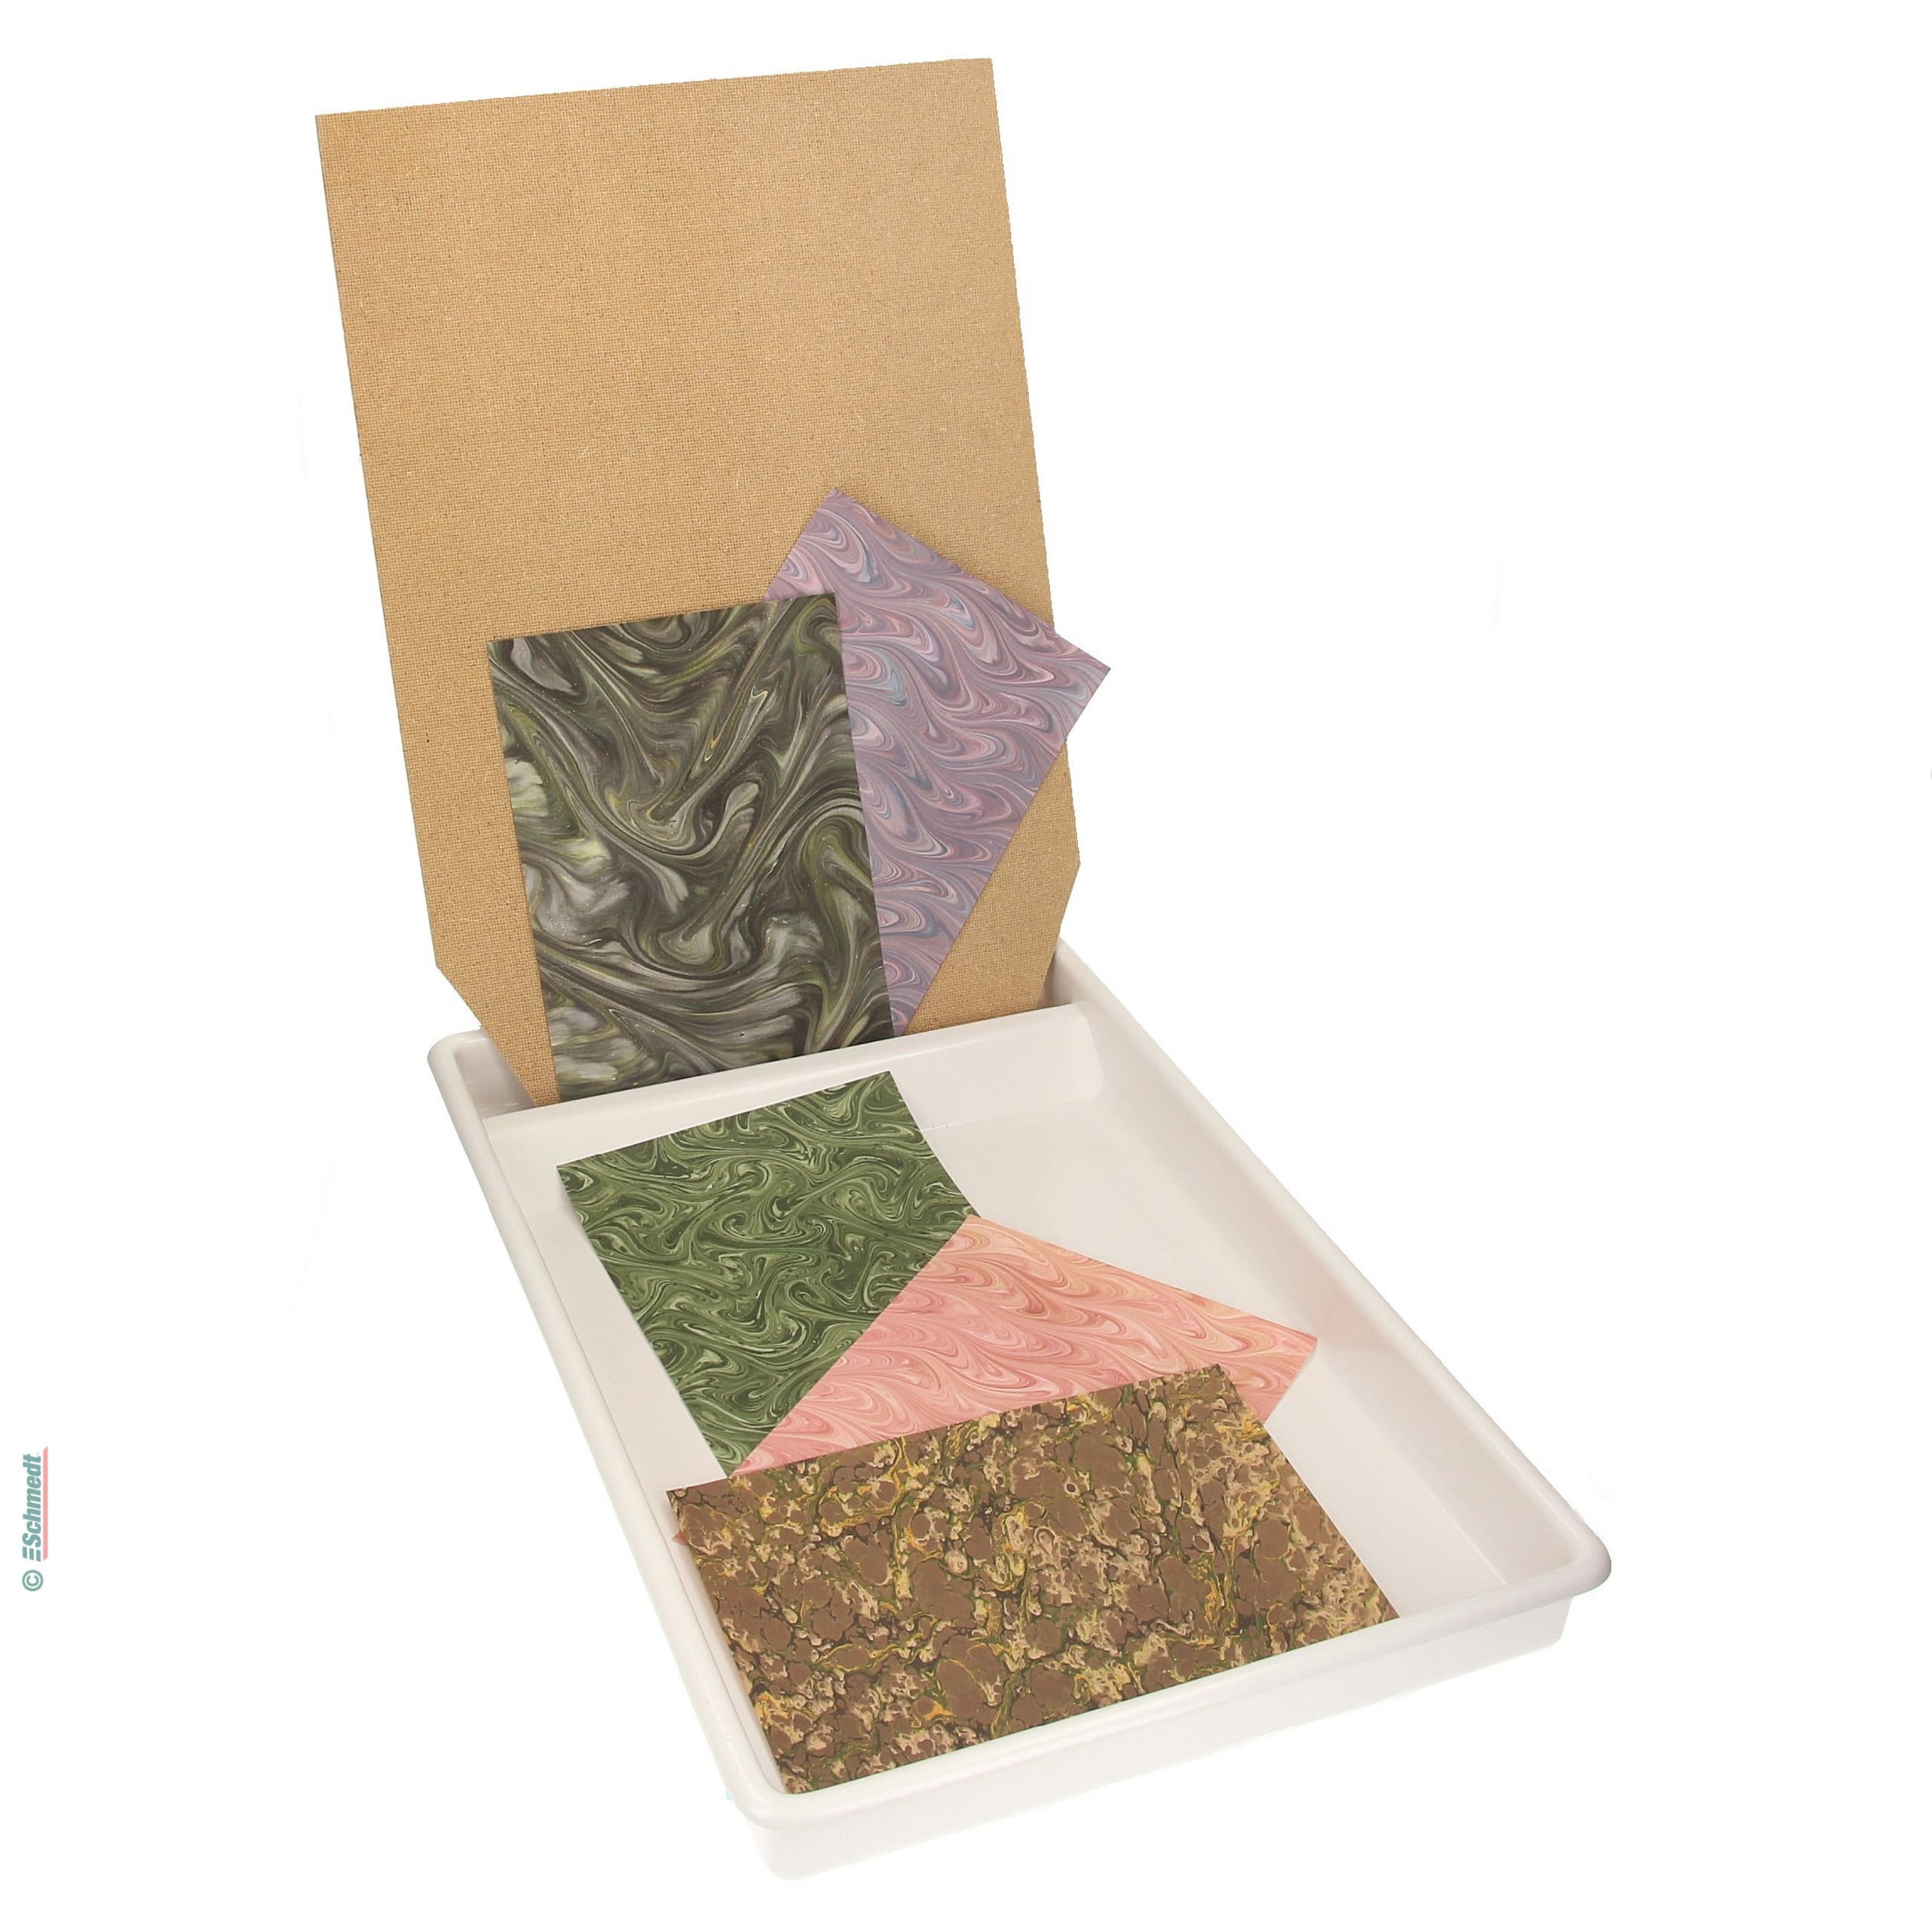
Our DIY marbling sets
In our online shop, you will find three perfectly coordinated DIY marbling sets that will help you get started in the world of marbling.
Ready for despatch in approx. on request
In stock, deliverable at short notice
2 Instructions: All the steps for paper marbling, simply explained
In these detailed instructions, we will show you step by step how to create breathtaking patterns on paper. No matter whether you are just starting out with paper marbling or already have some experience.
Step 1: Prepare the marbling ground
To create marbled effects with water-based paints, you need a medium in which the paints can float. You can easily make this yourself using our Gelasco marbling primer powder.
- For our large marbleizing tray (52 x 37 x 5 cm), mix 3 heaped tablespoons of Gelasco with 4 liters of warm water.
- Stir the powder vigorously into the water using a whisk until it is well distributed.
- Then cover the mixture and let it soak for at least 8 hours. If lumps form, this is not a problem – they will dissolve by themselves during the resting time.
The marbling primer is ready when it has a crystal-clear, gel-like consistency.
Wie lange hält sich Marmoriergrund?
Your marbling primer will last for about 4-7 days. It is important that the base is clarified and sealed airtight.
Wo kann ich den Marmoriergrund entsorgen?
You can safely dispose of any leftover marbling ground in the household waste..
Step 2: Preparation for marbling
Protect your work area by covering it with scrap paper or an old cloth. Shake the AscoColor eco Marbling dyes well before each use so that they are well mixed. Fill your marbling tub about 2 to 3 cm high with the prepared marbling ground.
Before and after each application of paint, you must clear the surface of the marbling ground to remove paint residue, bubbles or dust particles that could affect your design. To do this, cut strips out of scrap paper that are about 5 cm high and as wide as the tub. Stretch a strip with both hands and gently pull it over the surface from back to front to clean only the top layer. Then dispose of the strip in the paper recycling.
Alternatively, you can also place a piece of newspaper on the surface and carefully pull it towards you. This not only removes dirt and paint residue, but also any skin that has formed on the marbling ground and would prevent an even color distribution.
Der Marmoriergrund kann während einer Session mehrfach verwendet werden. Farbreste, die auf den Boden der Wanne sinken, beeinträchtigen die nächsten Ergebnisse nicht. Nach etwa 10 gefärbten Papierbögen sollte der Marmoriergrund entsorgt und die Wanne gereinigt werden. Anschließend kann die Wanne mit frischem Marmoriergrund aus dem Vorrat aufgefüllt werden (diesen vorher nochmal gründlich umrühren) – und schon kann es weitergehen!
Step 3: Apply the color
It's time to get colorful! Choose your favorite colors and get ready to create some creative patterns. The AscoColor eco Marbling dyes can be dropped directly from the bottle onto the surface of the marbling ground. Gently tilt the bottle so that a small drop falls onto the surface. The color circle spreads out immediately and expands – fascinating, isn't it?
Repeat this process as you like and change the colors. With each new color, you can dab into existing circles or place dots between the color rings. The colors are highly mixable, so you can create your own unique color palette. White, in particular, is great for creating pastel shades.
There is no set order for applying the colors – feel free to experiment! However, keep in mind that the last color applied usually has the dominant effect in the pattern.
Tips for different effects:
- When you apply larger drops directly from the bottle, you get bold and bright patterns.
- For more delicate, translucent effects, use a fan brush to flick small drops of paint onto the surface.
Step 4: Transfer the pattern to paper
Once you have the perfect pattern, quickly place the paper on the surface of the marbling medium. Tip: If you have freshly painted fingernails, wear gloves to avoid staining. The colors can easily be transferred to your fingertips when placing and removing the paper.
How to transfer the pattern:
- Gently place the paper: Carefully place the paper on the surface of the marbling ground. Place the lower left corner of the paper exactly in the lower left corner of the tub. Hold this corner with your thumb and index finger and let the paper sink down slowly and evenly.
- Pressing down the paper: When the paper is completely on the marbling ground, gently stroke the entire sheet to ensure that it is in contact with the surface everywhere.
- Removing the paper: Clean the edge of the basin with a cloth to prevent the paper from getting stained with color or brew residue. Then carefully lift the paper at the bottom edge using an awl or similar tool. Stretch the sheet taut at both ends and pull it evenly and smoothly over the edge of the basin.
- Drain: Hang the paper up to dry, ideally over two crossbars like a clothes horse. This allows excess brew to drip off without leaving stains on the paper.
Tips for clean results:
- If the color smears when it drips, the ink layer might be too thick or the ink too viscous.
- After a few sheets, you will quickly have mastered the technique and achieve impressive results.

3 creative marbling patterns: stone, french curl and comb marbling made easy
Discover the art of traditional marbling patterns! Whether you want to create a classic stone pattern, a french curl marble or elegant comb designs – here you will learn how to easily create these timeless patterns yourself.
Stone patterns – the basis for many designs
The stone pattern is created by gently sprinkling the colors onto the surface of the marbling paper with a fan brush. Make sure to distribute the colors evenly so that the pattern remains light and balanced. The effect is particularly beautiful when you choose three contrasting colors.
Do not place the paint drops too close together to preserve the airy effect of the pattern. With a little practice, you will get a feel for how much paint the surface can hold without the drops sinking.
An important tip: If the brew surface is too saturated with color, the drops can no longer float and will sink – you should avoid this.
The stone pattern is a wonderful base that you can easily develop further for other patterns such as snail or comb designs.
Developing a French Curl pattern from a stone pattern
The French Curl can be particularly beautiful if you start with a classic stone pattern. Begin by carefully applying the colors to the surface. You can either drip the colors directly to create circles or sprinkle them on the surface with a fan brush. Dabbing will create a more irregular, organic base pattern, while dripping will allow for a more textured look.
Combine both methods to create a unique and varied design. Play with the spacing, positions, and color intensities to make the pattern vibrant and exciting.
Once your base color is set up, take a marbling awl and start creating the French Curl pattern. Gently insert the awl into the center of any area of the paint and move it in a spiral motion outwards. Depending on your taste, you can choose a single central point as your focus or add several smaller spirals in different places in the pattern.
Narrow spirals look delicate and detailed, while wider spacing creates a more generous, airy design. Vary the pressure and speed with which you move the stick to achieve different effects and depths.
With a little practice, you will develop your own rhythm and succeed in creating evenly sized spiral swirls.
Refine French Curl using the comb technique
After you have prepared the stone pattern, you can create the French Curl in several steps. First, take an awl and draw it up and down in one direction through the stone pattern. Then draw it back and forth in the other direction. This movement, also called “gel-git,” transforms the stone pattern into an even back-and-forth pattern.
The next step is to take a marbling comb and slowly draw it through the pattern from top to bottom. This creates a classic comb pattern with even, wave-like lines.
Now you can start incorporating the French Curl pattern: use a marbling awl and draw spiral movements into the comb pattern at different distances. You can either choose a central point as your focus or distribute several small spirals over the entire surface. Depending on the direction and size of the spirals, different variations of the French Curl pattern will emerge.
For even more creative patterns, you can experiment with combs that have different spacings between the teeth. Instead of straight lines, you can also make gently curved or squiggly movements when drawing the comb across the surface. These small variations can be used to create unique patterns – there are no limits to your imagination.
4 creative DIY products for your marbling and bookbinding skills
Whether you're working on bookbinding projects, creative gift boxes or artistic decorations – with the right materials, your DIY ideas will be even more successful. Discover high-quality bookbinding sets, practical tools for boxes and books, and the ideal adhesive for long-lasting DIY projects. Top off your design with colorful Washi tape accents. Here you will find everything you need to perfectly showcase your marbled papers!
5 Frequently asked questions
- AscoColor dyes contain solvents that would interfere with AscoColor eco Marbling dyes.
- The dyes have different surface tensions, which is why they cannot be mixed on the marbling ground.
The classic primary colors cyan and magenta are no longer available. However, all colors can be mixed with each other to create custom shades. By mixing blue or red with white, lighter shades can be created – even if the result is not an exact cyan or magenta.
- The marbling ground is not optimally adjusted – if the mixing ratio is not correct, the colors may sink or not distribute properly.
- Too much color or the wrong ratio between color and marbling ground – overdosing can affect the behavior of the colors in the bath.
- The paper used is unsuitable – paper with a surface that is too smooth absorbs the color less well.
- Temperature differences between colors and bath – the colors and marbling ground should be at the same temperature. Particularly low temperatures can make marbling more difficult.
- Paper texture – The paper should have a rough surface, but not be too soft. Difficult papers can be treated with alum in advance to improve ink adhesion.
- Rubbing alcohol (isopropanol) – gently dissolves most paint residue.
- AscoColor thinner – is stronger than rubbing alcohol, but can attack plastics and irritate skin and mucous membranes.