Sharpening leather with the Schärffix
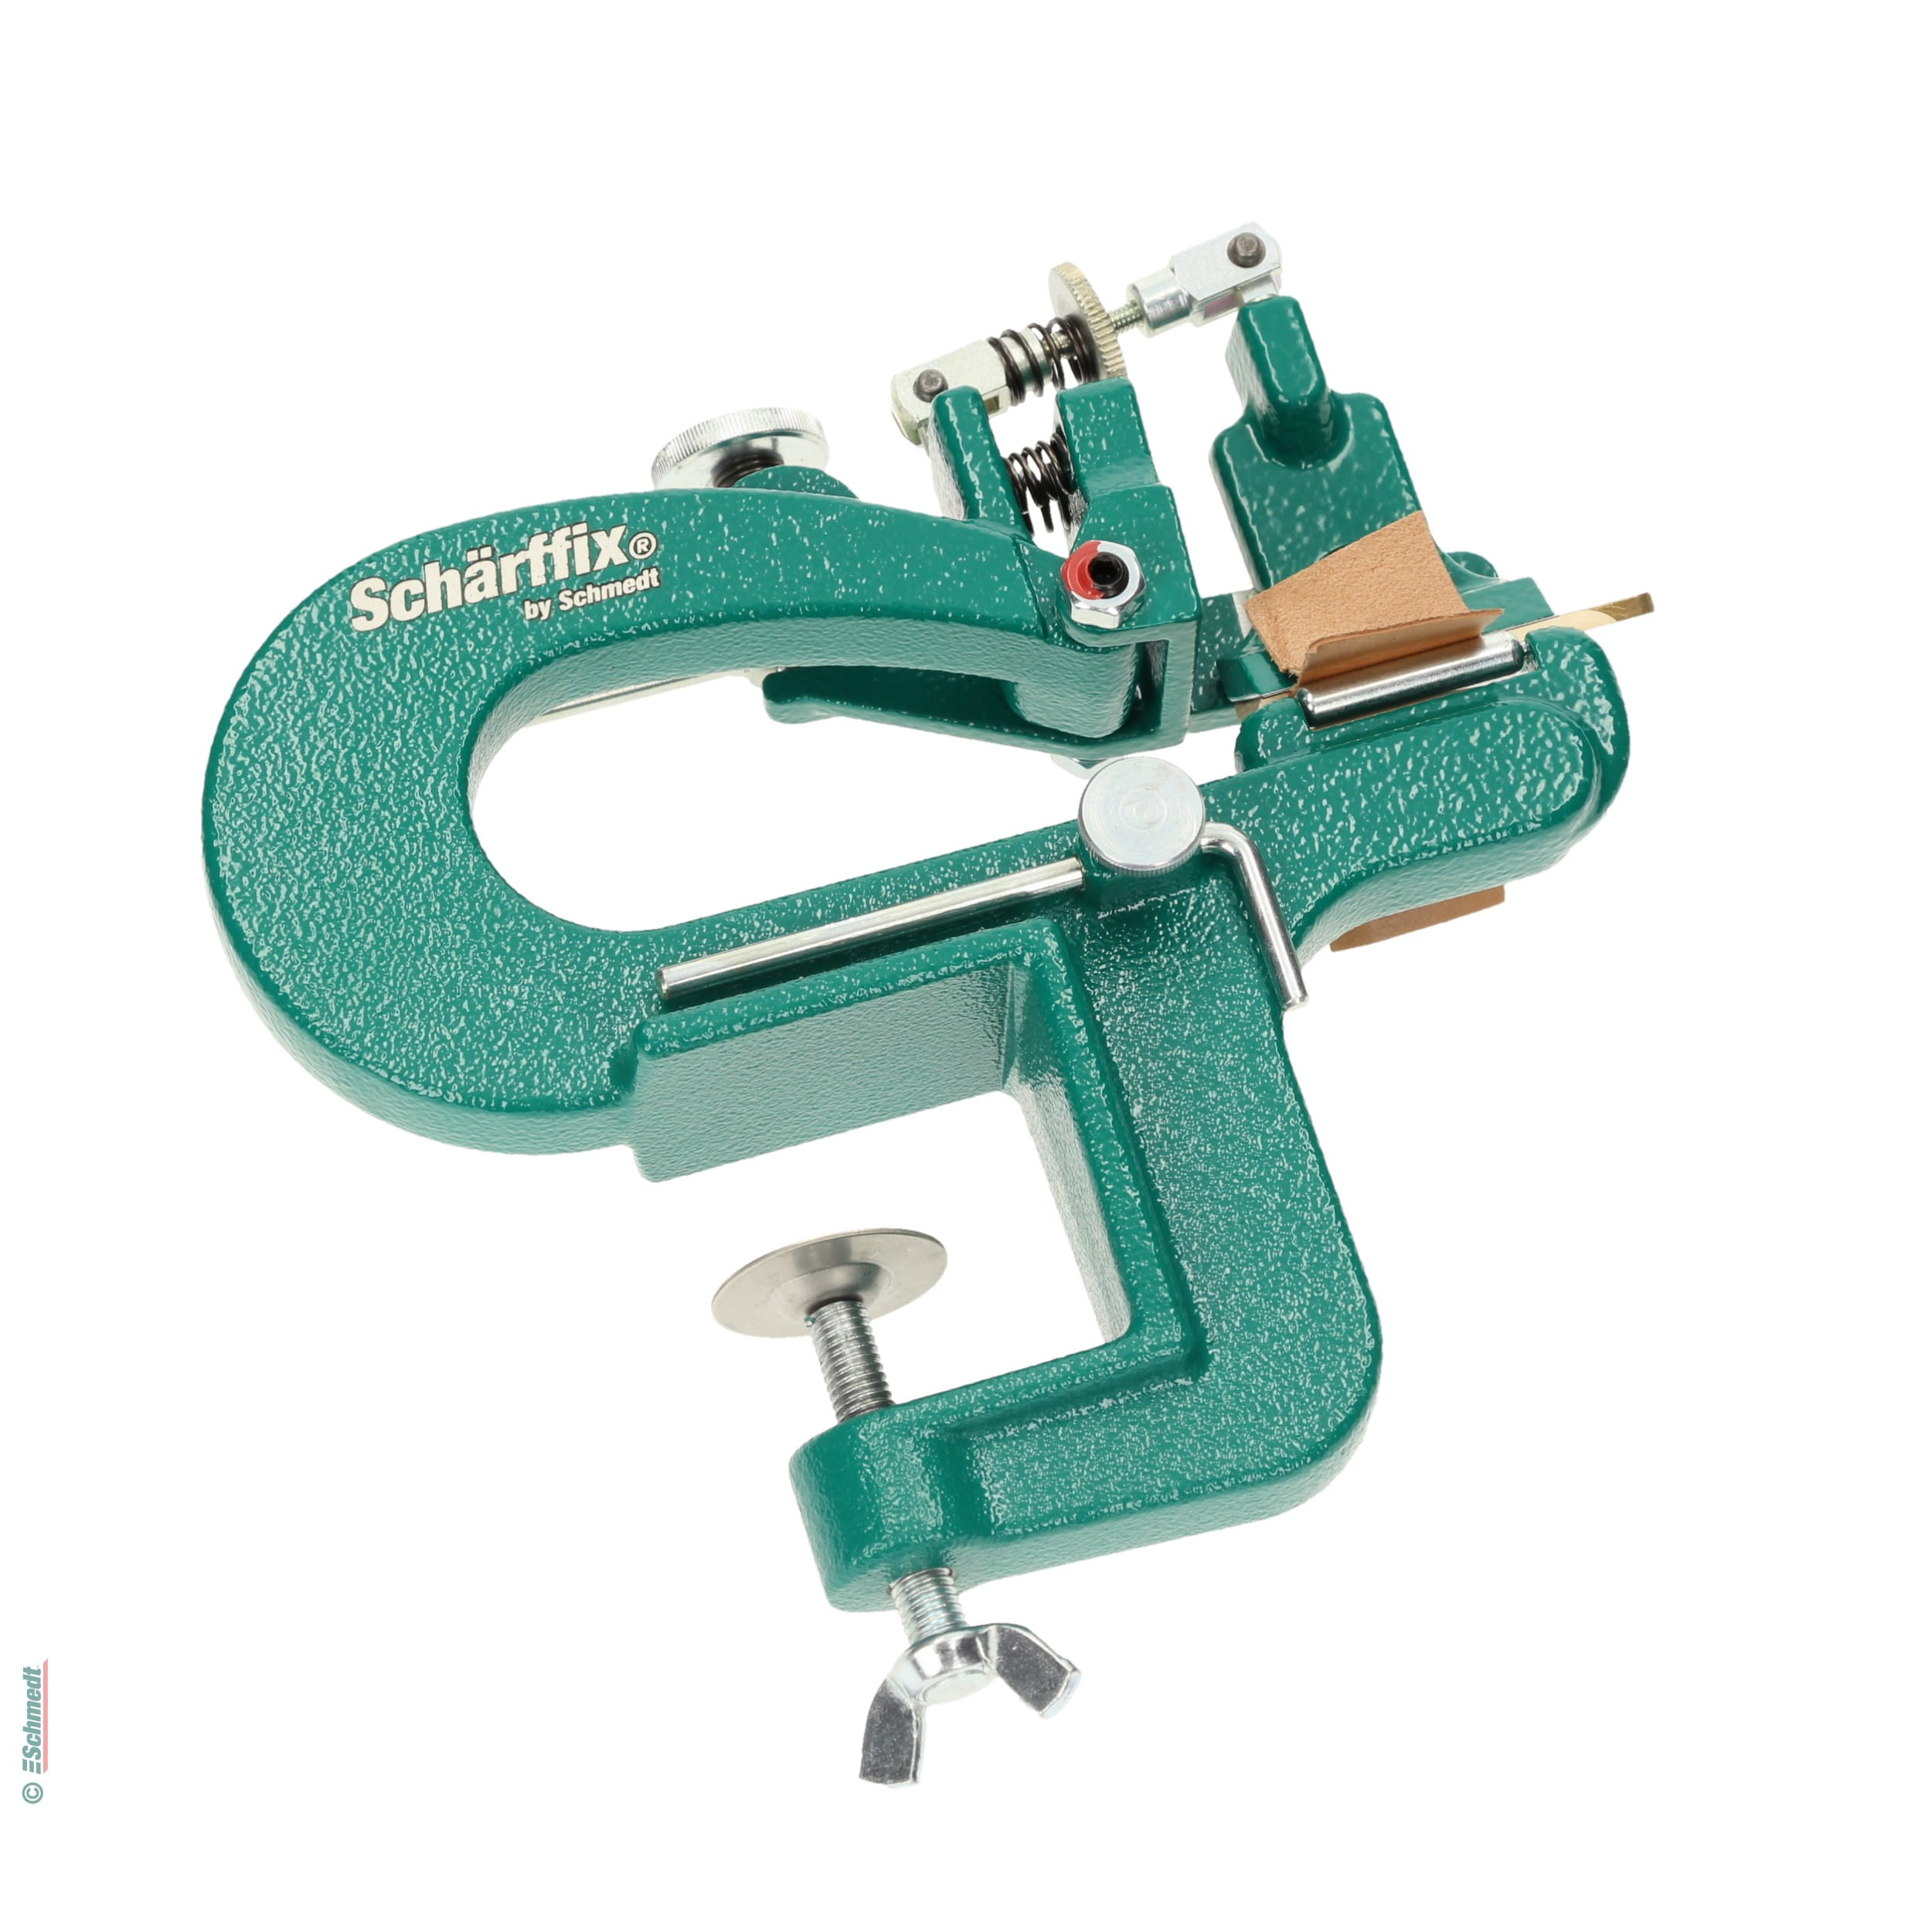
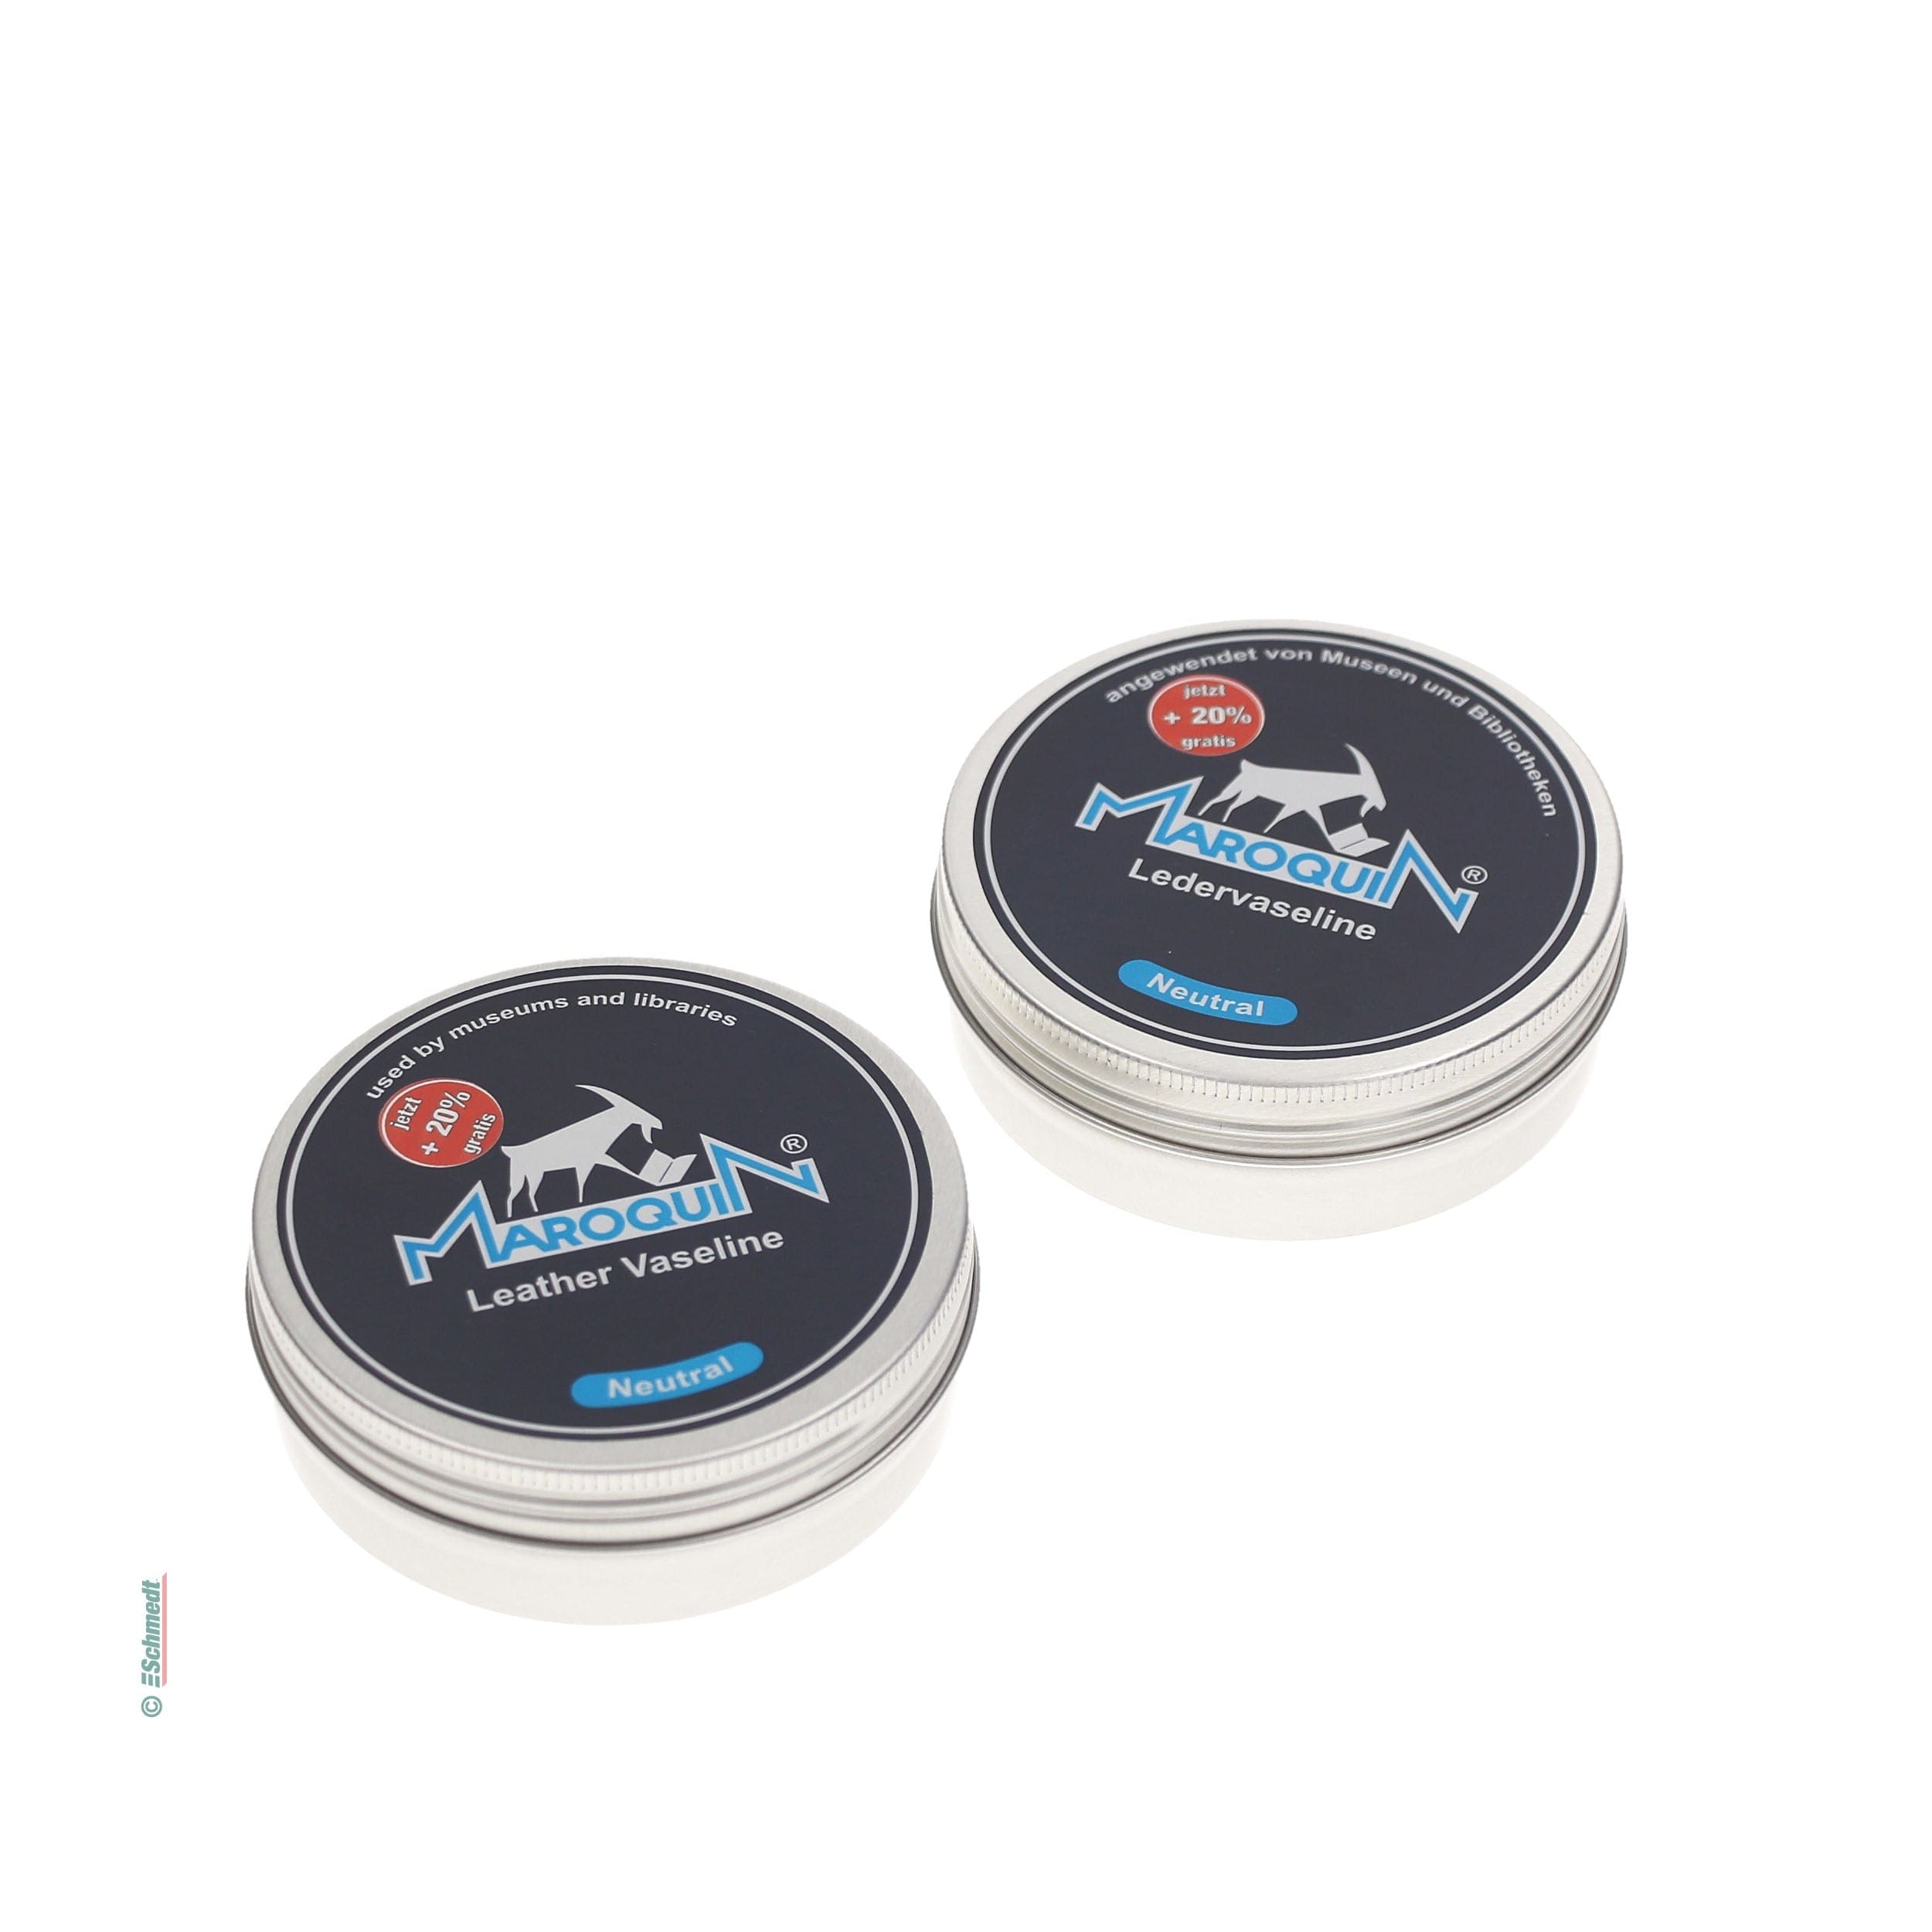
The Original: The Schärffix® is a device for sharpening leather products, especially leather book covers. A sharp blade and the matching pressure roller ensure the thinning of the leather on the inside of the cover. This makes it easier to fold or join the leather in these areas. The Schärffix is small and handy and comes in a case. It includes spare blades, various pressure rollers and tools. For the processing of leather, we have many tools, such as sharpening knives, sharpening stone, leather scissors, leather dyes, leather care products.

Table of contents:
1 Sharpen leather for what?
To sharpen leather for book covers, you need leather sharpening knives or a leather sharpening device such as the Schärffix. The outer edges of the leather must be skived so that they become thinner towards the edge and can be folded over later in the wrapping process. However, the Schärffix can also be used to sharpen/thin out the entire surface of leather.
2 Step by step leather sharpening
We show you in just six steps how to sharpen your leather with the Schärffix. Besides the description below, the process is also shown step by step in the following video:
Step 1: Fasten the Schärffix
To start sharpening the leather, first attach the Schärffix to the work table. Then insert a new blade into the Schärffix and fasten it. (Replacement blades as well as the various pressure rollers are supplied in the set)
Step 2: Adjust Schärffix to the leather
Now the Schärffix can be adjusted to the respective leather. There are two central settings here:
- Material thickness/thickness: this setting is made via the large wheel.
- The inclination of the blade: via the smaller wheel.
It is also important to mention: If you are unsure or have not had much practice, please test in advance with a leftover piece of leather which is the optimal setting so as not to accidentally take off too much of the leather.

Step 3: Marking areas on the leather
With the finished blanket boards and the back insert, the leather is cut to fit. And mark the areas to be sharpened.

Step 4: Sharpening edges
Now you can start sharpening the edges. For this purpose, the leather should be guided sensitively and with even pressure over the entire surface of the pressure roller into the knife.

Step 5: Sharpen fold
To sharpen the fold, the pressure roller must first be replaced. Different widths are supplied for a wide range of fold widths. After the exchange, the sharpening process can be started as usual. Only the area of the pressure roller is now sharpened.
Step 6: Smoothing edges
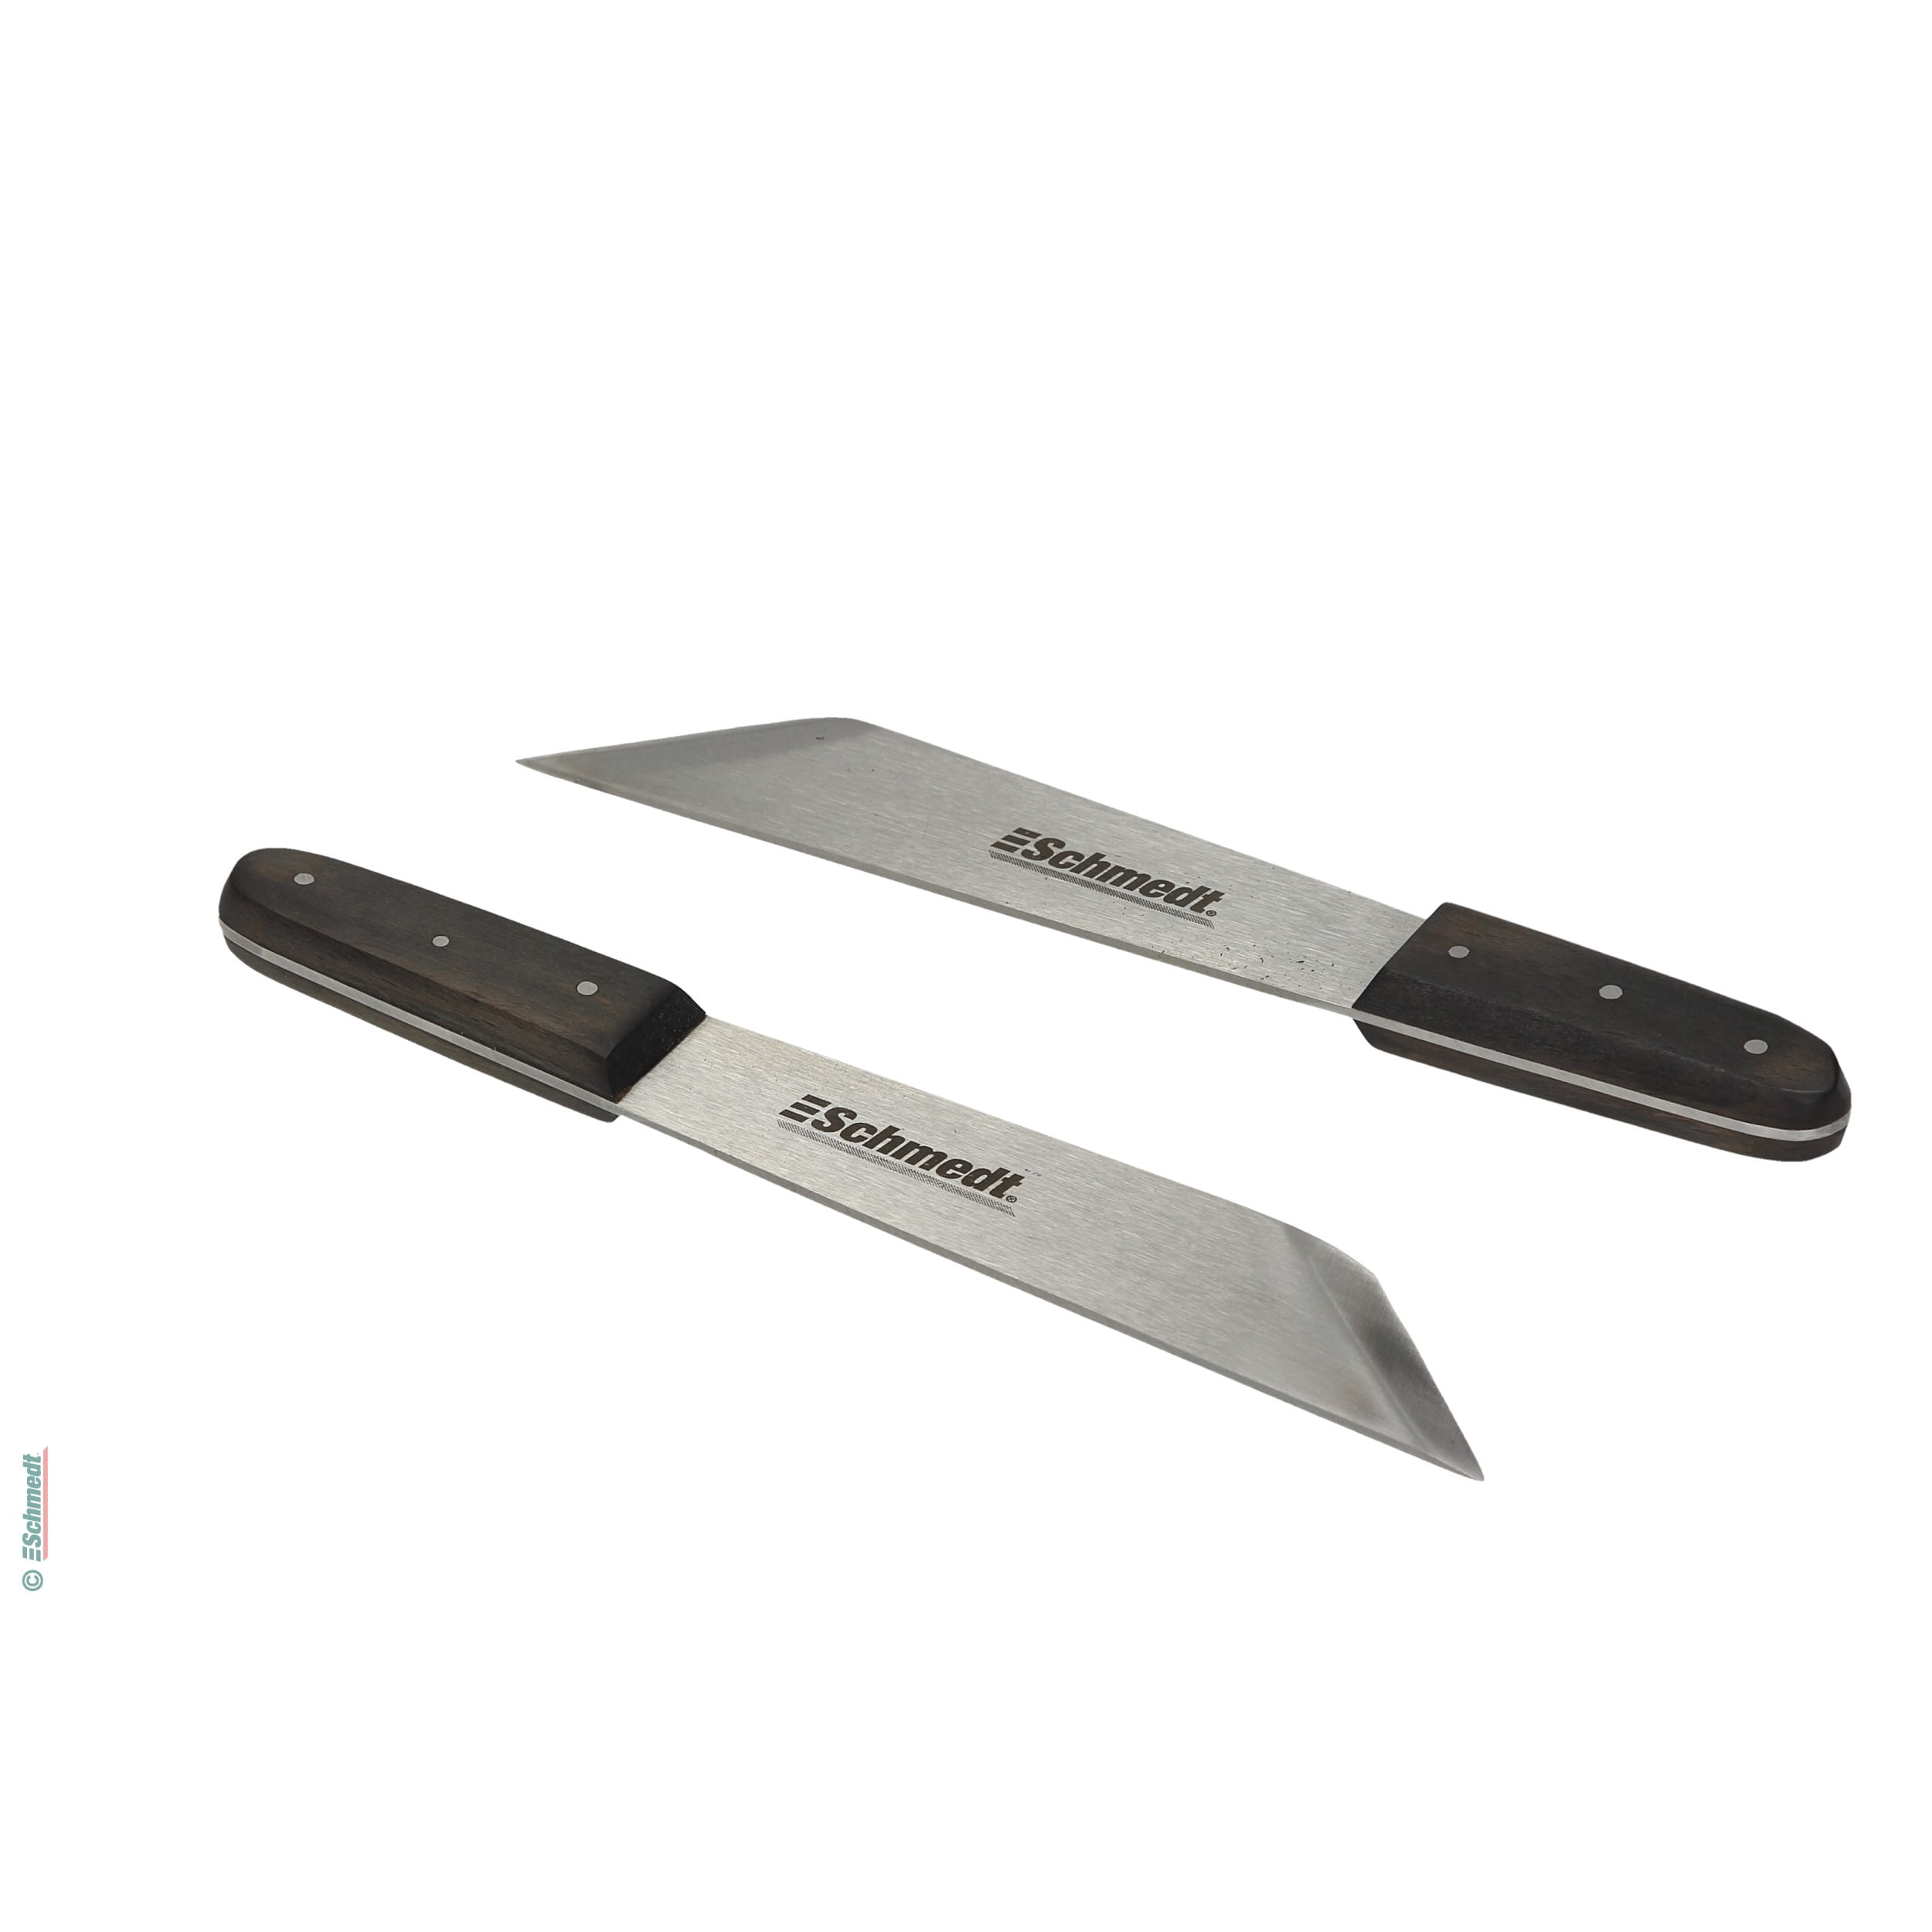
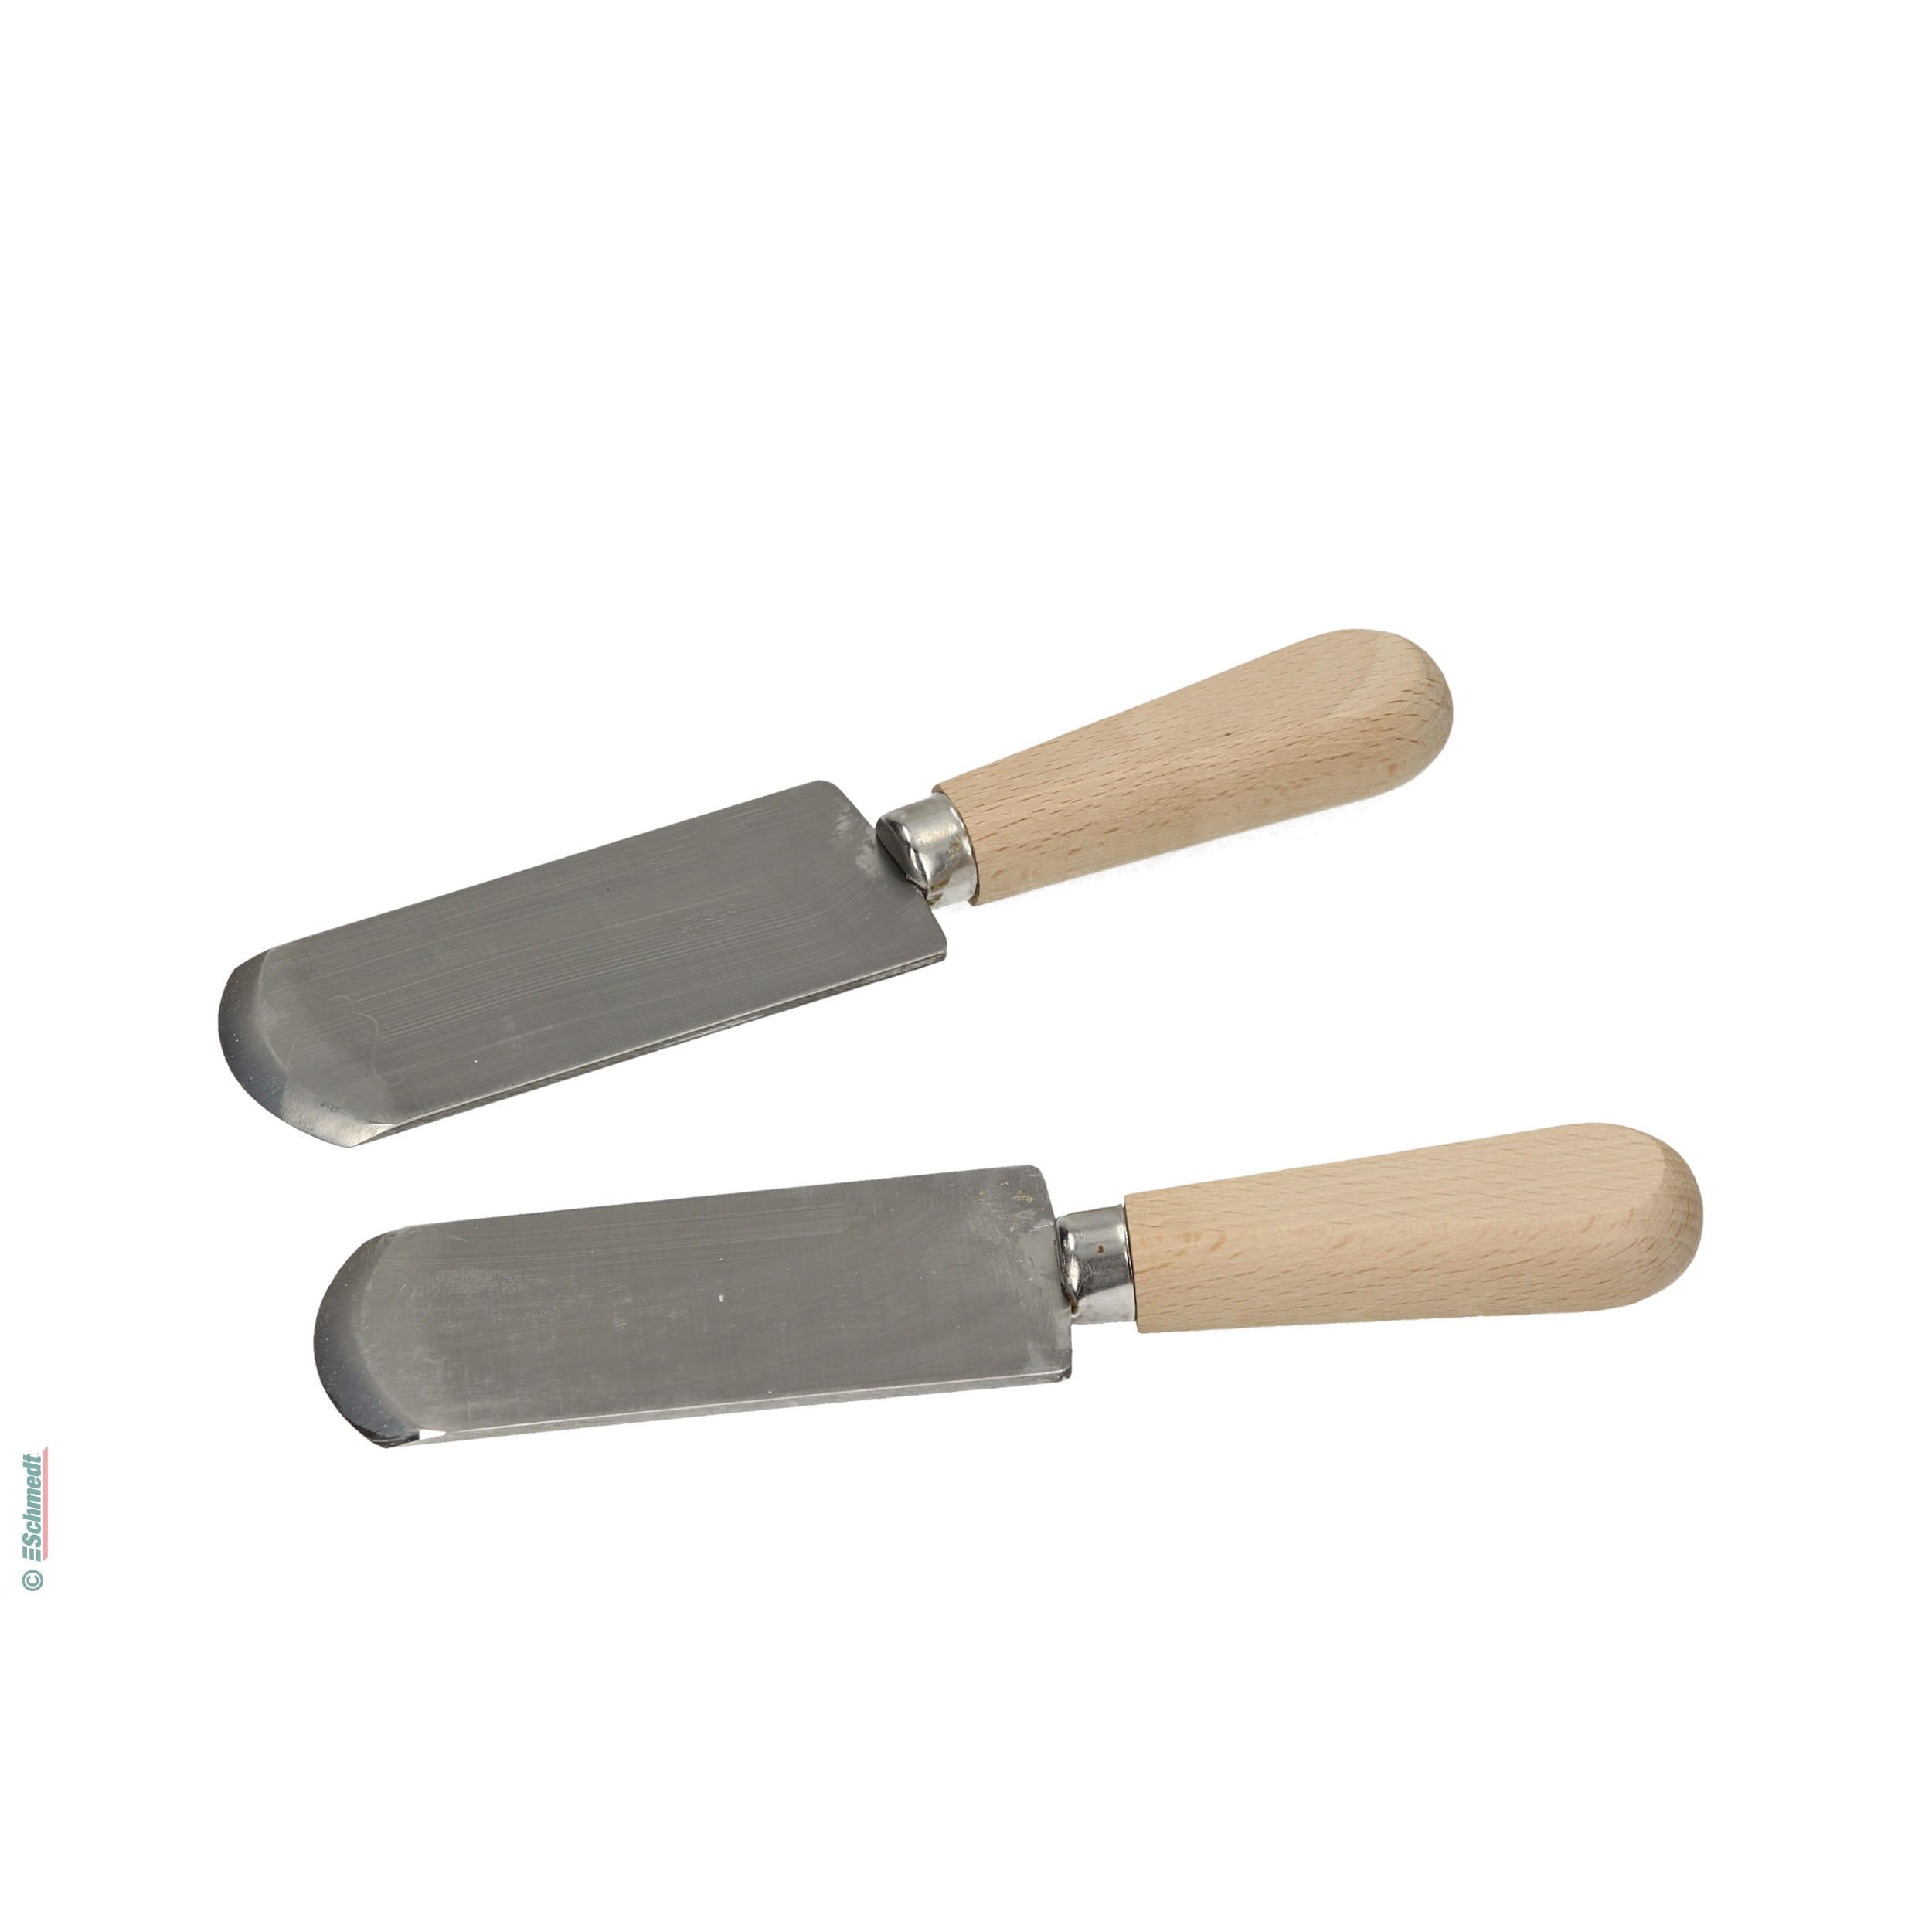
A sharpening knife is now used to smooth the raised edges and cut off the corners. A final check is made: Can the edges be folded over well?


The result is impressive
It requires some practice at the beginning to work with the Schärffix. This means that you should not immediately process the most expensive leather and expect to achieve very good results immediately.

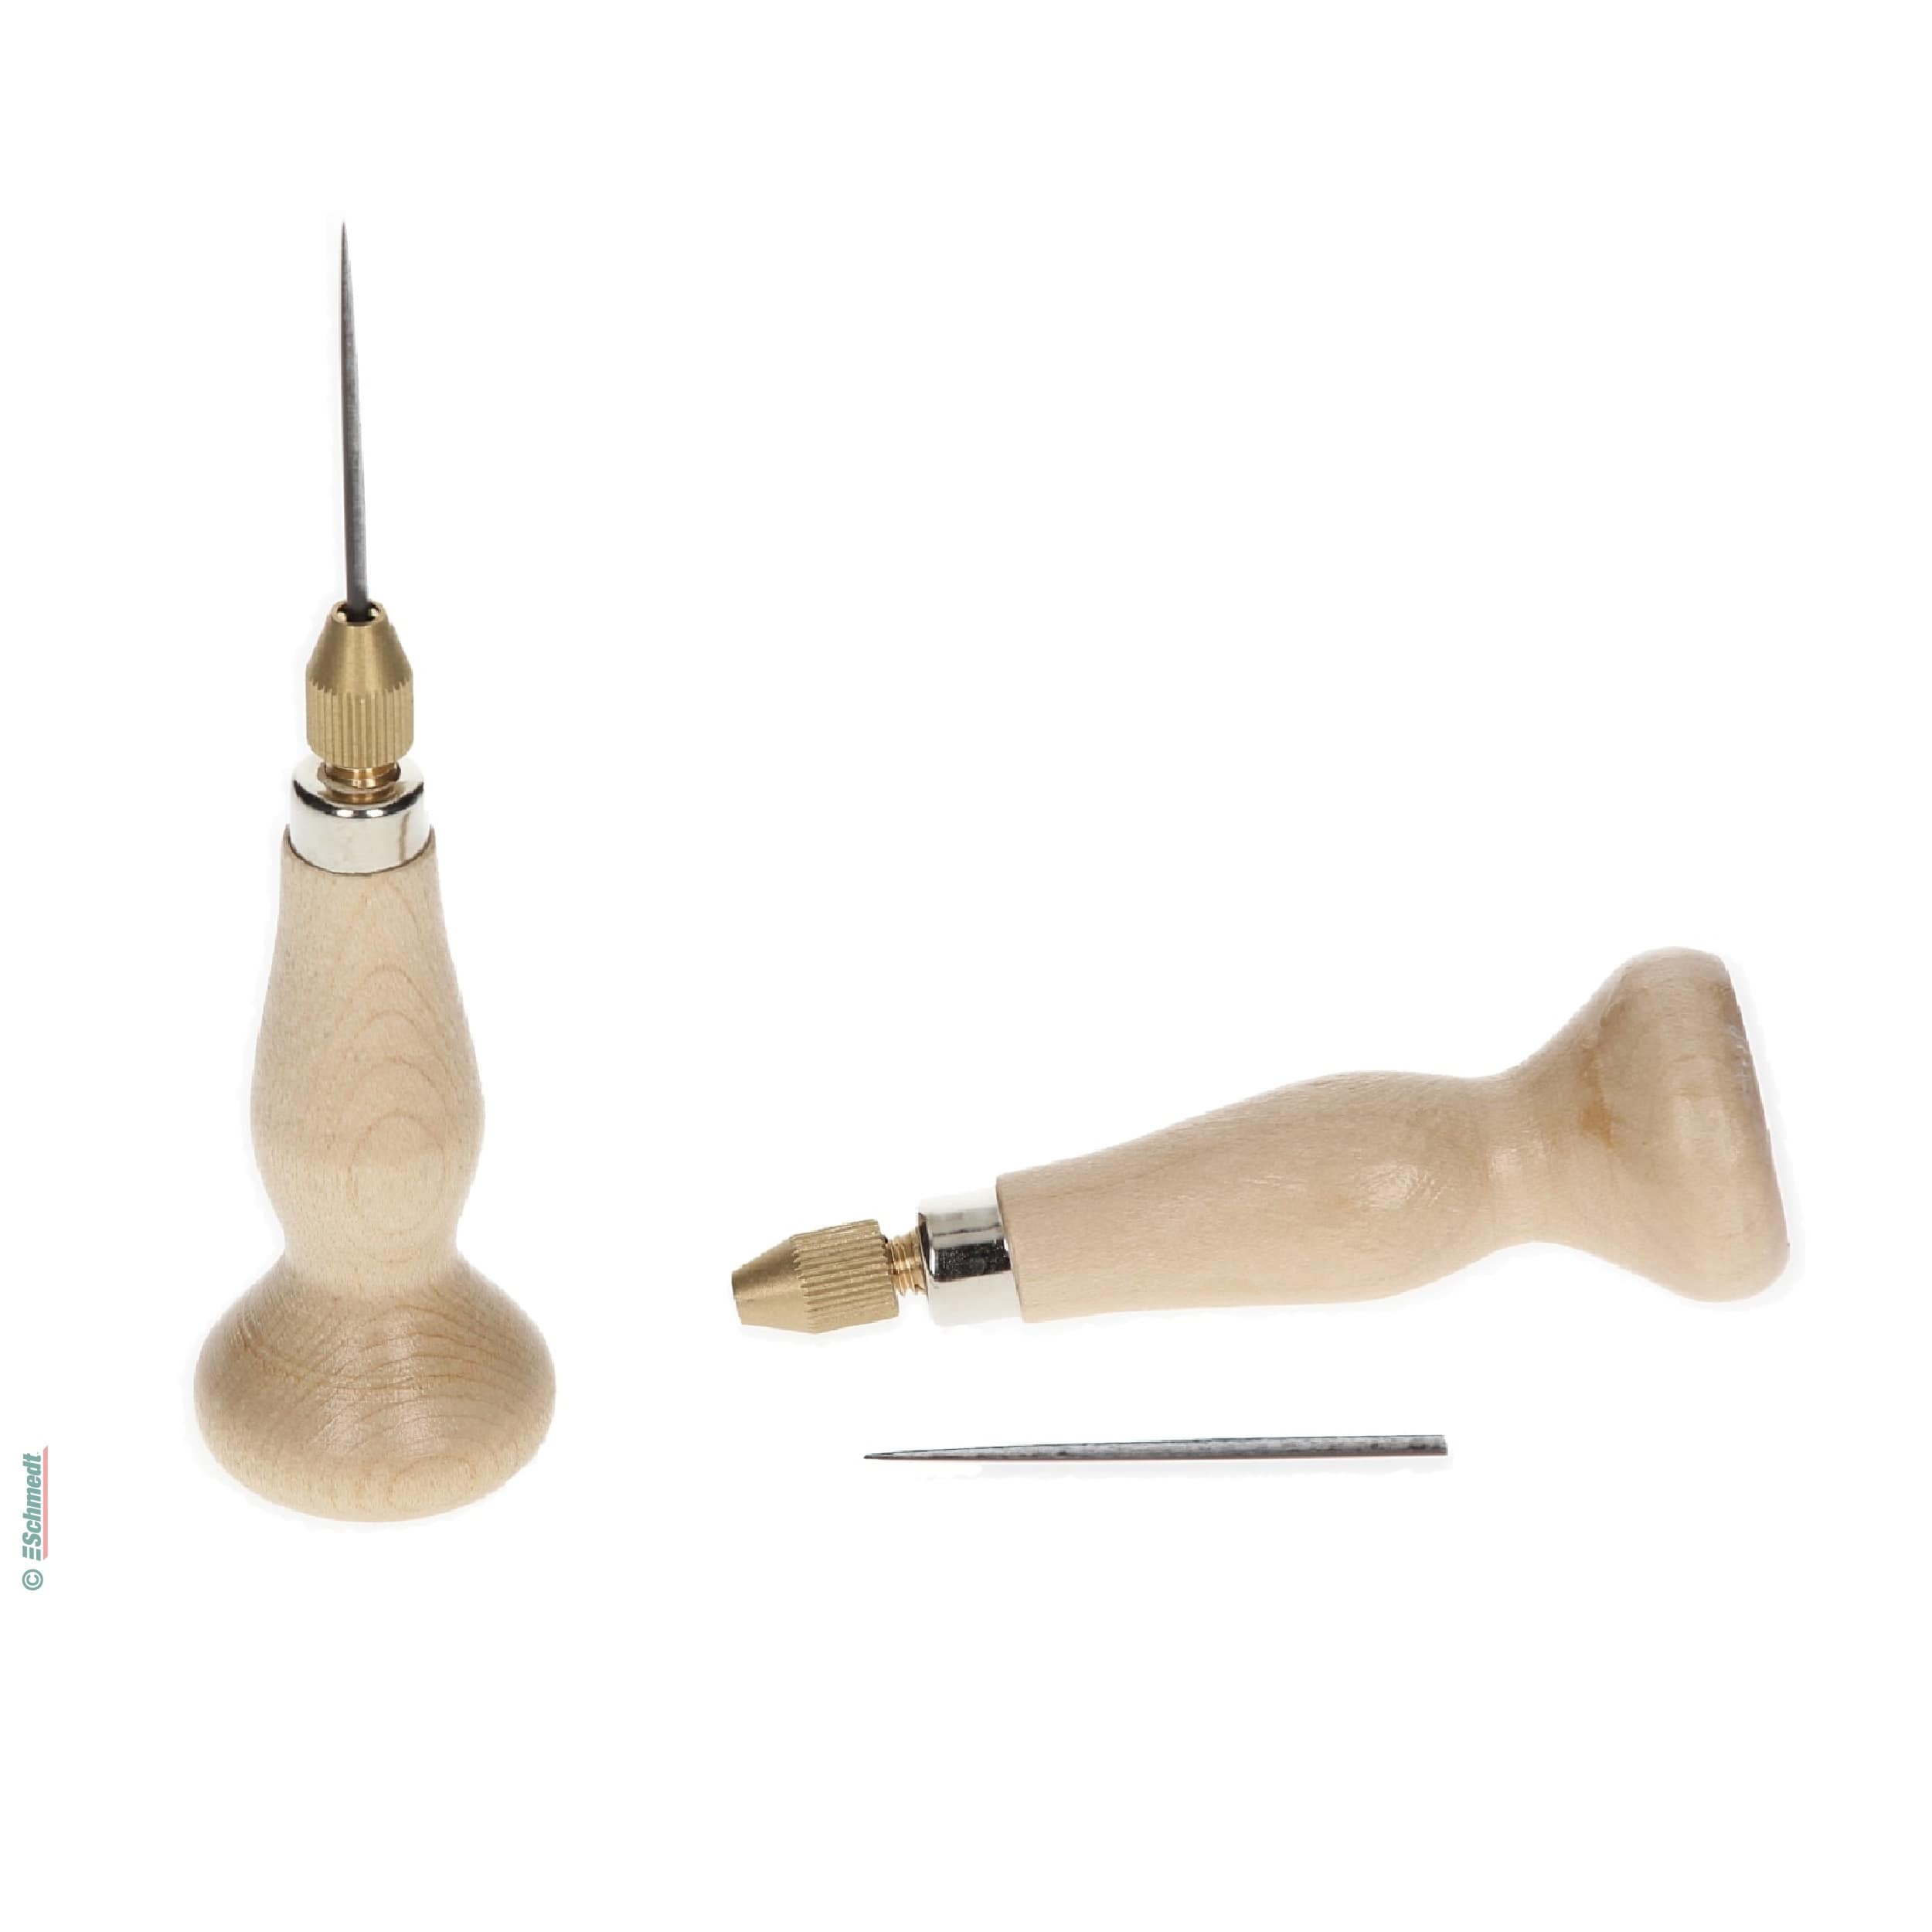
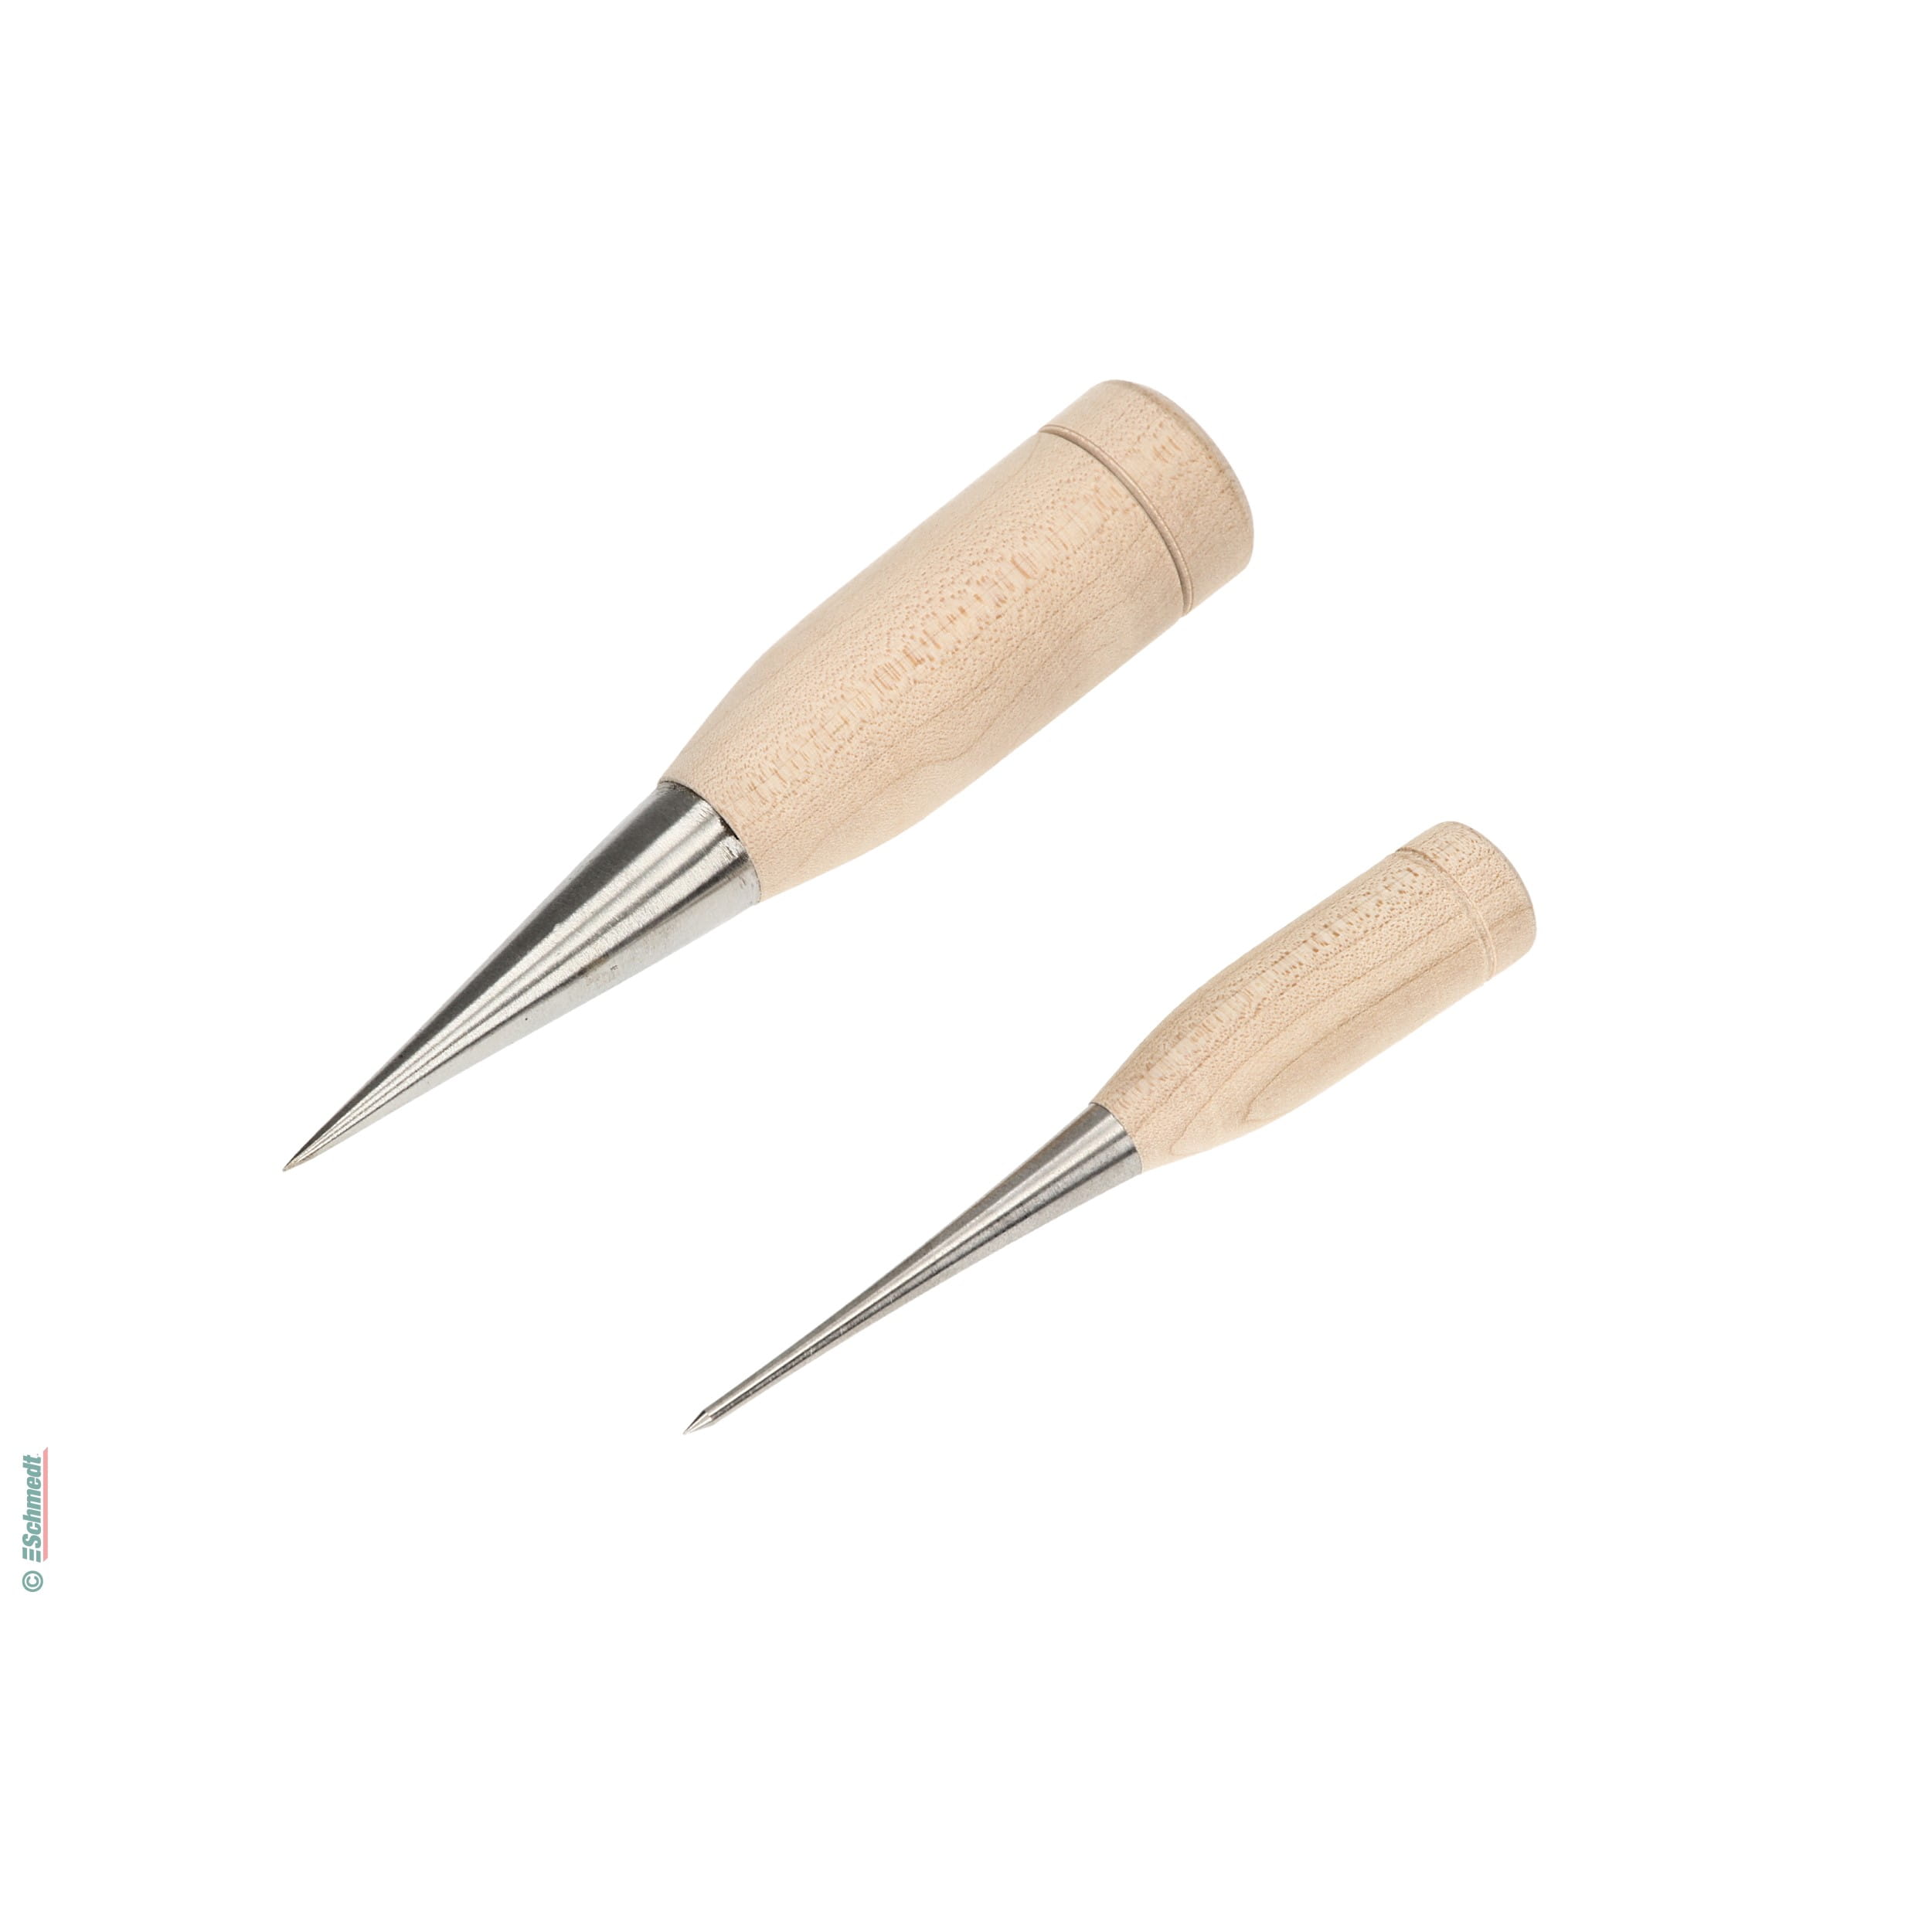
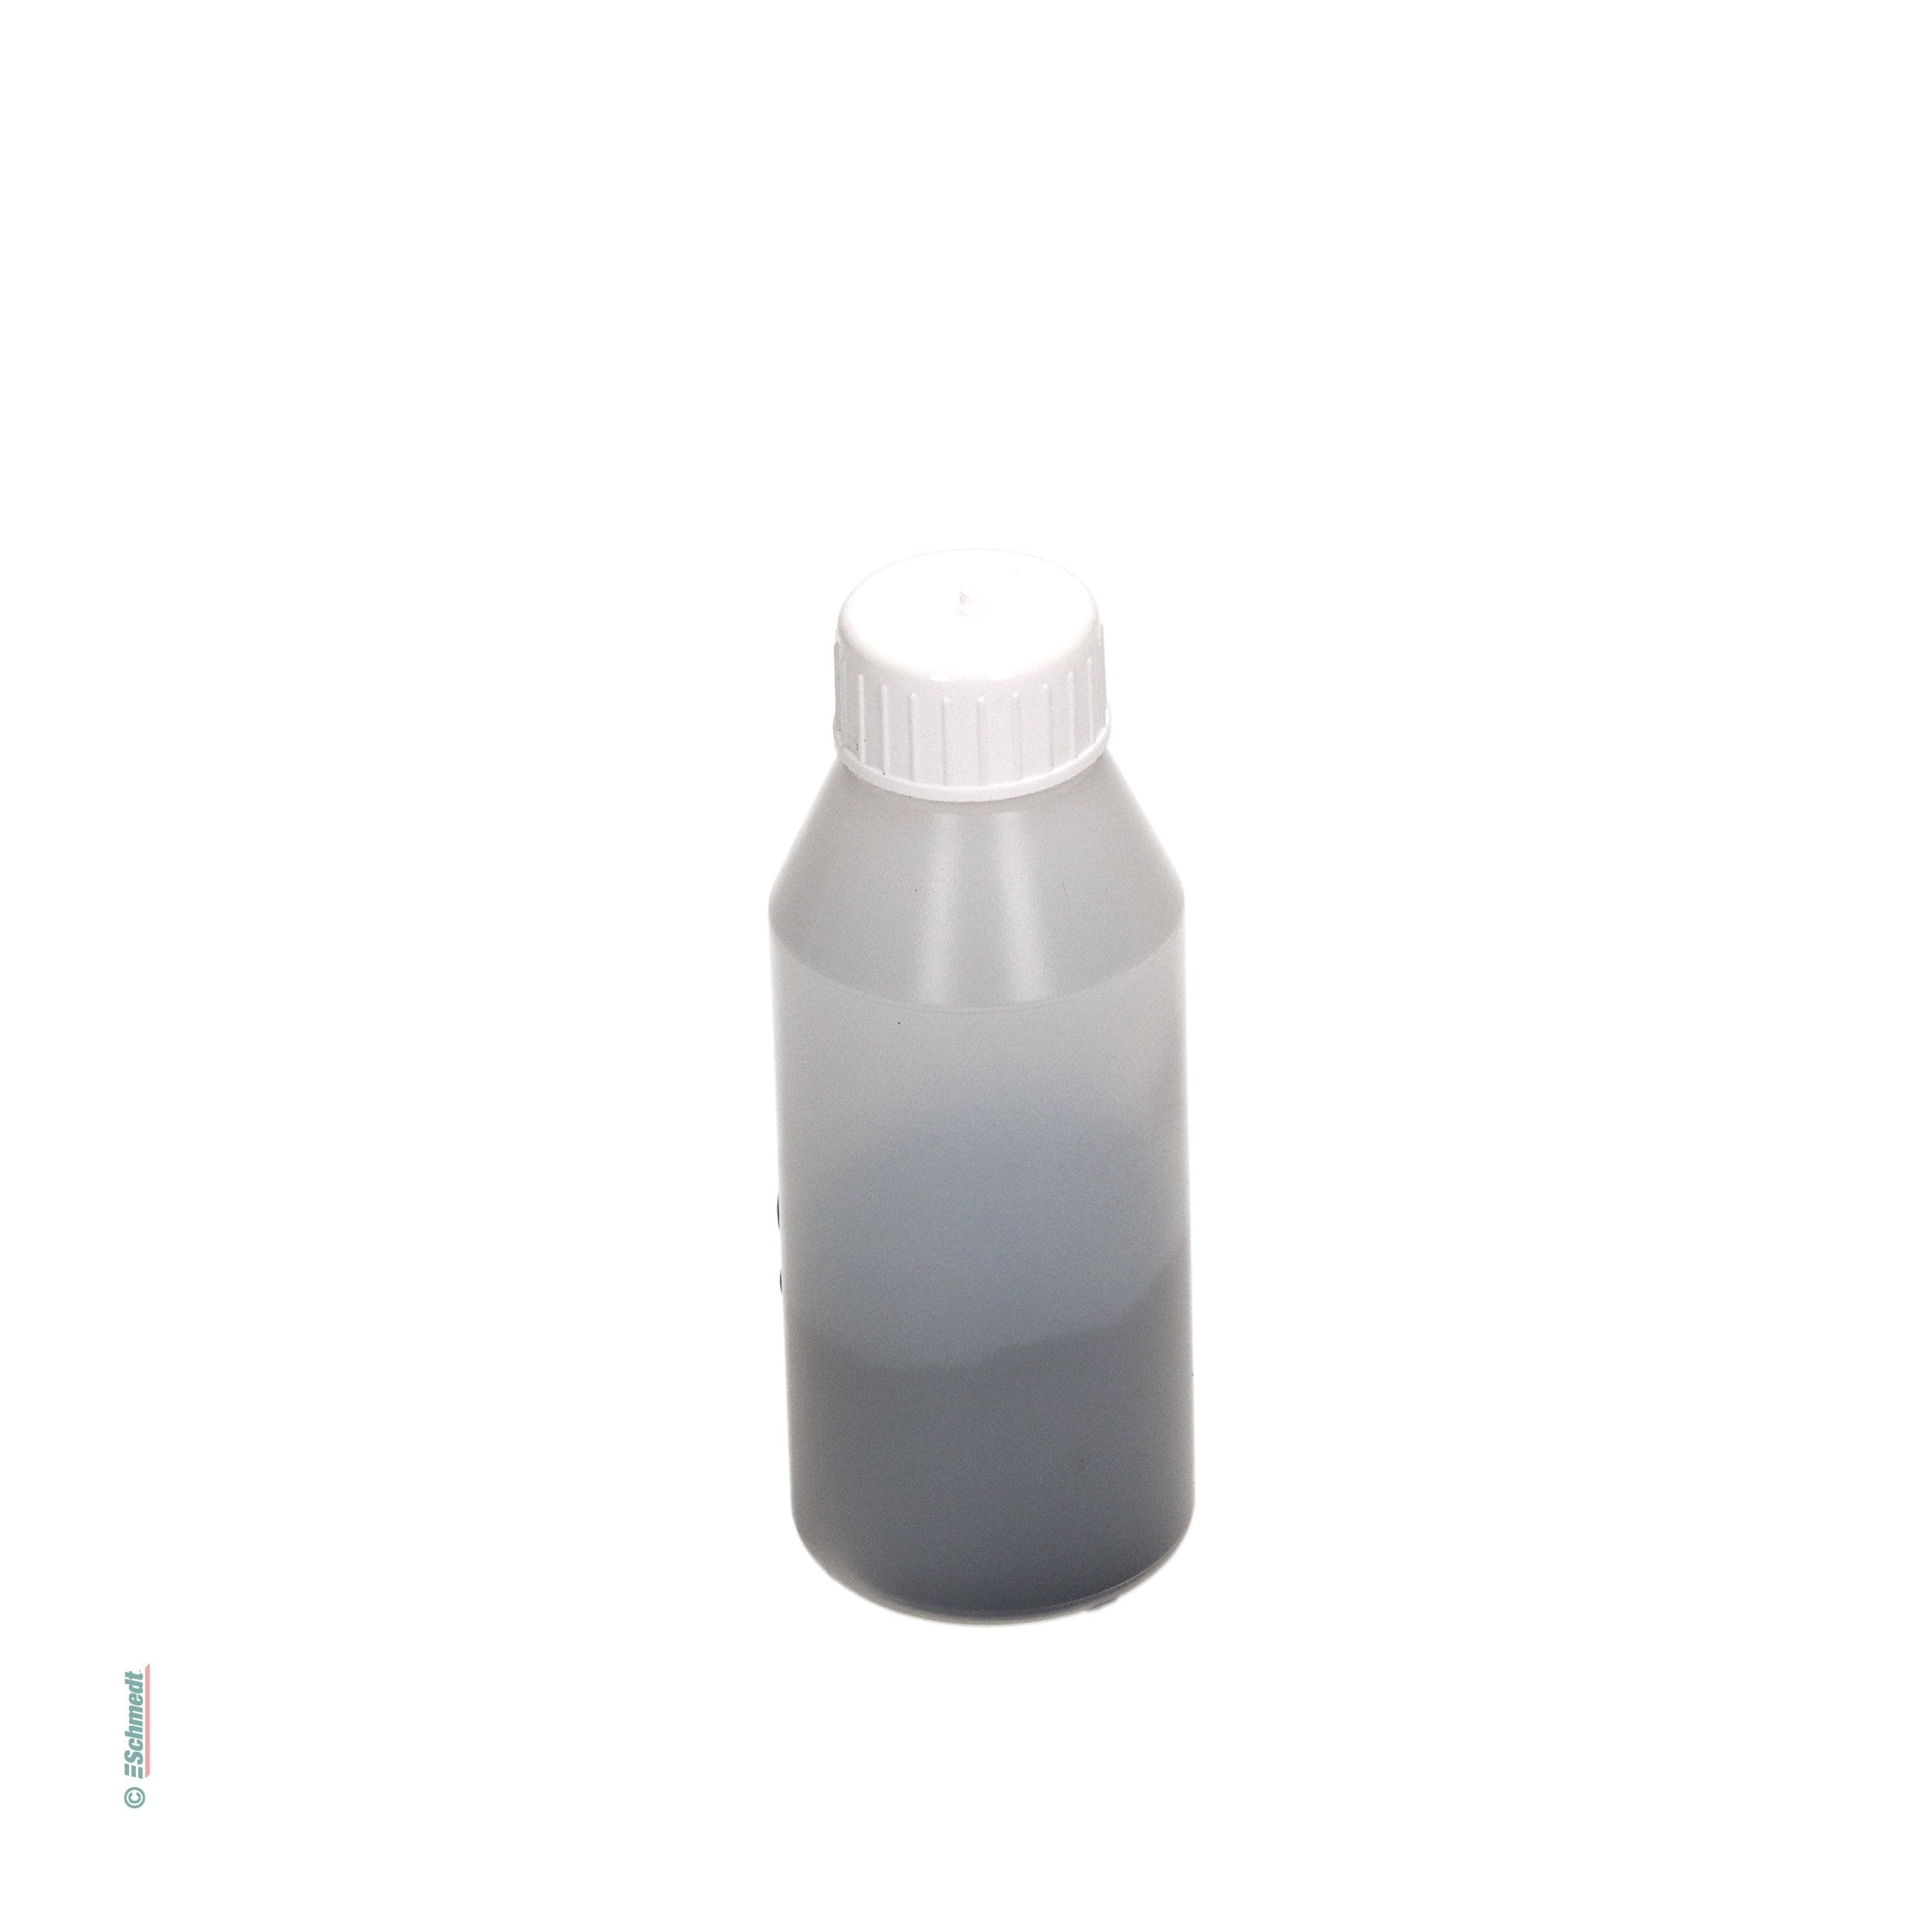
3 What materials & tools are needed?
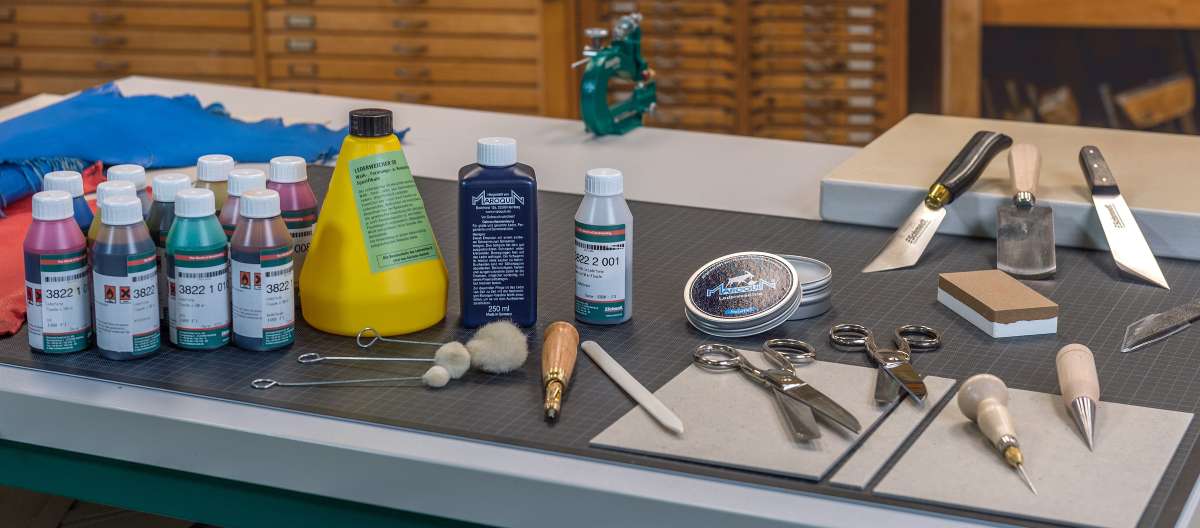
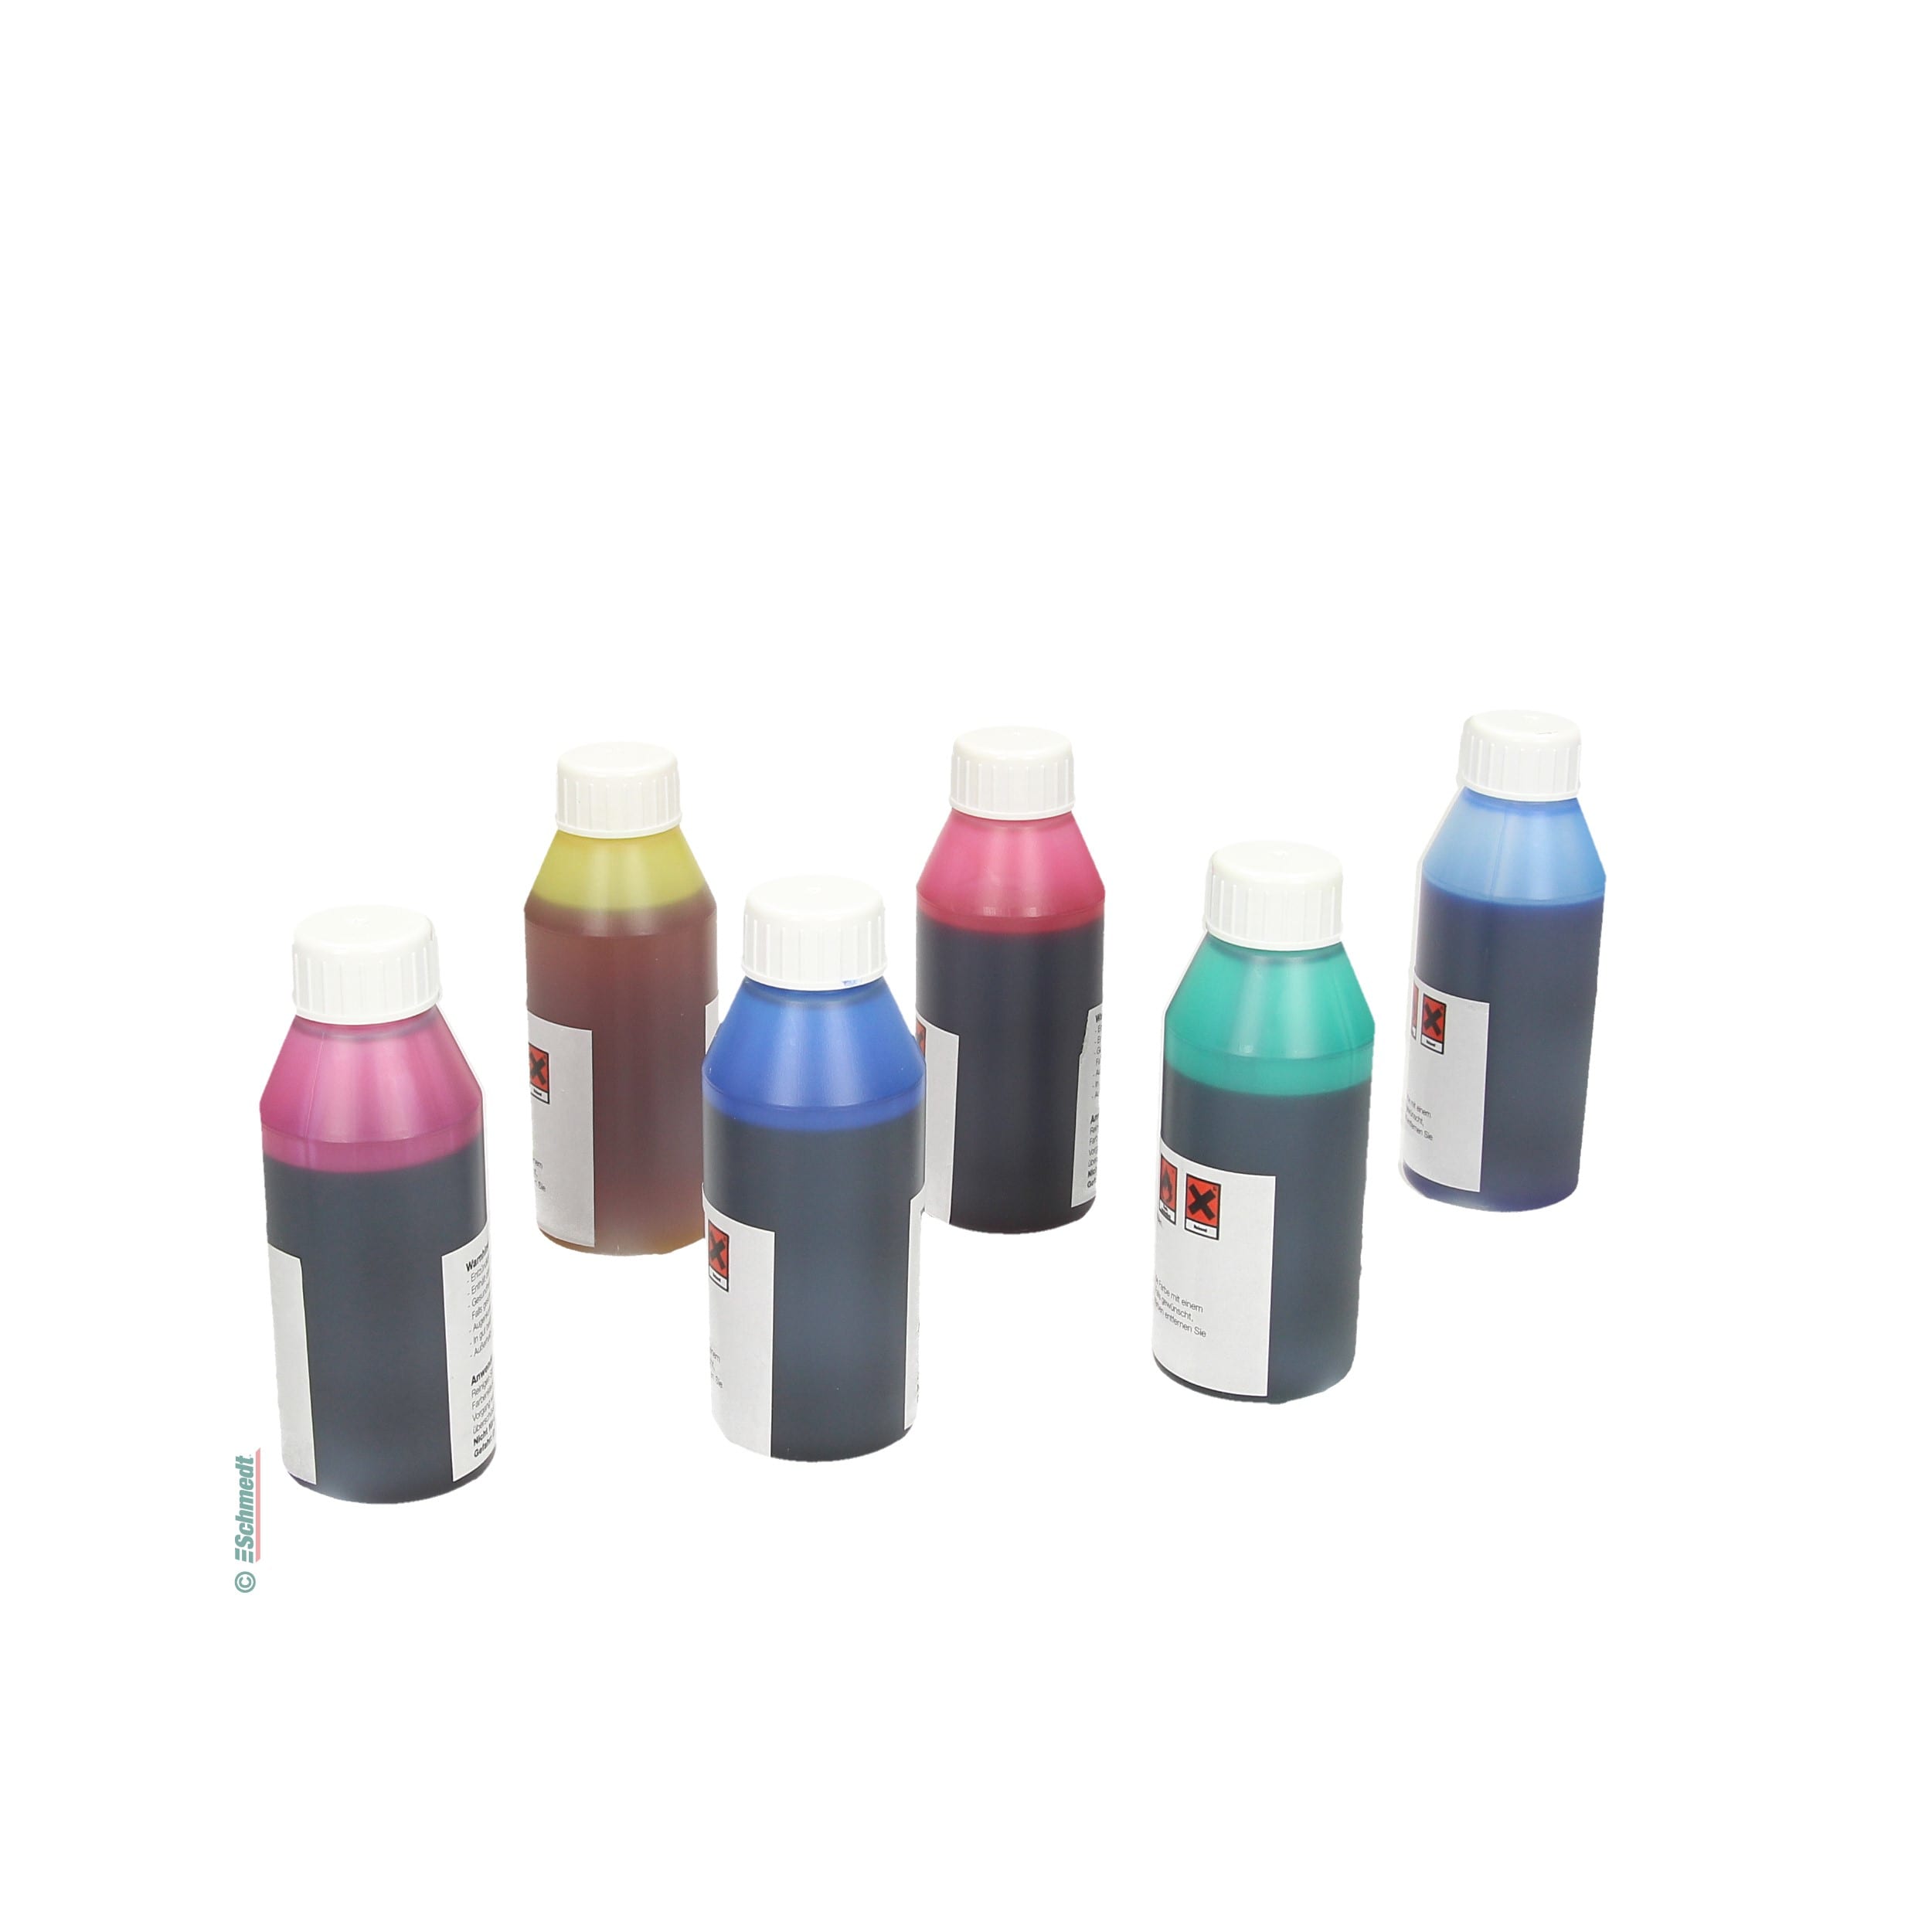
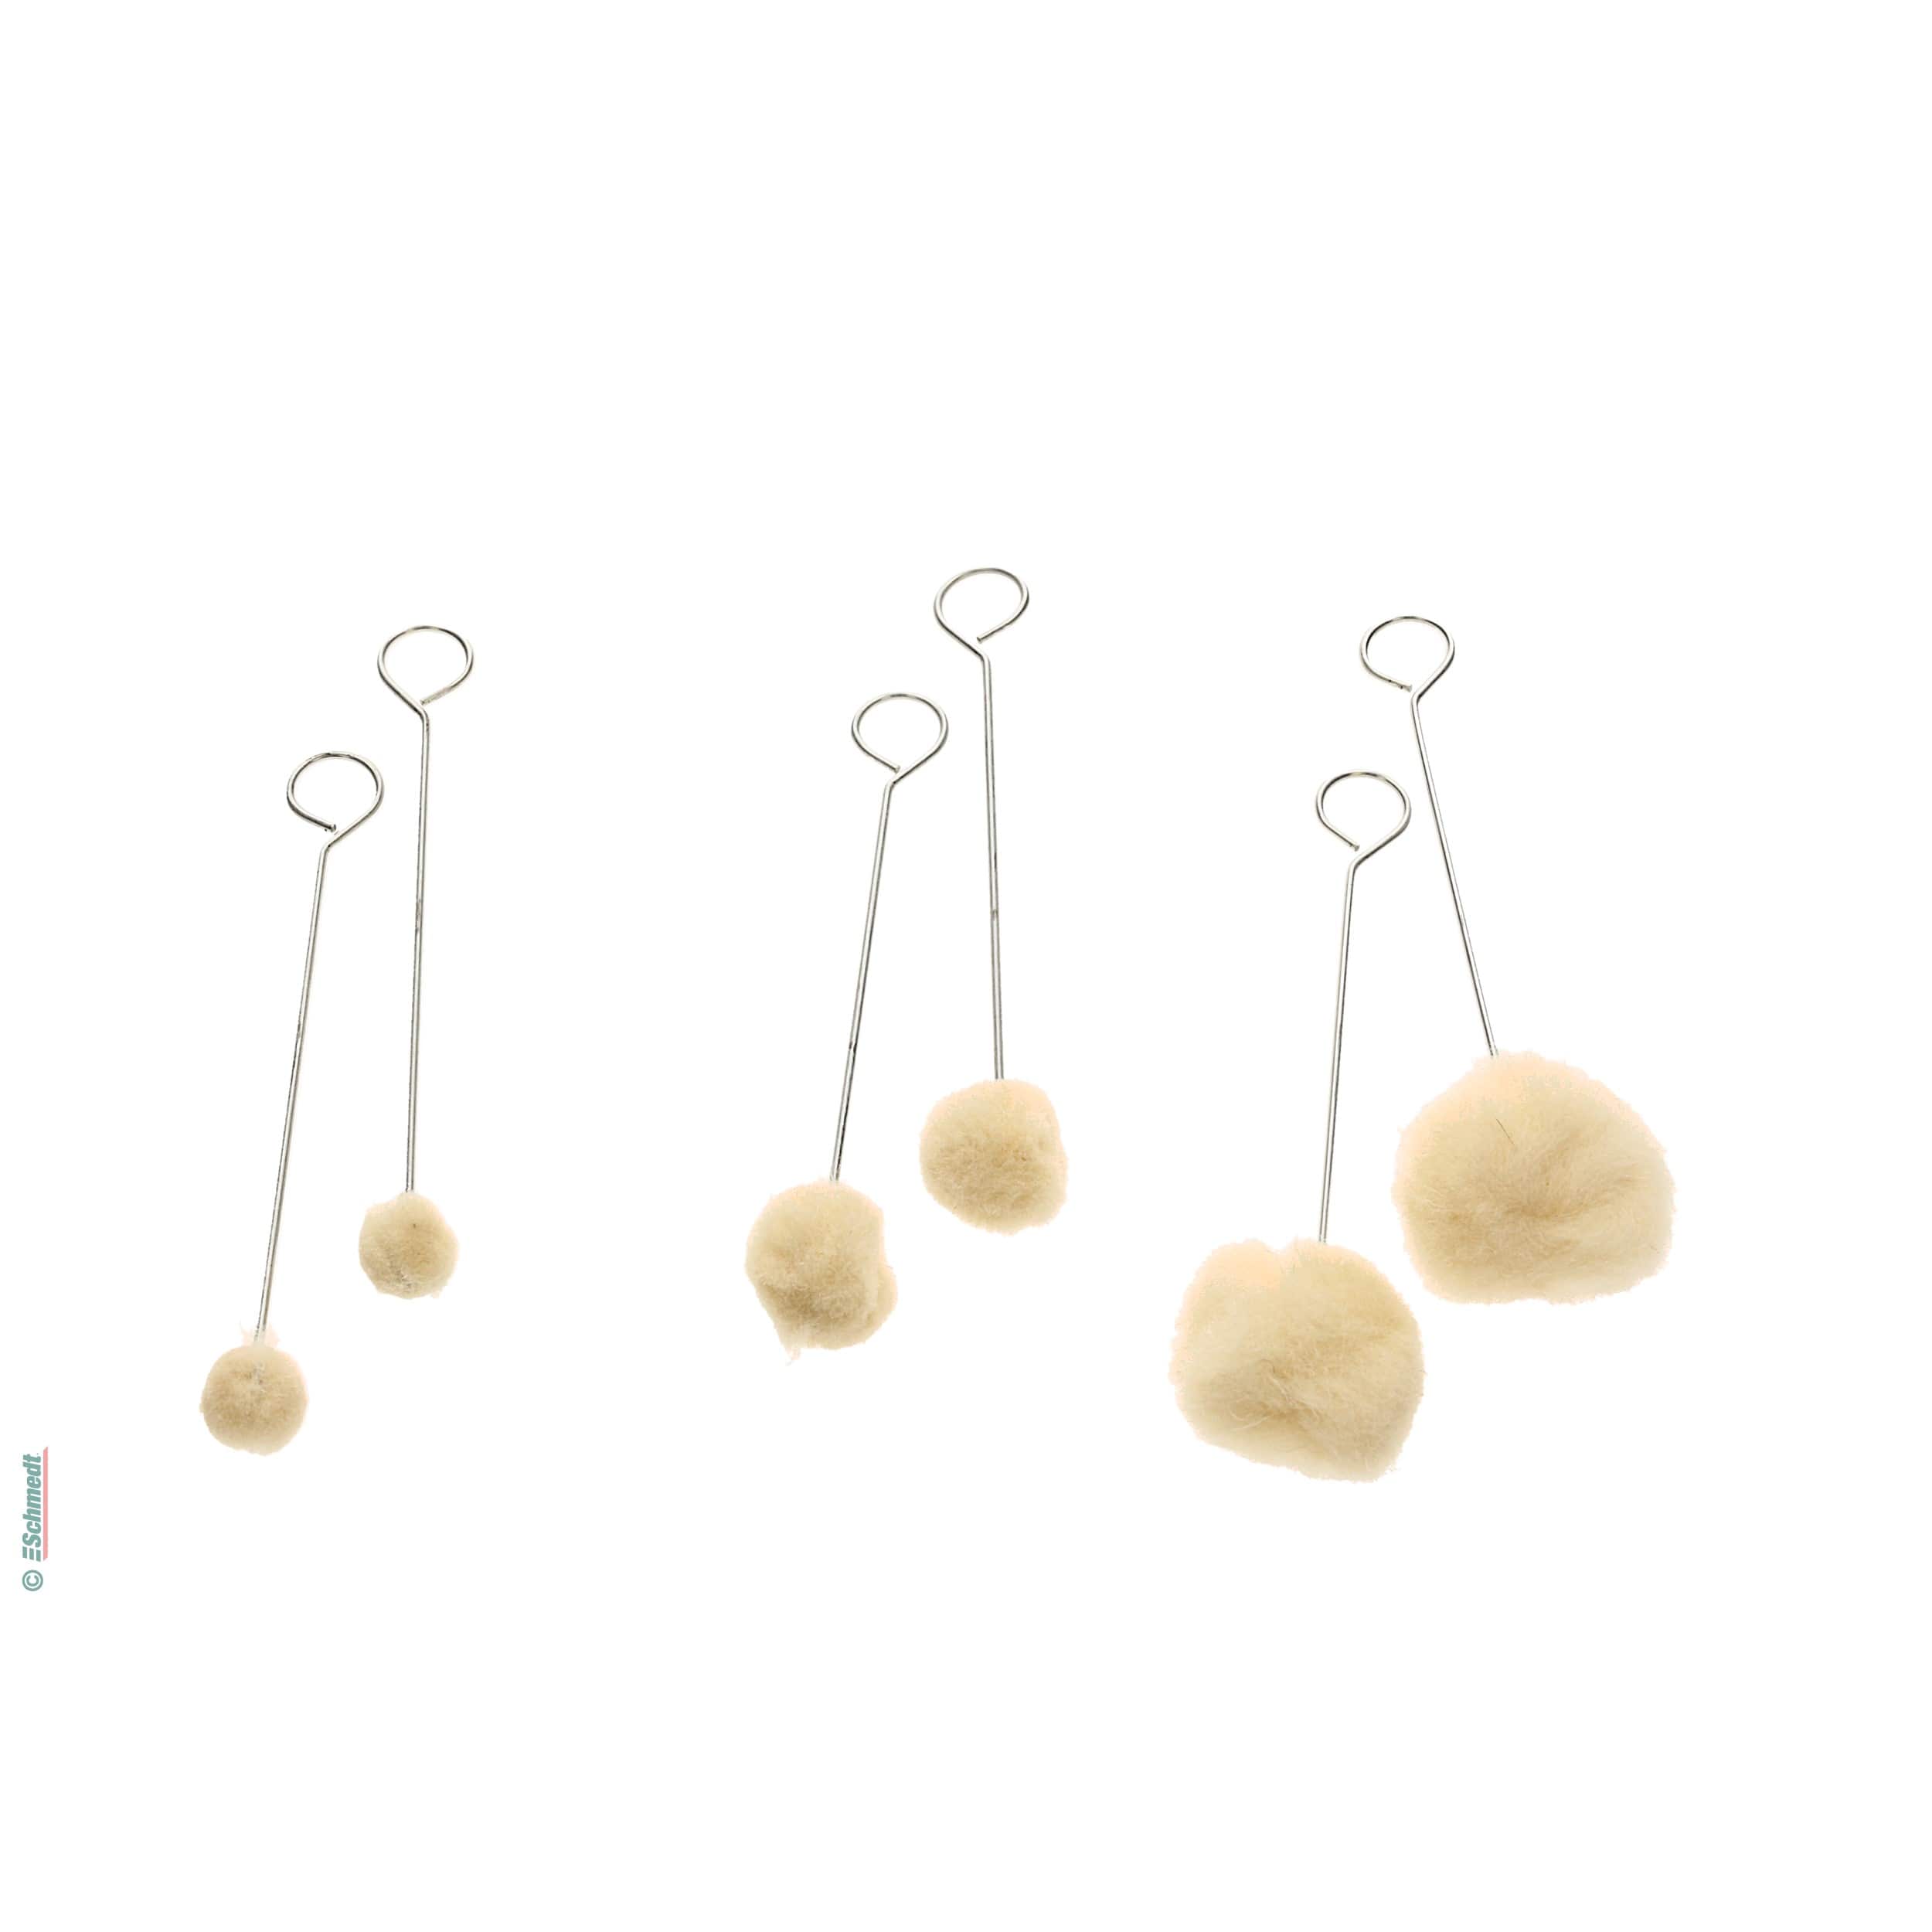
Especially when it comes to working with leather, it is important to use high-quality and appropriate materials and tools to achieve a high-quality end product. Leather is a natural material and offers a unique aesthetic, feel and durability that makes it a popular material for book covers. However, to work with leather, you need special tools that allow you to precisely sharpen, cut, dye, and maintain the leather. Below you can see an excerpt of our materials and tools for working with leather.


4 Leather selection
To achieve a high quality result when bookbinding with leather, it is of great importance to use high quality leather. We offer leather in different varieties & colours. Our focus here is on goatskin, as it is ideal for bookbinding due to its natural stretch and flexibility. It fits well around the edges of the book cover and supports the fold formation in the spine. We offer thicker Oase goatskin and thinner (already split) Capra goatskin here, and in a wide variety of colours.

In stock, deliverable at short notice


In stock, deliverable at short notice

In stock, deliverable at short notice
€317.18*


In stock, deliverable at short notice


In stock, deliverable at short notice
€27.00*

In stock, deliverable at short notice
€27.00*

In stock, deliverable at short notice
€27.00*

In stock, deliverable at short notice
€22.00*


In stock, deliverable at short notice


In stock, deliverable at short notice
5 Examples of use
In addition to book covers, the Schärffix can also be used for many other leather products:
- Notebooks
- Keychain
- Diaries
- Smartphone cover
- Bicycle saddle
6 Frequently asked questions
One speaks of leather splitting when the complete piece of leather is to be thinned to a few millimeters. In contrast, when leather is sharpened, it is not the hide itself that is made thinner, but the edge of the leather. This is important for bookbinding, among other things, so that the edge can be folded over well. The sharpening fix can be used for both leather splitting and leather sharpening. However, working an entire surface with the sharpening fix can be very tedious.